Showing posts with label Deco Art. Show all posts

Friday, June 3, 2022

Wonderland Mix Media Tag


Wonderland...Is better when you're completely lost!
What a truthful statement.
When you are creating or at least for me I am in my Wonderland!
Completely lost, completely absorbed, completely content. 
So let me help you get lost by creating a "Wonderful" Mix Media Tag


Begin by apply Crackle Paste to top of a large chipboard tag. 
Weave paper strips on top of prepared tag. 
(Inspired by Maremi's Creative Cafe Challenge-Marta Lapkowska)

Photo 1: Lightly apply crackle paste over top. 
Photo 2: Layer two more smaller tags and Victorian Layered Border to top; lightly apply crackle paste. 
Photo 3: Add small ephemera to top of tag and frame; add open frame to top. Lightly apply crackle paste to top. Stamp border with black ink. Lay stencil on tag; apply crackle paste. Dry

Photo 4 and 5: Apply layers of distress inks and sprays to top of prepared tags
Photo 6: Add small ephemera pieces to top of tag. 


Add small metal stars to prepared tag.
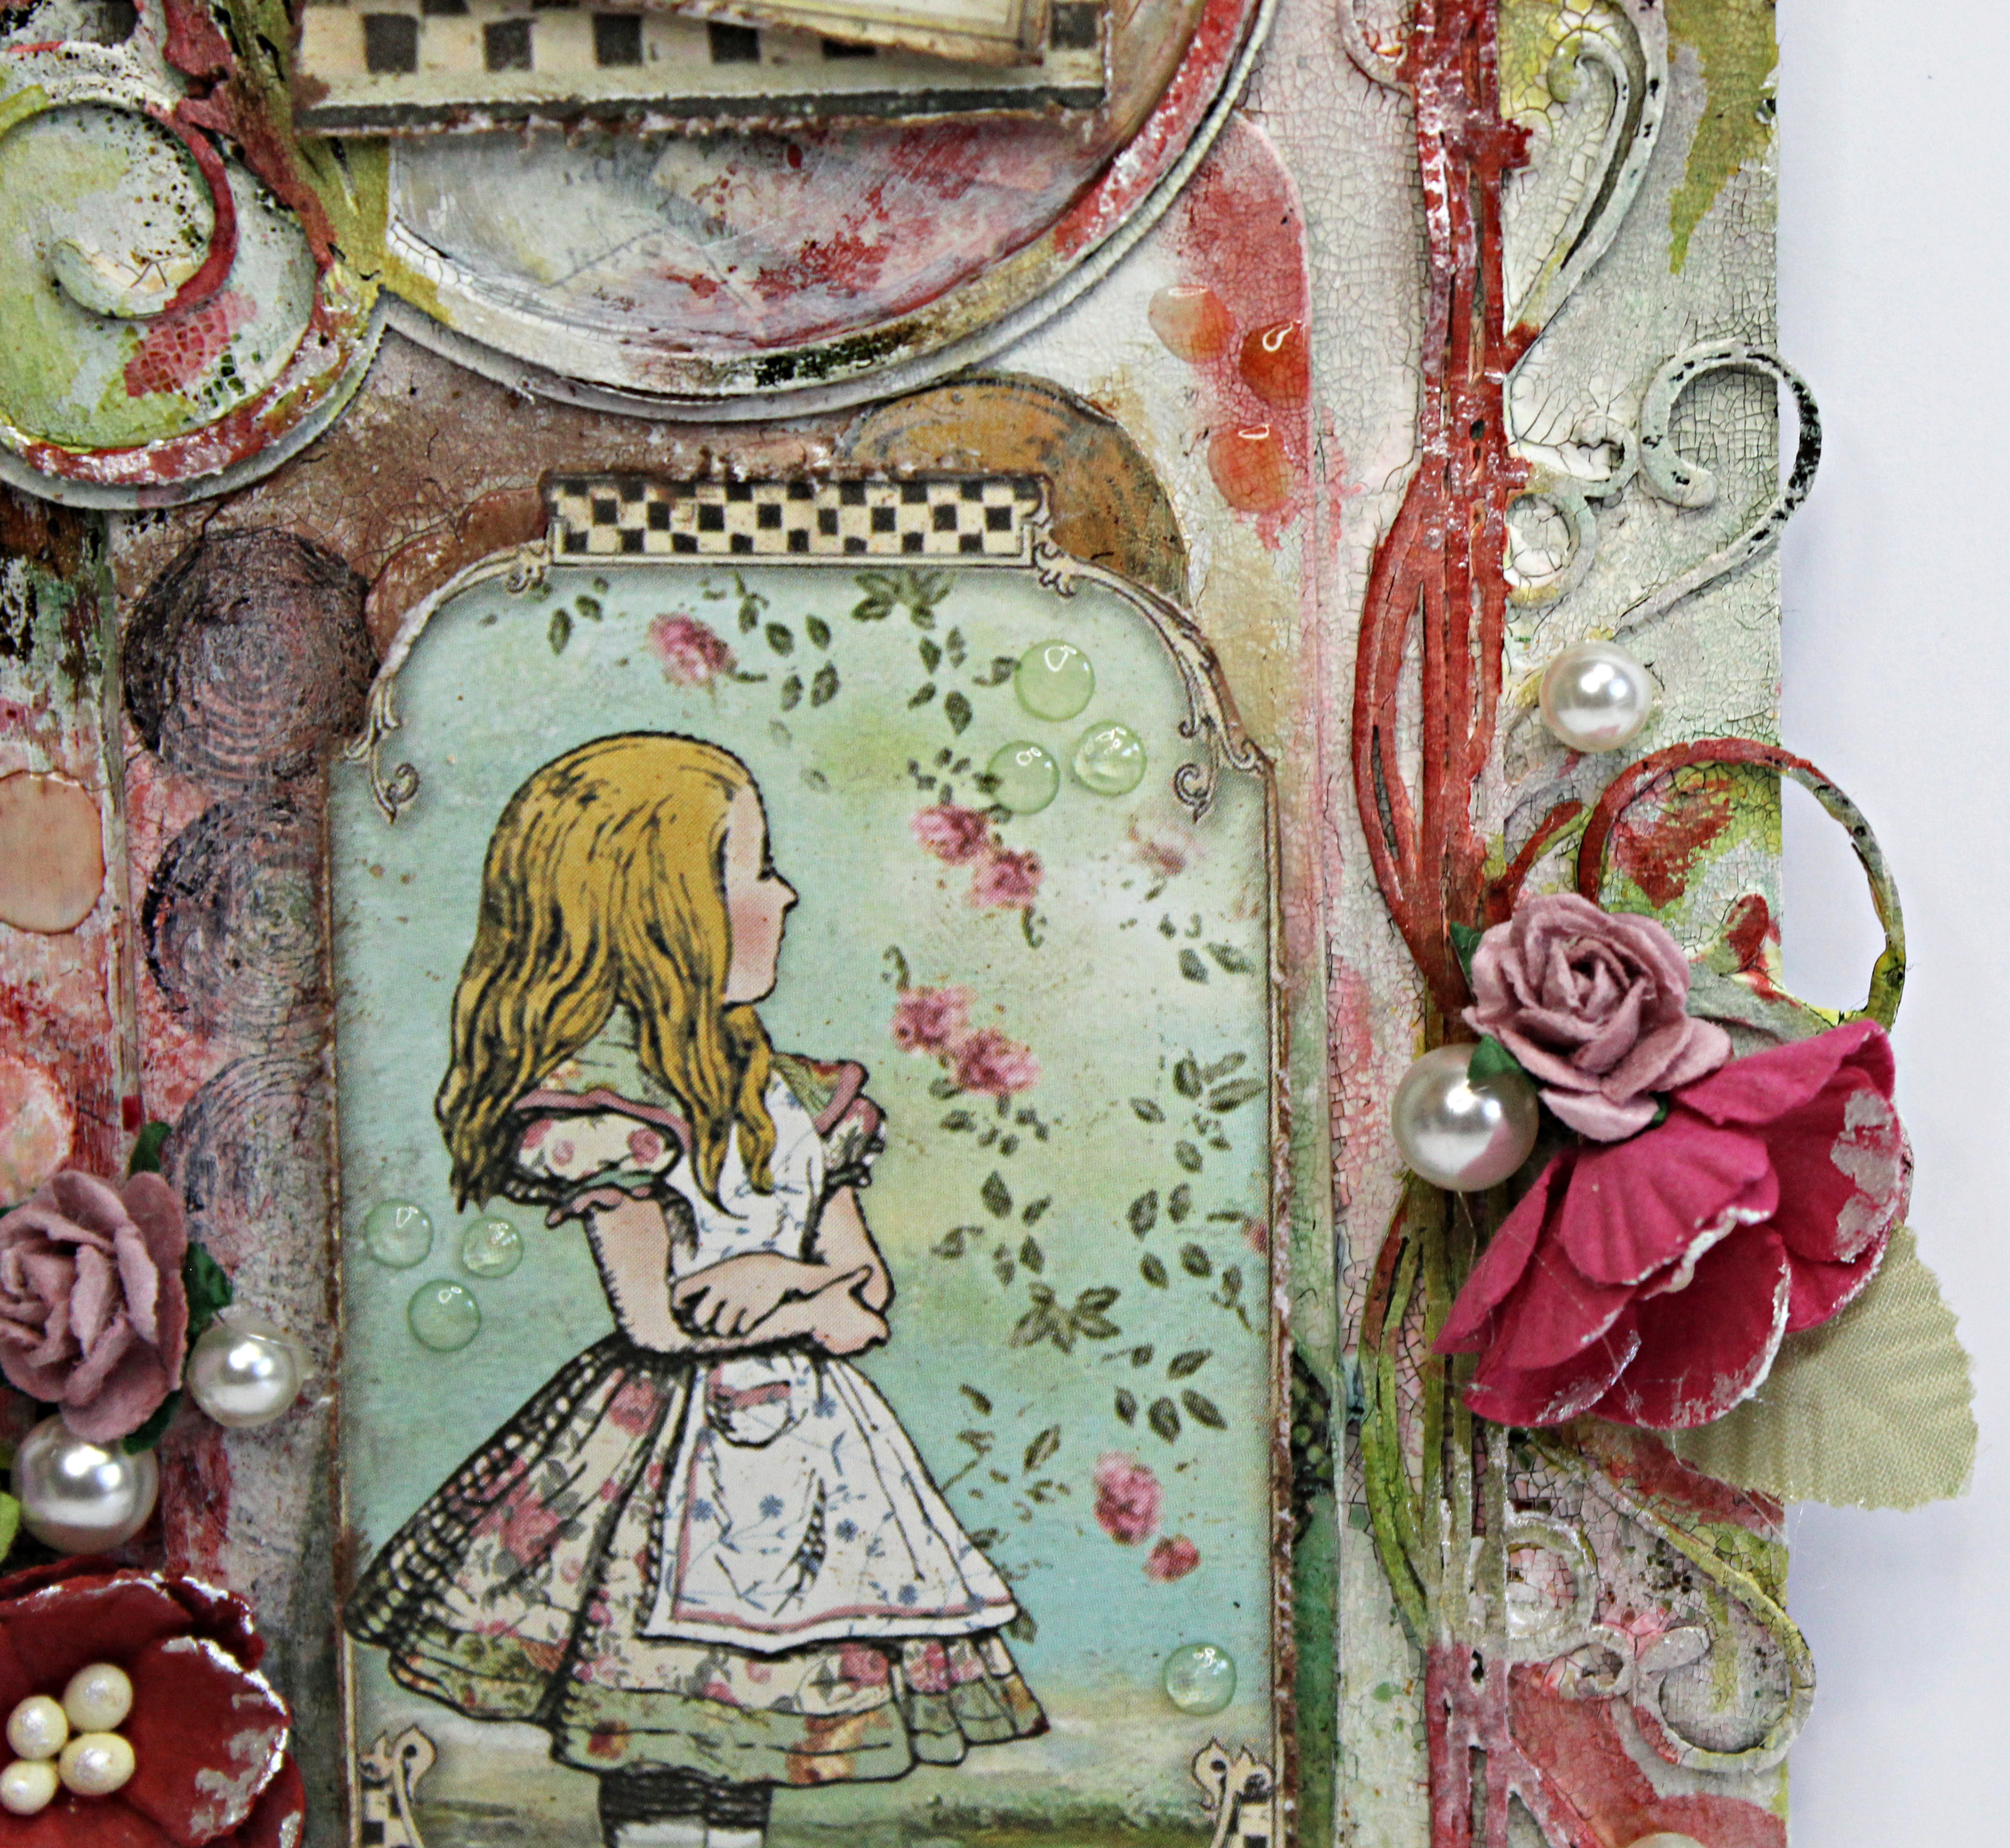

Add a few flowers on each side of tag. 


Add bow and mini pearl pieces to tag. 


Add key to tag; apply White Frost Metallic Lustre lightly to bits and pieces of tag. 


Add glossy accent dots here and there to tag; dry. 


I hope you are inspired to get lost in your "WONDERLAND" of creating! 
Enjoy Pam

Supplies
Gypsy Soul Laser Cuts Extra Large Tag, Stagger Small Tags and Victoria Layered Border
Stamperia Through the Looking Glass Pattern Paper
Blank Page Muse Beyond Borders Stamp Set
Wild Whisper Honeycomb Stencil
Deco Art Crackle Paste
Ranger Distress Sprays: Rustic Wilderness, Kitsch Flamingo, Saltwater Taffy, Black Soot, Rusty Hinge
Distress Refills: Barn Door, Vintage Stain, Rustic Wilderness
Ranger Glossy Accent
Ranger Archival Black Ink
Deco Art White Frost Metallic Lustre
Flowers
Metal Stars, 
Pearl Beads
Grey Ribbon

Wednesday, November 30, 2016

St Nicholas Joy Banner with Gypsy Soul Laser Cuts


Wow!!! It is already Nov 30th...can you believe it? Needless to say Christmas is in full swing on my blog, in my studio and home. Today I am sharing with you my St Nicholas  "Joy" Banner using the Holiday BannerSet that will be coming soon to the Gypsy Soul Laser Cuts store, so make sure just to contact Gina if you are needing some.


Begin by tracing mittens on to pattern paper with pencil.


Adhere cut out pieces to  with your favorite Holiday BannerSet adhesive; I use a Xyron Creative Station.


Add Snow Tex to the top of each Christmas Mitten; dry.


Emboss the "Joy" letters from the Holiday BannerSet with embossing powder and VersaMark.


Die cut small doilies from your favorite die cut or contact Gypsy Soul Laser Cuts Store to have some cut for you. Adhere prepared "Joy" letters to the top of the mittens.


Cover three 4" x 6 chipboard with pattern paper. Adhere prepared Christmas Mittens to top of each banner.


Decorate with twine and charms....


and prepared chipboard that comes with the collection or other fabulous chipboard from Gypsy Soul Laser Cuts Store. 


Add twine hangers to each end with a few metal knobs to finish your Joy Christmas Banner off. Thanks so much for stopping by today. I hope you are inspired to create fabulous home decor or gift giving ideas. Hugs Pam


Other Supplies

 photo PB Signature.png

Saturday, July 2, 2016

America The Beautiful Card with Gypsy Soul Laser Cuts

 Hi!!! I am on the Gypsy Soul Laser Cut Blog today sharing with you my "America The Beautiful" Card using some fun Star & Flourish Borders and Corners Set.
 Begin by covering your card front with pretty Pride pattern paper from Authentique. 
Add a star border. 
Mat one of the journal blocks from the pattern paper to card stock.
Paint the Star & Flourish Borders and Corners Set and Mixed Media Fragments 2 pieces with Picket Fence and Fire Brick Distress Paint.
 Paint the flourishes on the Star & Flourish Borders and Corners Set with Blueprint Sketch Distress Paint and Gold Rush Metallic Lustre.
 Apply antiquing cream to all pieces, whip off excess.
 Add prepared  to top of card front.
to top of "America the Beautiful" sentiment on paper. 
 Adhere to front of card.
 Add ribbon bows.
 Here is the inside card pocket that was created with pattern paper.
 I hope you have enjoyed my "America the Beautiful" card. 
You still have time to make some Fourth of July projects!!!
Have a blessed Fourth and remember to check out the Gypsy Soul Laser Cuts Store 

Supplies:
 Authentique Pride Pattern Paper
DecoArt Gold Rush Metallic Lustre
DecoArt Raw Umber Antiquing Cream
Distress Paint: Picket Fence, Fired Brick, Blueprint Sketch
Star Border Punch
Blue and Cream Ribbon
Red card stock
Xyron Adhesive
Pop Dots
Paint Brush
5" x 6 1/2" card base

 photo PB Signature.png

Friday, July 31, 2015

Wonderful Life of Paste with Stampendous

It's a "Wonderful Life" today with Stampendous and the design team. We are sharing techniques on how to use Dreamweavers Paste.
I began by first spraying a piece of 4 1/2" x 6" piece of mixed media paper with DecoArt Inc Misters. Allow it to dry completely before stamping.
Stamp the chicken wire stamp from the Stampendous (NKCRS02) Wired Grillager using Black VersaFine Ink (STF082)
Stamp again using the circle from the Stampendous (NKCRS02) Wired Grillager using Black VersaFine Ink (STF082). Using the template from the (NKCRS02) Wired Grillager, Dreamweavers Metallic Gold Embossing Paste and Dreamweaver Palette Knife apply to the top of prepared piece. Allow it to dry to completely, trim, mat on a piece of black card stock. Place on card front that has a 5" x 6 1/2" rust card stock that has been adhered to the front.
Stamp the Stampendous (NKCRS02) Wired Grillager to the a piece of (MPW811) Mixed Media Paper. Tear edges of paper, color with Copic Markers and use distress tool around edges. Adhere to black card stock, distress with distress tool. Place on card front with pop dots.
Using the template from the (NKCRS02) Wired Grillager, Dreamweavers Metallic Gold Embossing Paste and Dreamweaver Palette Knife apply to the top of colored  Stampendous (CRW113) Cling Rooster Element image. Set to one side to dry. 
Taking an old stencil brush...stipple some of the Dreamweaver Metallic Gold Embossing Paste under the Stampendous (CRW113) Cling Rooster Element while wet apply the Stampendous Fragments: (FRC06) Ochre,  (FRC07) Caramel, (FRC14) Hunter. Heat emboss when the embossing paste is dry. Stamp and mat the Stampendous (SSC1213) Life Words and add to the front of the card.
Hope you enjoy my "Wonderful Life" Card using the Dreamweaver Crackle Embossing Paste. I hope you check the paste out and try it for yourself. I would love to see what you create when you use it.
Make sure to check out the Stampendous Design Team today and see some more exciting paste projects.
There is also wonderful videos showing more on how to use the Dreamweaver Crackle Embossing Paste so make sure to check those out also.
Stampendous Tips and Techniques click HERE!!!
Supplies:
(SSH34) Medium Handle
(MPW811) Mixed Media Paper
Copic Markers: Y15, Y19, Y26, Y38, YR12, YR21, R24, R29, R59, R89
DecoArt Inc Misters: Primary Yellow, Yellow Green, Orange, White
Distress Tool
Old Stencil Brush
Stampendous Design Team
I'm so happy to be a Stampendous Design Team Member and help promote their wonderful products. They so generously supply us with so many free goodies like this .... Stamps, Embossing Paste, Ink, Stamp Blocks, Paper that I'm using today.

Friday, June 26, 2015

Daisy, Daisy....with Stampendous

 Hi today is the last day of the "Flower and Fairies" Event with Stampendous.
 I am sharing with you a Daisy, Daisy Canister I made...
I began by first cutting out my die cut pieces, spraying them with DecoArt Media Misters. Allow to dry completely.
Now for the fun....stamp the Cling Daisy Cluster Stamp(RS-W096) to the top of side pieces while they are still laying flat using Tsukeniko Tuxedo Black Ink(MEM01)
Stamp randomly the Industrial Stamp (ASCRS03) using the Tsukeniko Tuxedo Black Ink(MEM01). Form canister once you have your stamping completed.
 Color the Cling Daisy Cluster(RS-W096)  image in using Tombow Markers.
Add a pretty metal frame or....
A bit of metal. Don't forget to stamp a couple of the butterflies from the Cling Daisy Cluster Stamp (RS-W096) to color and fussy cut out. Place them on your canister to give more dimension.
I added a metal flower to the top but can use anything to finish your project. 
I sure hope you enjoyed my Daisy, Daisy Canister.
 Make sure to heck out the rest of the inspiration from the Stampendous Design Team.
 Hugs Pammejo
Supplies:
Stampendous Mixed Media Paper

Other Supplies:
Eileen Hull/Sizzix Canister Die
TomBow Markers:#025, #173, #245,  #606, #665, #743, #755, #837, #885. #985
DecoArt Media Misters: Primary Yellow, Turquoise, Primary Yellow, White
Glossy Accent

I'm so happy to be a Stampendous Design Team Member and help promote their wonderful products. They so generously supply us with so many free goodies like this .... Stamps, Embossing Powder, Ink, Stamp Blocks, Paper that I'm using today.
Challenges Entered: