Monday, September 23, 2024

12 Days of Christmas - Joy Home Decor


Joy to the World as we continue our celebration with the 12 Days of Sizzix!!!

I created a fun and easy "JOY" Home Decor piece using Eileen Hull's Sunflower Die along with Corkboard Surfacez Paper from Sizzix


I began my home decor piece by running a 7 x 7 piece of white card stock through Xyron Creative Station using Xyron Permanent Adhesive. 


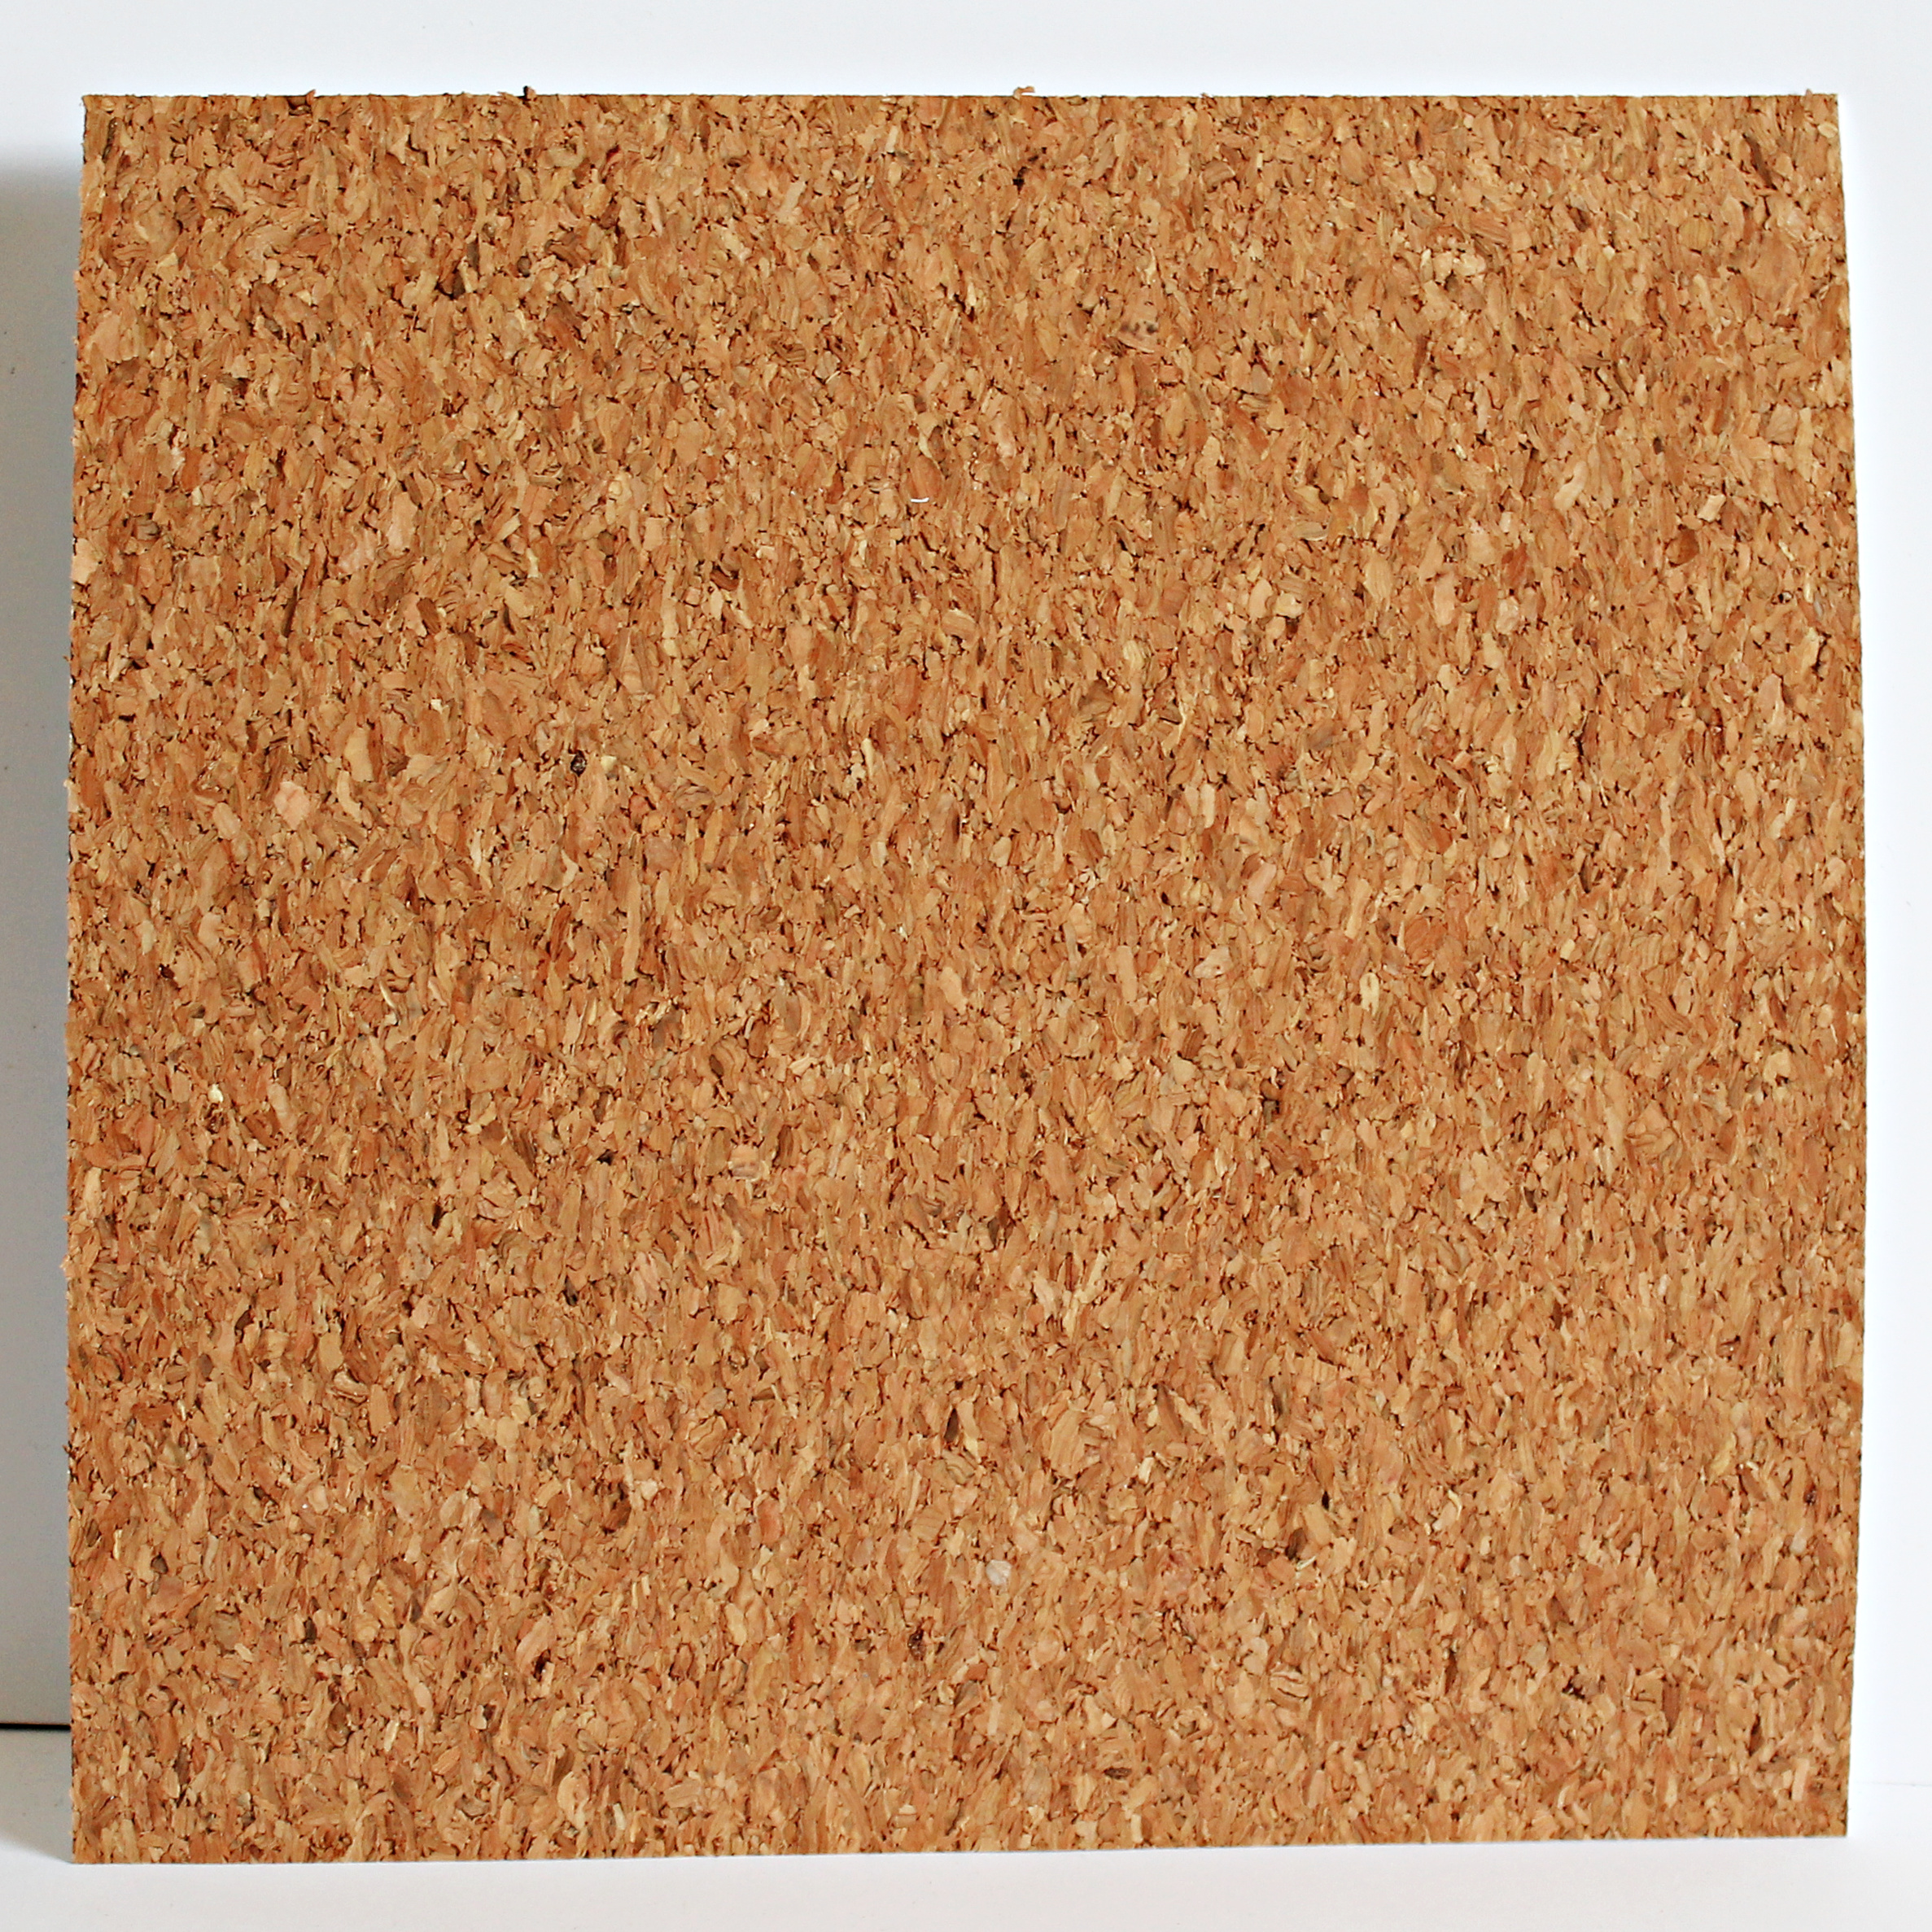
Adhere a piece of Sizzix Cork Roll Surfacez Paper to fit on top.


Lay The Crafters Workshop Art Splatters TCW1043 Stencil, apply white gesso to top with stencil brush. 


Add prepared cork paper to frame. 


Create a Christmas bow using May Arts Christmas Ribbon, add to bottom of frame using Xyron Mini Glue Gun. 


To create poinsettias....


(I die cut 3 sets using the Sunflower Die.)


Adhere flowers together using Xyron Mini Glue Gun. 


Create banner using the small triangles from the Geometric Box XL DieMaking Essential Matboard, and Cork Roll Surfacez Paper #663892 along with Bronze Anther Embossing Powder. Add to top of frame with Xyron Mini Glue Gun. Add sticker letters and border to top of banner. 


Add small chipboard natural snowflakes randomly to frame and on banner. 


Add prepared poinsettias to frame.


Add berries, pinecones, small gnome and leavers cut from green card stock around flowers. 


I hope you are inspired to create a few home decor gifts. 
Remember that Eileen's Sunflower Bigz L Die is so versatile that you can create a variety of unique flowers in different colors using different medias for your projects. 

Tuesday, September 17, 2024

12 Days of Sizzix Warm Wishes Treasure Box

Warm Wishes and Holiday Cheer as the 12 Day of Sizzix is celebrating our favorite time of the year!
I created a Treasure Christmas Box using the Slotted Treat Box XL Die!!!
So many possibilities... fill is like I with cards, tags and ATC's or place a favorite ornament inside for a gift, bake holiday treats, or maybe a recipe box!!! Like I said so many possibilities!!!
Best of ALL....you can use it all year round!!! 
Isn't that EXCITING!!!


I created and decorated Winter Wishes Treasure Box using Simple Stories Vintage Christmas Lodge Collection along with all those fabulous die cuts that Eileen creates. 


Remember to layer all your bits and pieces to create depth to your projects.
I always think more is more, lol.


Don't forget to decorate the inside of your Winter Wishes Treasure Box! 


Add a fun latch and hinges to the top to create a unique enclosure. 


Add some fabulous Library Journal Cards with ATCs or sneak in a surprise gift card or two! 


Create Envelopes with matching cards and seals, they will make a great addition to your Treasure Box. 


Create tags to add to your treasure box using elements from Eileen's Dies. 


Fill it full or leave room for additional items like a fun journal!
Enjoy Pam

Supplies:

Thursday, September 12, 2024

Hello December Advent Calendar


Hello December!!! 
Advent Calendar!!!
Are you enjoying the 12 Days of Sizzix! 
So full of inspiration so you don't want to miss any of the Days!
September 9 through September 24th!
I hope you enjoy my Hello December Advent Calendar using


Begin by cutting 4 of the Field Notes and Specimen from chipboard, cover with red card stock. 
Lay two prepared pieces upside down add a piece of white card stock to back to hold them in place. 
Sand edges with sand block. 
Die cut two of binds using Full Size Journal bind. Cover with red card stock. Adhere prepared back to prepared side pieces to form advent box. 
(HINT: Add small brads to Advent box before decorating inside. This should be done prior to decorating outside of Advent Box)


Cut 24 small envelopes using Envelope Folder and Flowers Thinlit Die.
Form envelopes. 


Punch border strips from pattern paper; add to each side of bind. 
Add 5 prepared envelopes to inside left part of Advent Box. 


Apply rub on to inside of Advent Box. 


Decorate with Ephemera inside. 
Add small strip of pattern paper to inside of bind to create a uniform look. 


Continue adding prepared envelopes, ephemera and rubons on the back and right cover. 


Trim numbers ticket to size; add to top of envelope. 
Make sure to leave room for invisible Velcro pieces. 


Add Velcro pieces to each envelope to create an easy way to open each envelope. 
Fill each gift card with special Bible verses, small gift items, candy etc. 


Use a large Ephemera piece for Day 25. 
Add to right inside cover with pop dots. 


Add tag to inside of Ephemera piece. 
Great place to add a hidden gift card. 


Adhere pattern paper to outside covers. 


Use label for enclosure. 
Add a holiday rub-on to inside part of label. 
Adhere doily ephemera to cover before adding prepared label.  


(HINT: Add small brads to Advent box before decorating inside. This should be done prior to decorating outside of Advent Box)
Add Ephemera to front of box. 


Die cut flowers using Sunflower Die; layer together. 
Add to front of Advent Box. 
Die cut and add leaves from Festive Gatherings
Add small metals to inside of flowers. 
Add bow. 


This is a super easy Advent Calendar and hope you give it a try this Advent Season. 
Enjoy Pam

Supplies:
Sizzix Mixed Media Christmas #661602
Natural Twine and Jute
Metals
3/4 and 1/2 Circle Punch
Diamond Lace Border Punch
Invisible Velcro

Tuesday, September 3, 2024

The Garden is My Happy Place Storage Drawers

  Happy September!!!

Eileen's Teams will be sharing all month long how to create projects using the Storage Boxes!

I love storage ideas...so I am going to share my Garden is My Happy Place Drawers! 

💓💓💓💓💓💓💓💓💓💓

Begin by die cutting and forming 2 stacking drawers; adhere together side by side.

 Wrap a pattern paper strip around top and sides or joined drawers, this will help keep them together and stabilize them. 

 Repeat with twine Ribbon to prepared drawers.

Die cut lid to Treasure Box Die; form and adhere paper patter strips to all sides. 

Adhere prepared drawers to top of lid to form stand. 


 Using Eileen's Jewel Loom weave embroidery thread through loom to form strip,

This will. create a crochet band to place on top of storage drawers. 


Add metal ends and crochet flowers with brads to top of prepared crochet band

(I crochet flowers years ago, but you can also premade flowers or get free crochet flower directions online.)

Add die cut leaves from the Painterly Bloom and Background Die; add leaves around flowers. 

Add prepared crochet band to top of stacking drawers. 

Add metal handle and small floral beads. 

Add natural jute to edges on base to give a finished look. 

Add small metal beads to front of drawers.

Enjoy Creating Storage all year long with Eileen's fabulous stacking drawers!

Pam

Supplies

Eileen Hull Designs Jewel Loom Kit

Eileen Hull Designs/Sizzix Stacking Box Die #663633

Eileen Hull Designs/Sizzix Treasure Box Die #663634

Eileen Hull Designs/Sizzix Painterly Bloom and Background Die #666689

Xyron Mega Runner with Permanent Adhesive

Pop Dots

Graphic 45 Grow With Love Collection

Embroidery Floss

Metal Handle

Small Metal Beads

Colorful Brads

Crochet Flowers

Twine Ribbon

Natural Twine

Eileen Hull's Blog

DISCLAIMERS
This blog is compensated to provide opinion on products, services, websites, and various other topics. Even though the owner(s) of this blog receives compensation for our posts or advertisements. I always give my honest opinions, findings, beliefs, or experiences on those topics or products. The views and opinions expressed on this blog are purely my own. Any product claim, statistic, quote or other representation about a product or service should be verified with each manufacturer, provider, or party in question/This blog contains affiliate links, clicking and shopping through these links helps to support and run Pam Bray Designs - Scrapbook Flair Blog at no additional cost to you. Today's features are Eileen Hull Designs and Sizzix.