Showing posts with label 49 and Market. Show all posts

Thursday, September 4, 2025

Always Believe in Your Dreams Playing Card


ALWAYS BELIEVE IN YOUR DREAMS PLAYING CARD

The challenge was to use YOUR FAVORITE TWO COLORS! 
Who doesn't love to see purple and teal together!
".  49 and Market Collection are just the perfect melody when creating playing cards! 
All the pieces match so nicely; quick and easy to craft when you just have a few minutes. 
Always remember to add a bit of metal, thread, layers, etc. to give that added dimension! 

Monday, August 4, 2025

You Got This Playing Card


YOU GOT THIS PLAYING CARD

You Got This and what fun it is creating with playing cards.
I used layers of 49 and Market designer papers along with "MY" Wedding Day Bliss Collection with Emerald Creek Crafts
 

Enjoy Pam
This card color is based around the color VINTAGE WITH BROWN SPLATTERS!

Thursday, June 19, 2025

This Day Playing Card

THIS DAY PLAYING CARD
This Day Playing Card created with a playing card using layers of 49 and Market designer papers and ephemera along with staples. 
Don't forget the splatters!
Add a bit of thread along with black inking! 

Enjoy Pam

This card color is based around the color TURQUOISE AND STAPLES!

Thursday, June 12, 2025

Captured Playing Card


CAPTURED PLAYING CARD

Capture your best life when you are creating on playing cards.
Small canvas to create amazing ideas on. 
 Using layers of 49 and Market Gardenia Designer Papers and Ephemera makes it so easy. 
Always remember to splatters!
Add a bit of metal to give added interest along with a few rub-on details! 

Enjoy Pam

This card color is based around Crazy Colors and Black Marks!

Thursday, May 22, 2025

Better Together Playing card


BETTER TOGETHER PLAYING CARD
Better Together when using 49 and Market products,
Lay a small stencil pattern on card front; add texture paste. Dry.
Ink edges with black ink, splatter with red paint.  
Add a small doily piece and tab to the outside of the card.
Add a pop of color using a red flower and green leaf.
Place small metal to give added interest

Enjoy Pam
This card color is based around the color BLACK AND WHITE WITH TEXTURE PASTE AND A SPLASH OF COLOR. 

Tuesday, May 20, 2025

One of My Favorite Storage Box with Eileen Hull Creative Team


ONE OF MY FAVORITE things is to create STORAGE!!!
Using the Handbound Journal Die you can do just that!
The below video will walk you through the process but it all starts with cutting two of Handbound Journal covers and binds to build a box. 


Once the Storage Box is covered with Wonderlust Explorer paper it is time to decorate. 


Add natural jute around edges of prepared storage box to create a finish look. 
Die cut one of the Rainbow Wheel Die from pattern paper; adhere together. 
Add to front of storage box. 


Decorate the front of storage box using Ephemera from the Wonderlust Explorer Collection. 
Die cut and add arrows from the Rainbow Wheel Die to storage box. 


Add small flowers, gold twine and white thread to storage box. 


Finish with labels from the Journal Hardware Die to sides of storage box along with Ephemera. 
Enjoy creating storage using your favorite Eileen Hull dies. 
Pam

Supplies:


DISCLAIMERS
This blog is compensated to provide opinion on products, services, websites, and various other topics. Even though the owner(s) of this blog receives compensation for our posts or advertisements. I always give my honest opinions, findings, beliefs, or experiences on those topics or products. The views and opinions expressed on this blog are purely my own. Any product claim, statistic, quote or other representation about a product or service should be verified with each manufacturer, provider, or party in question/This blog contains affiliate links, clicking and shopping through these links helps to support and run Pam Bray Designs - Scrapbook Flair Blog at no additional cost to you. Today's features are Eileen Hull Designs Products with Sizzix 

Thursday, May 15, 2025

You Have My Heart Playing Card

YOU HAVE MY HEART PLAYING CARD

You have my heart 49 and Market,
I love your papers and ephemera!!!
Makes creating fun and easy cards so nice!
You Have My Heart Playing Card I went outside the card by going over the edges, added a digital element to place behind a frame.
Add a die cut flower and leaves. 
Always remember to add splatters and a bit of metal to give added interest! 

Enjoy Pam
This card color is based around the color PINK

Thursday, May 8, 2025

Treasure Every Moment Playing Card

TREASURE EVERY MOMENT PLAYING CARD

Treasure Every Moment creating fun playing cards using layers of 49 and Market designer papers and ephemera. 
Don't forget the splatters!
Add a bit of metal to give added interest! 

Enjoy Pam
This card color is based around the color DARK PURPLE

Thursday, April 24, 2025

Happy Playing Card

HAPPY PLAYING CARD

Creating HAPPY playing cards each week is just to much fun! 
It allows me to using scraps of 49 and Market designer papers and ephemera that I have laying around along with it just gives me a minute or two to relax
I hope you grab a deck of cards and just start creating. 
Enjoy Pam


This card color is based around the color DARK BLUE.
I am posting a playing card each Thursday in case you missed any.


Thursday, April 17, 2025

Flower Garden Playing Card

FLOWER GARDEN PLAYING CARD

Create a Flower Garden playing cardusing layers of 49 and Market designer papers and ephemera. 
Don't forget the splatters!
Tuck in a bit of sewing thread to give added interest! 
Add a small metal hanger to the top!

Enjoy Pam
This card color is based around the color LIGHT BLUE!

Thursday, April 10, 2025

Celebrate Today Playing Card


CELEBRATE TODAY PLAYING CARD

Create Family Memories with fun playing cards using layers of 49 and Market designer papers and ephemera. 
Don't forget the splatters!
Add a doily and border scallop to give added interest! 
Don't forget the metal bug, lol!

Enjoy Pam

This card color is based around the color DARK GREEN


Thursday, April 3, 2025

Live Your Best Life Playing Card

LIVE YOUR BEST LIFE PLAYING CARD

Live Your Best Life with fun playing cards using layers of 49 and Market designer papers and ephemera. 
Don't forget the splatters!
Add a bit of metal to give added interest along with a few rub-on details! 

Enjoy Pam

This card color is based around the color LIGHT GREEN!

Thursday, March 13, 2025

Good Times Playing Card


Recently a friend invited me to join a group called Full Deck Challenge Group
It is a group that takes ordinary playing cards and creates extortionary cards. 
This is fabulous, creative group. 
I am so happy that I found it! 

Shanouki Art is the fabulous host of the group! 
This is the 3rd year for the 52-card challenge! 
Each week on Thursday Shanouki Art uploads a video sharing that weeks challenge and the prompts for the following week. 
There are albums available for each week to add your beautiful cards to!

So each Thursday I will be sharing one of my finished playing cards. 
This is WEEK 1 and the color is RED! 
I will be using 49 and Market products on all my cards!
Enjoy Pam

Friday, October 18, 2024

Cherish the Day Ghouloween Layout

Cherish the Moment while creating your favorite Halloween scrapbook layouts with Emerald Creek Craft Supplies Ghouloween Collection!


REMEMBER....
There are 2 full 12 x 12 sheets of fabulous Ghouloween Ephemera to fussy cut that is available in the Ghouloween Paper pack!


Adding wonderful rub-ons adds interest and dimension to your layouts.
Enjoy creating scrapbook layouts all year long. 

Supplies:


Thursday, November 16, 2023

Comfort and Joy Advent Calendar with Eileen Hull Designs


Comfort and Joy!!!
Advent Calendar!!!
It is never too early to start planning special projects and activities for advent! 
I hope you enjoy this year Advent Calendar that I created using. Eileen Hull Designs Field Notes and SpecimenEnvelope Folder and Flowers Thinlit Dies and Sunflower Die #666045 using 

Begin by cutting 4 of the Field Notes and Specimen from chipboard, cover with red card stock. 
Lay two prepared pieces upside down add a piece of white card stock to back to hold them in place. 
Sand edges with sand block. 
Die cut two of binds using Full Size Journal bind. Cover with red card stock. Adhere prepared back to prepared side pieces to form advent box. 
(HINT: Add small brads to Advent box before decorating inside. This should be done prior to decorating outside of Advent Box)


Cut 24 small envelopes using Envelope Folder and Flowers Thinlit Die.
Form envelopes. 


Punch border strips from pattern paper; add to each side of bind. 
Add 5 prepared envelopes to inside left part of Advent Box. 


Apply rub on to inside of Advent Box. 


Decorate with Ephemera inside. 
Add small strip of pattern paper to inside of bind to create a uniform look. 


Continue adding prepared envelopes, ephemera and rubons on the back and right cover. 


Trim numbers ticket to size; add to top of envelope. 
Make sure to leave room for invisible Velcro pieces. 


Add Velcro pieces to each envelope to create an easy way to open each envelope. 
Fill each gift card with special Bible verses, small gift items, candy etc. 


Use a large Ephemera piece for Day 25. 
Add to right inside cover with pop dots. 


Add tag to inside of Ephemera piece. 
Great place to add a hidden gift card. 


Adhere pattern paper to outside covers. 


Use label for enclosure. 
Add a holiday rub-on to inside part of label. 
Adhere doily ephemera to cover before adding prepared label.  


(HINT: Add small brads to Advent box before decorating inside. This should be done prior to decorating outside of Advent Box)
Add Ephemera to front of box. 


Die cut flowers using Sunflower Die; layer together. 
Add to front of Advent Box. 
Die cut and add leaves from Festive Gatherings
Add small metals to inside of flowers. 
Add bow. 


This is a super easy Advent Calendar and hope you give it a try this Advent Season. 
Enjoy Pam

Supplies:
Sizzix Mixed Media Christmas #661602
Natural Twine and Jute
Metals
3/4 and 1/2 Circle Punch
Diamond Lace Border Punch
Invisible Velcro


 2023 Comfort and Joy 

The team has been creating fun projects all month long! I hope you have enjoyed following along with projects being shared in Eileen's Fan Club or on her blog. (Link below)
There were recipes for baked goods, journals, banners, tags, cards, home decor, gift wrap and gifts to give and sell. We hope that you enjoy this event and look forward to seeing what we all create this holiday season! Please join us over at Eileen's Fan Club!!!!

DISCLAIMERS
This blog is compensated to provide opinion on products, services, websites, and various other topics. Even though the owner(s) of this blog receives compensation for our posts or advertisements. I always give my honest opinions, findings, beliefs, or experiences on those topics or products. The views and opinions expressed on this blog are purely my own. Any product claim, statistic, quote or other representation about a product or service should be verified with each manufacturer, provider, or party in question/This blog contains affiliate links, clicking and shopping through these links helps to support and run Pam Bray Designs - Scrapbook Flair Blog at no additional cost to you. Today's features are Eileen Hull Designs and Sizzix. 


Tuesday, May 17, 2022

Baby Nursery Layout with Bo Bunny Willow and Sage Collection


Springtime!!!
New beginnings including many baby nursery's that are being designed!
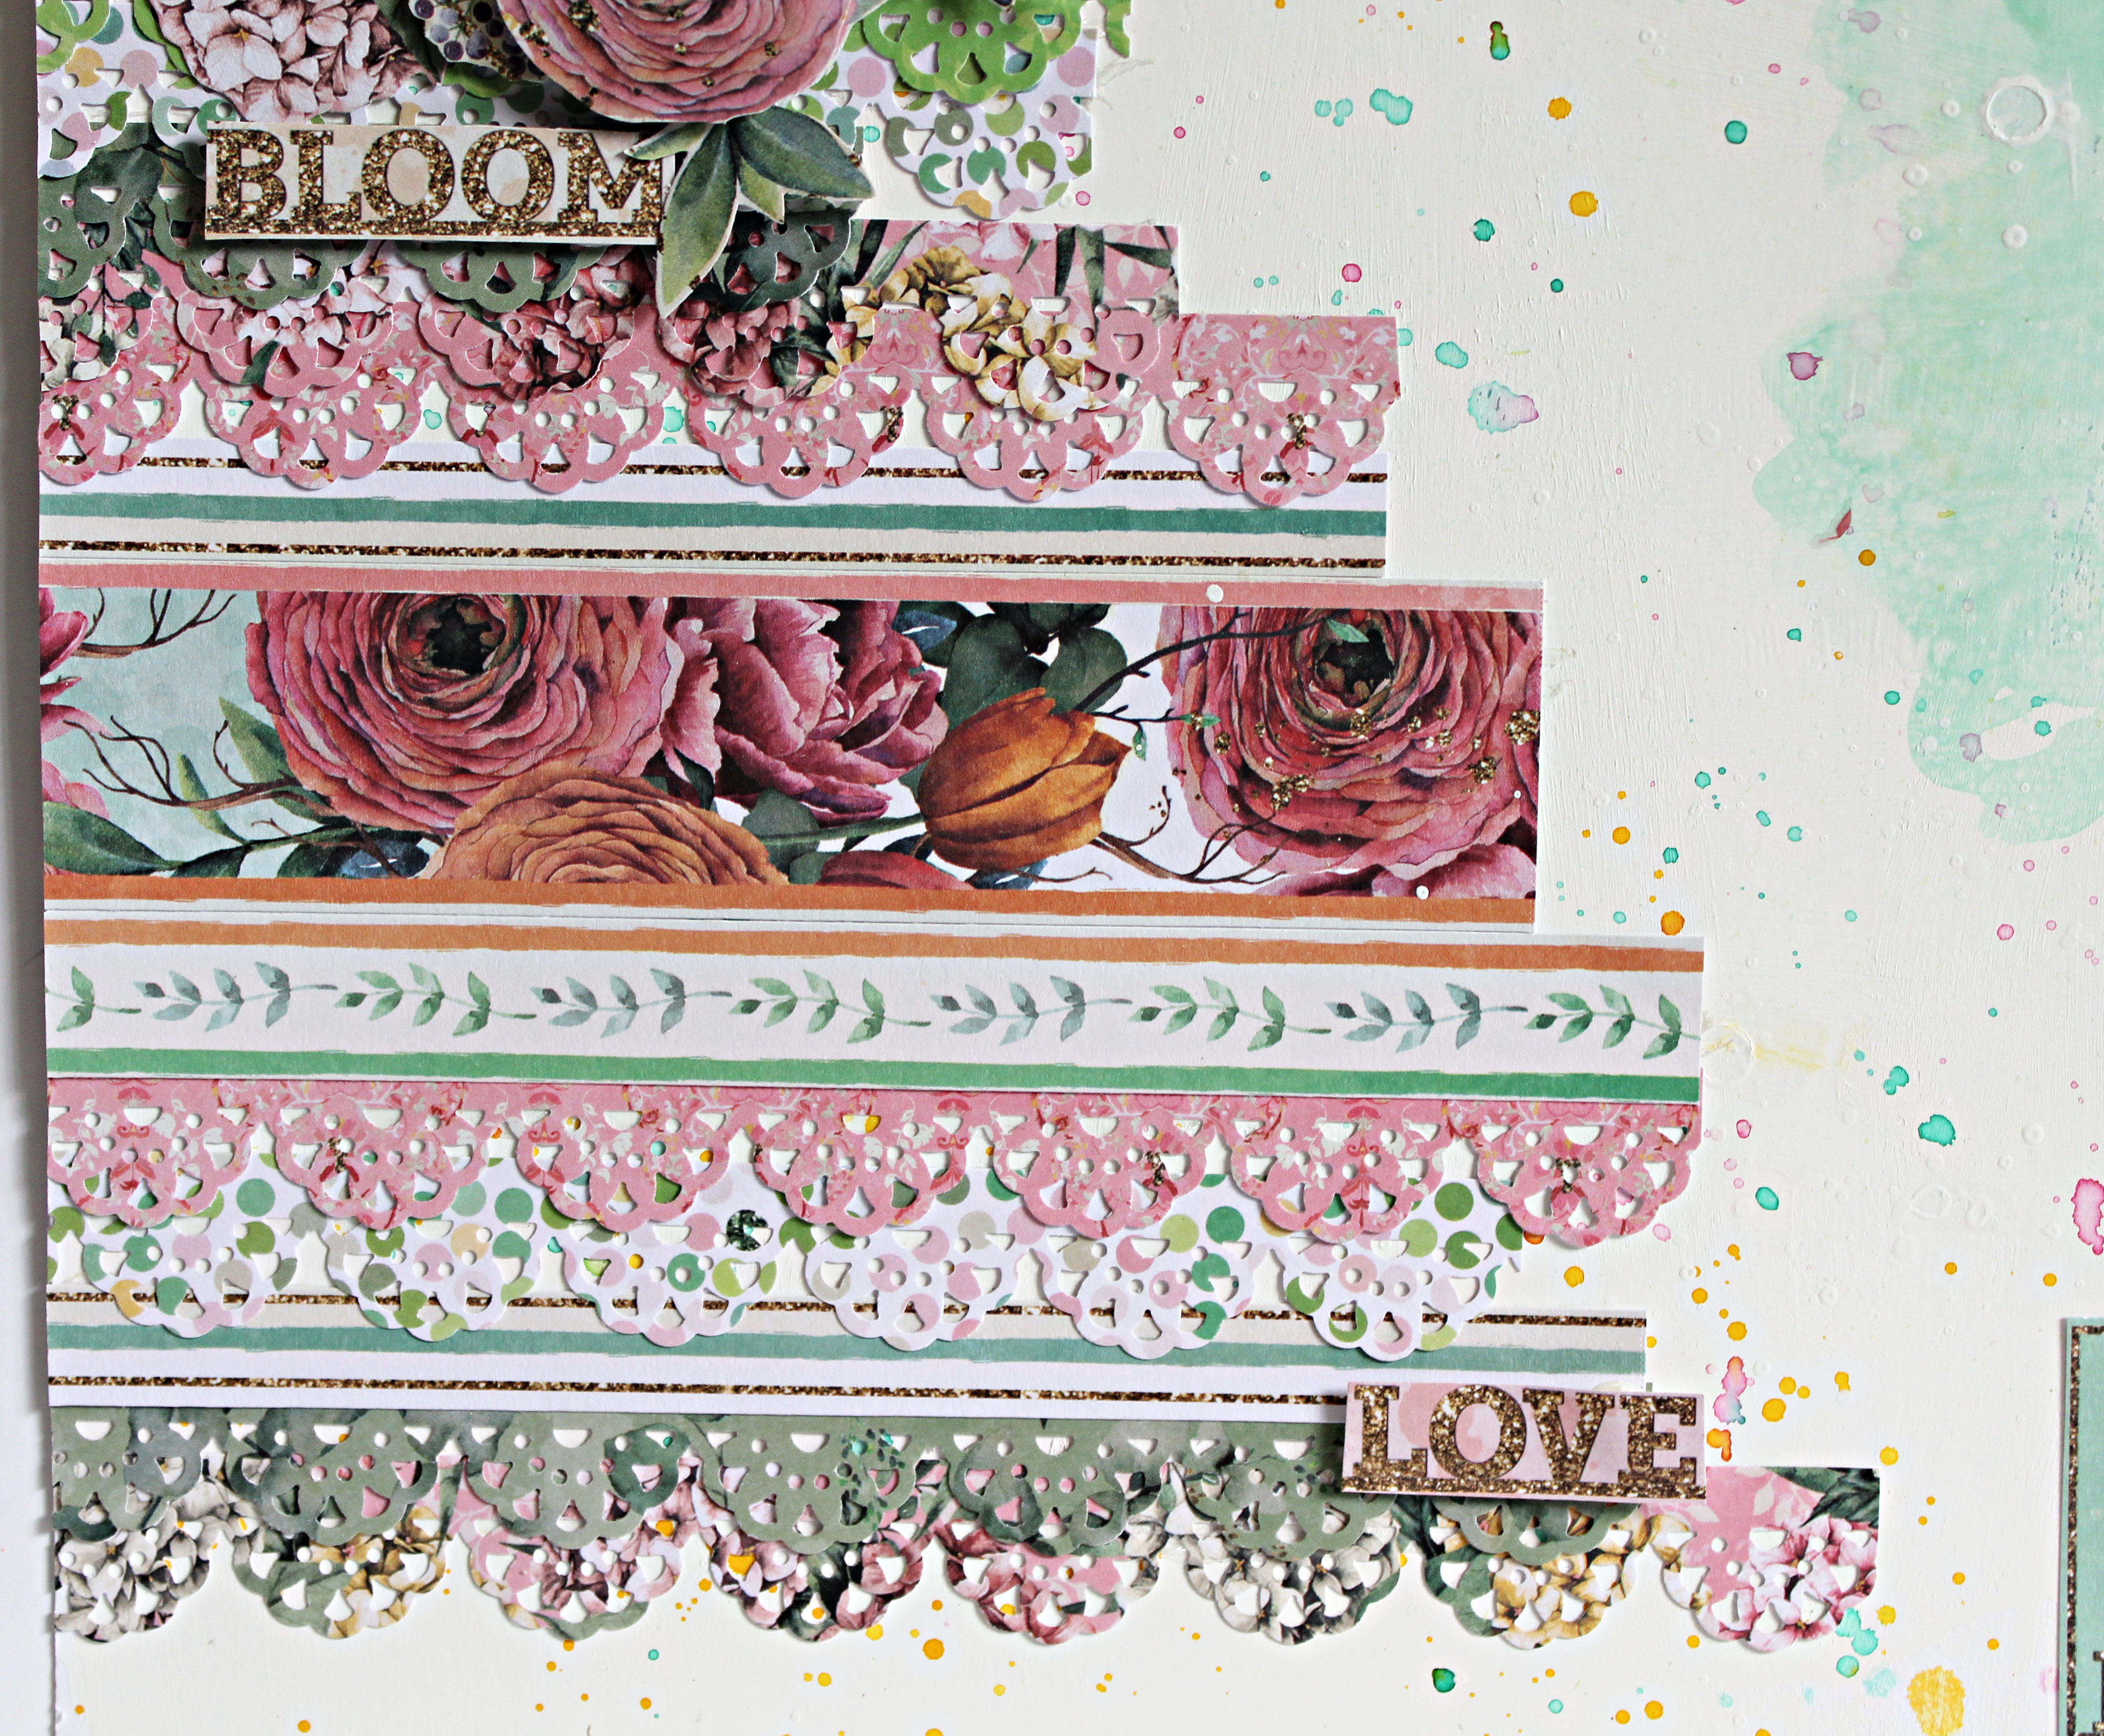
I am sharing a mix media baby nursery layout using BoBunny Willow and Sage Collection; I hope you enjoy.
Begin your layout using a piece of white cardstock. 
Apply White Gesso on top; this helps move the watercolors around on the page. 
(HINT: Tape the white paper to table using washi tape; this will help it from warping. I also use Super Stock Paper from Creative Scrapbooking.)


Apply Prima Confections Watercolor paints to prepared paper; dry. 


Fussy cut floral images from BoBunny Willow and Sage Collection.
Add to layout with pop dots and adhesive. 


Paper punch border strips; add them to your layout in different lengths using Xyron 1.5" Sticker Maker. 


Add a few more of the border strips along with an Ephemera piece to the layout. 


Apply nursery photos on distress color card stock and tissue paper. 
Add to prepared layout using Xyron Mega Runner. 


Die cut two sets of alphabet letters from pattern paper; layer together using Xyron 1.5" Sticker Maker to create a shade affect. 
Add to prepared letters to layout. 


Spatter with Prima Confections Watercolor paints. 
Apply rub ons to prepared layout. 


Add a few more ephemera pieces and rub-ons to layout!


Finish by applying rub ons from the 49 & Marketplace Strawberry Lemonade Collection randomly on layout. 
Enjoy creating mixed media layouts! 
Pam

Supplies
Diamond Press Alphabet Dies
Wonderful Words Rub Ons
White Gesso
White Card Stock
White Tissue Paper
Scallop Border Punch
Pop Dots
Ranger Distress Tool