Showing posts with label Bo Bunny. Show all posts

Tuesday, July 12, 2022

Life is Good 8" Chipboard Album with Video


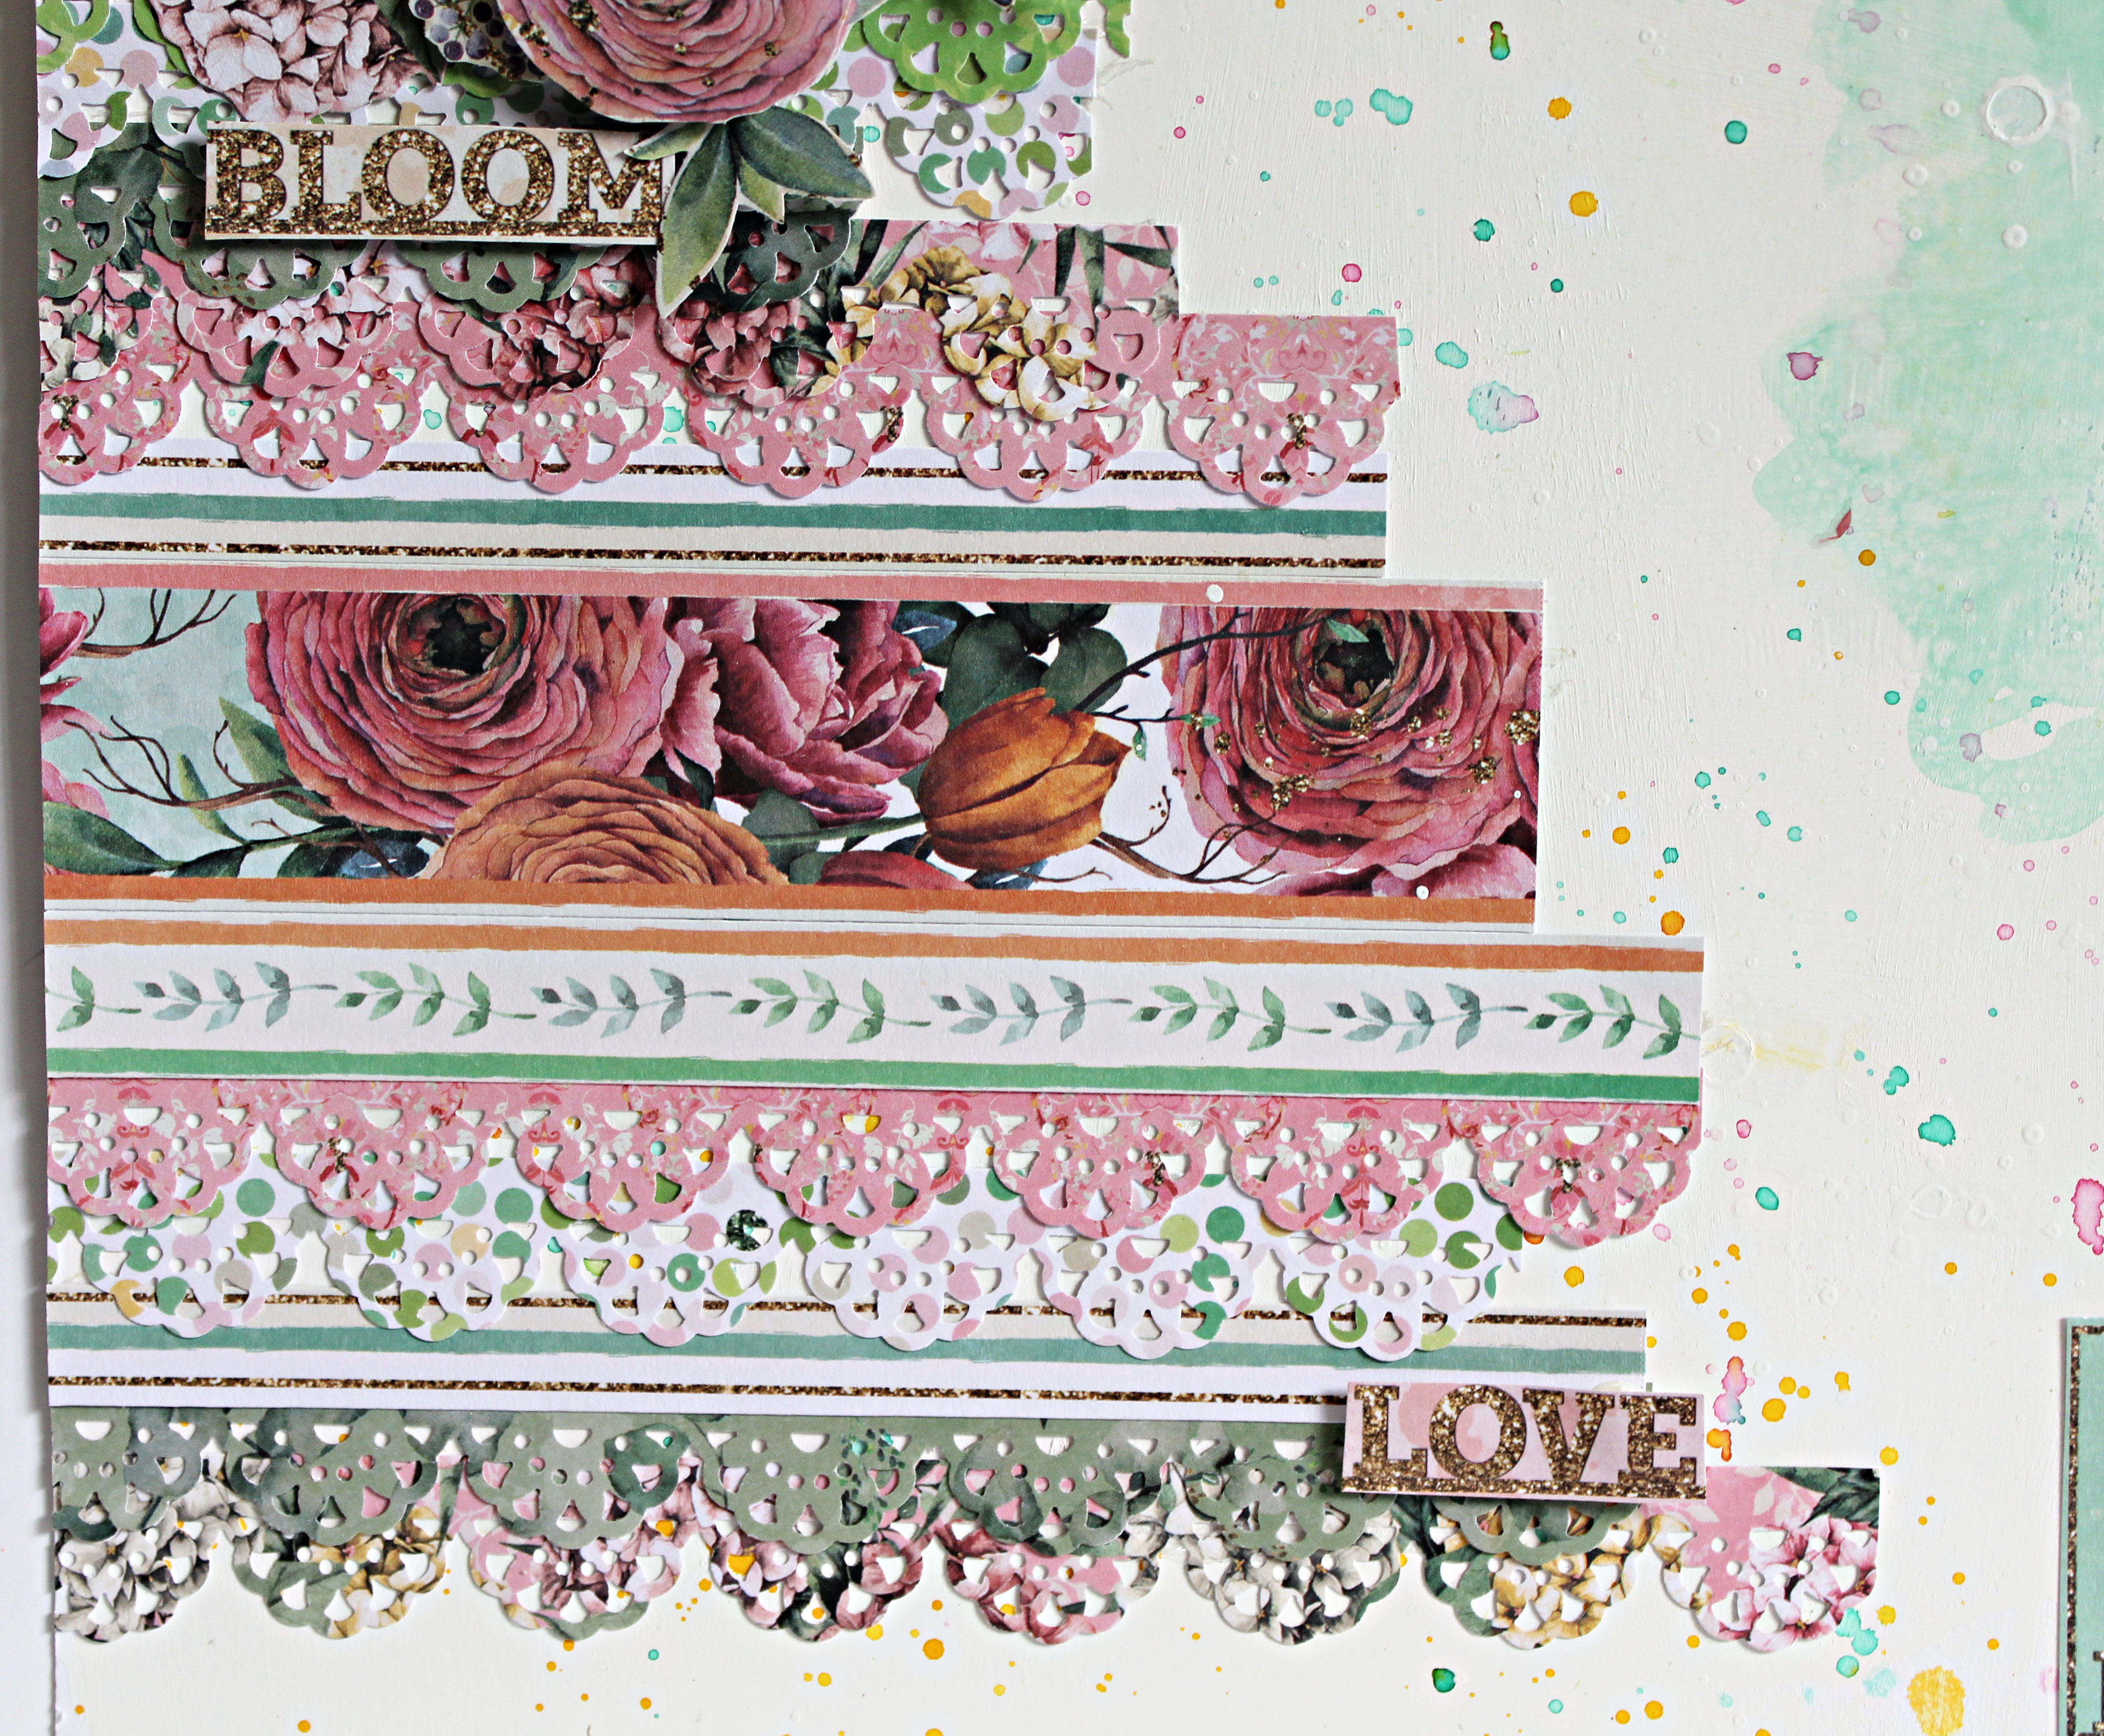
Life is Good 8 x 8 Chipboard Album using Bo Bunny Willow and Sage Collection and inspired by Tiffany Fagnant Higgins! 
Make sure to follow her "Let's Get Scrappy" You Tube Channel. 
Tiffany has a couple tutorials on how to make the chipboard book. 
I hope you like my take on it using Bo Bunny Willow and Sage Collection! 


I created my book because a friend wanted to recreate Tiffany's Simple Stories Boho Baby Album, funny what you will do for family and friends. 
We spent the weekend together working on our albums and doing a stop and go through the tutorial. 
Fun times, lots of laughs along with a few margaritas! 


So Life is Good when you are creating and being inspired by others. 
There are so many pages, flip throughs, tags, etc. I created a video that you can find at the end of my post!!!
I hope you follow my BLOG!


ENJOY ...
DON'T FORGET TO FOLLOW
Pam

Supplies
Bo Bunny Willow and Sage Collection
Chipboard
Xyron Creative Station with Permanent Adhesive
Xyron Mini Glue Gun and Glue Sticks
Flowers and Floral Berries
Small Jar
Natural Twine and Green Ribbon
Pam Bray Designs Dragonflies Charms
Enamel Dots and Gemstones
Rub Ons
Scallop Border Punch


Tuesday, May 17, 2022

Baby Nursery Layout with Bo Bunny Willow and Sage Collection


Springtime!!!
New beginnings including many baby nursery's that are being designed!
I am sharing a mix media baby nursery layout using BoBunny Willow and Sage Collection; I hope you enjoy.
Begin your layout using a piece of white cardstock. 
Apply White Gesso on top; this helps move the watercolors around on the page. 
(HINT: Tape the white paper to table using washi tape; this will help it from warping. I also use Super Stock Paper from Creative Scrapbooking.)


Apply Prima Confections Watercolor paints to prepared paper; dry. 


Fussy cut floral images from BoBunny Willow and Sage Collection.
Add to layout with pop dots and adhesive. 


Paper punch border strips; add them to your layout in different lengths using Xyron 1.5" Sticker Maker. 


Add a few more of the border strips along with an Ephemera piece to the layout. 


Apply nursery photos on distress color card stock and tissue paper. 
Add to prepared layout using Xyron Mega Runner. 


Die cut two sets of alphabet letters from pattern paper; layer together using Xyron 1.5" Sticker Maker to create a shade affect. 
Add to prepared letters to layout. 


Spatter with Prima Confections Watercolor paints. 
Apply rub ons to prepared layout. 


Add a few more ephemera pieces and rub-ons to layout!


Finish by applying rub ons from the 49 & Marketplace Strawberry Lemonade Collection randomly on layout. 
Enjoy creating mixed media layouts! 
Pam

Supplies
Diamond Press Alphabet Dies
Wonderful Words Rub Ons
White Gesso
White Card Stock
White Tissue Paper
Scallop Border Punch
Pop Dots
Ranger Distress Tool

Friday, November 21, 2014

Dimensional Table Top Turkey with Scorepal!!!

 
Wow!!! Hard to believe we are less than a week from Thanksgiving and I just remembered I had made a Tabletop Turkey last year using my Scorepal!!!! So I thought I would share it again with you, plus it fits in with the challenge on the Scorepal Blog for the "More than One Score Challenge #10". I made my turkey by taking an old tole painting book from which I re-purposed the body by enlarging it to create my project. I made large accordion folded paper wings using strips of paper, scoring every 1/4" and accordion folding them. Once folded attached it to a semi circle piece of cardboard this will help  keep it stable. Attached the turkey body to the top of the back wings once inked.  Fussy cut the face parts and hat out from the pattern. Inking all of the pieces with Chestnut Roan Ink from Colorbox.
My pumpkins are several layers of circles that have been punched from 3 1/2 and 3 inch circles, inked and folded in half using your Scorepal. The stem is a strip of paper that has been accordion folded and placed on top of each pumpkin along with some metal flowers. I fussy cut several of the sunflowers, added buttons that have twine tied to the center of them and placed them on my turkey. I hope you enjoy and look around for patterns you may have that you can re-purpose and use your Scorepal with. Hugs Pammejo
Supplies:
Bo Bunny Paper
Tole Painting Pattern
Chestnut Roan Ink
Chipboard

Thursday, July 4, 2013

Bo Bunny Let Freedom Ring Card

Happy Fourth of July!!!! I made my card using the Bo Bunny Liberty paper and I think it turned out pretty cool. We see accordion folds everywhere so I wanted to incorporate one on my card but I only let it expand out part of the way to form a semi circle. I think it really makes the Fireworks sticker pop of the card. I added some of the little stars to the card front, inside and one on the back of my card. Always look for a way to decorate the inside, back and don't forget your envelopes. I hope you have a fabulous Fourth of July!!!! Celebrate Freedom, Family, Friends and Love... Hugs Pammejo

Wednesday, May 22, 2013

Just Saying Hello!!!

Hello, Hello, Hello what a beautiful day it is...I am Just Saying Hello with this fast and fun card I made today using Bo Bunny Prairie Chic paper pad. I stamped my blue paper using the Stampers Anonymous Filigree Stamp and black ink prior to placing it on my Kraft card stock. Once the barn looking piece was added to the bottom I placed my border that I made using EK Plaid Paper Border Punch. I have fell in love with the flowers from Mon Ami Gabby they are the perfect size for card making and have the best prices ever, so I inked a few, added them to the front of my card along with at Epiphany Craft Square Charm and sentiment "Just Saying Hello" from Hero Arts. I hope you send someone a Hello card today. Hugs Pammejo

Supplies:
Bo Bunny Prairie Chic Collection
Hero Arts Just Saying Hello Stamp
Stampers Anonymous Stamp 
Mon Ami Gabby Flowers
EK Plaid Border Punch
Epiphany Crafts Square Punch, Bubble Cap and Charm
Kraft Paper
Black Ink
Blue twine

Tuesday, May 14, 2013

Mojo Monday 293 Sketch Challenge

I decided when I saw the Mojo Monday 293 Card Sketch Challenge that Julee Tilman created I knew I had to do it especially when I received my fabulous Whimsical Stamp Set from Inspired by Stamping today.
Here is the fabulous sketch and you still have plenty of time to play along just make sure to go to Mojo Mondays Blog to get the details on how to link your project up. It is really is easy and so fun to do. 
I love to fussy cut so I used my precision scissors and cut around the oval bird that was on a sheet of the My Minds Eye Handsome paper, placing in on the front of my card base prior to placing my Thank You Sticker from SRM Stickers. I love to mix stamping with stickers, love the effect it gives.
Here is the fabulous Whimsical Banners that I received from Inspired by Stamping, all I can say is that they are awesome. The best part is you get 10 different banners and two different string stamps on the set, how fabulous is that. I used Memento Danube Blue Ink to stamp my images and look how perfectly it matched my papers. Don't you love how they look like they are blowing in the breeze, all you have to do is glue just the top down and use a petal roller to tip the points up. Well, I hope you enjoyed my take on Julee sketch, check out Mojo Mondays blog and make sure to check out other stamp sets over at Inspired by Stamping. Hugs Pammjeo
Supplies:
Inspired by Stamping Whimiscal Banners
SRM Stickers Thank You Sentiment
My Minds Eye Handsome Paper Pad
Bo Bunny Prairie Chic
Marvy 1 1/2" and 2" square punch
Tim Holtz Tiny Attacher
Sheer Ribbon
Chestnut Roan Ink
Memento Ink Danube Blue
Glue Dots
Pop Dots
Adhesive 

Tuesday, April 23, 2013

Sending Smiles with Bo Bunny and Heartfelt Creations

I am sending you a great big "Smile" today....don't you just love the sentiment from Inspired by Stamping. It quickly becoming one of my favorites. The Bo Bunny Prairie Chic is just so me and made the perfect card to go along with the Heartfelt Creations Tattered Collage background sentiment.
I stamped the Tattered Collage a twice on pattern paper, coloring the flower and leaves in with Copic Markers. The first stamped pattern image I placed on a strip piece, corner chomped all of the edges of the card.  I colored in the flowers on the card base and on the second stamp pattern paper that did. On the second stamped image I fussy cut the flowers and leaves out, adhered some to the top of the stamped base piece. I rolled some of the flowers with my petal roller and mat to give my flowers dimension prior to placing them on my card front. I placed the stamped image onto my card base with pop dots after I had tied a twine ribbon around it. Once I had the flowers and leaves on to my card front I put a little Glossy Accent to the center of the flowers.

Supplies:
Bo Bunny Prairie Chic Collection
Heartfelt Creations Tattered Collage
Inspired by Stamping Trendy Circle Sentiment
Glossy Accents
Brown Twine
Brown and Black Ink
We R Memory Keepers Scallop Chomper
Cream and Pink Card Stock

Saturday, February 9, 2013

Valentine Box using the Cameo and Bo Bunny


I made my first project on my Silhouette Cameo a year ago, it is a fun candy box. I just thought it was just to cute and had to reshare it since your are still able to get the image. I used some Bo Bunny Valentine paper that I had. The Valentine image is in the library of the Cameo, what makes it so fabulous is you can make it any size you want it to be, that is as long as it will fit on your paper. (I know I plan to use just the front of it as a card.)

I had to navigate a square on my computer to the front of the bag on the Silhouette Cameo to make a window so you could see into the bag. I placed a piece of acetate inside the bag so my candies would fall out


I added some of the black heart paper from Bo Bunny behind the large heart at the top to give my bag some depth, along with framing out the window and placing paper behind the small hearts at the bottom of the bag. I added some ribbon that I purchased from my local craft store and of course had to add a Epiphany Heart Charm with some black twine to the top of the box. I hope if you have a Cameo that you try the dimensional images from the Silhouette Store or maybe some other SVG files. Hugs Pammejo

Tuesday, December 25, 2012

Dear Santa Layout - December Inspiration


Do you ever look around to see if you can be inspired by something unique, maybe a photo, a card, a picture, etc. Well today inspiration piece was the photo of an old typewriter with a message to Santa that is being shared at Scrapbook News and Review. I actually had my grand daughter Annie sit and write a letter to Santa so I would have it for her scrapbook. I used the Bo Bunny "Noel" and "Truly Believe" Collections for my layout. Don't you think it turned out perfectly, I know I do.
I love to add dimension to my pages, so with my layout I added a few pine leaves and cone that I had picked up in the miniature section of hobby Lobby.
So I hope every one is enjoying Christmas and celebrating this time of year. Love that you stop - by it is so encouraging to know that I touch each of you in an inspiring way. Hugs Pammejo

Monday, November 5, 2012

Pickin My Pumpkin using BoBunny Apple Cider

I made a fabulous layout from the following sketch that is being featured on Scrapbook News and Review today. I am using Bo Bunny Apple Cider Collection, if you haven't figured out by now I am a big fan of paper collections. It is a super way of getting several projects done at once.
Here is the layout that I used just in case you don't have the time to pop in at SNR to grab it, but I know they would love for you to visit and check out all of the projects that are being shared.
I love to distress almost all of my projects, this is what I did to the "Crisp, Days of Fall" Sticker and mat before I placed them on pop dots. There are several different distress tools on the market but my favorite is the Tim Holtz distress tool. I am addicted to making these rosettes, make them and place them on almost everything. :) I have placed the tutorial on my blog at different times but if you haven't seen it you can send me a message and I will share with you how super easy they are to do.
My scallop circle is actually part of a piece of the paper that I fussy cut out and placed in the corner along with some fussy cut pumpkins, stickers and "Pickin" letters that I cut out using Storybook ABC form Quickutz.
Like I said I love using collections so while I was at it I went ahead and made a companion layout. I still have to do my title which will be "at Priddy Pumkin Farm" since this is where my grand-daughter got her pumpkin. I added my mats with placing the two on the right on pop dots along with some of these fabulous pumpkins from Bo Bunny Layered Pumpkin sheet. I hope you have enjoyed my interpretation of the layout sketch and try it out for yourself. Hugs Pammejo

Thursday, September 27, 2012

Teachers Survival Box with Bo Bunny -

Don't you think it would be nice to make  your favorite teacher a Survival Box as a way to say thank you or as a Christmas Gift. You can put anything you want in it, I placed school supplies in mine.
How to Make:
I used my Martha Stewart Scoreboard and made a 4" box with a piece of 12" x 12"  blue card stock. Take your blue card stock and score 4" on all sides, fold and glue to make your box. I decorated mine using Bo Bunny's Learning Curve Paper, embellishments, and twine from the Twinery. 
Here is a closer look at the inside of my box. I hope you try making one and filling it full of fun stuff. Make sure to go to the Scrapbook News and Review blog and check some other fun school projects. Hugs Pammejo

Thursday, August 2, 2012

Thank You Card - Bo Bunny Timepiece

Wow I can't believe how long it has been since I posted a project but I did make a Thank You card a few weeks ago to send to a good friend. I made it using Bo Bunny Timepiece papers and Chestnut Roan ink to distress with. My boarded it made using the EK Success Abstract Border Punch, I must say it is fast becoming one of my favorites. I wrapped my Lifestyle Nesting Frames that I stamped with some tan twine and placed it on pop dots. Added some Graphic 45 Chipboard buttons and a fabulous burlap rose flower from Maya Road to the front of my card. (Don't you just love it). I can't thank you enough for always stopping by, love you all. Hugs Pammejo

Supplies: 
Bo Bunny Timepiece Paper Pad
Unity Stamps Noteworthy
Graphic 45 Chipboard Buttons
Lifestyle Nesting Frame 3
EK Success Abstract Border Punch
Baskic Grey Clipping Button
Maya Road Burlap Rose

Wednesday, July 4, 2012

Fireworks Card - Published by Scrapbooking.Com

Wow can you believe that the Fourth of July is today and I have just been told that my card was published in Scrapbooking.com. If you go HERE you will be able to get all of the detail on how to make the card. 
I made this Fourth of July card using the Bo Bunny Liberty paper and I think it turned out pretty cool. We see accordion fold everywhere so I had to include one on my card but I only let it fold out part of the way, I think it really makes the Fireworks sticker pop of the card. I added some of the little stars to the card front, inside and one on the back of my card. Always look for way to decorate your cards on the inside, back and don't forget your envelopes.I hope you take go over to check out my card on Scrapbooking.com and let me know how much you love their newsletter.  Hugs Pammejo

Saturday, June 16, 2012

Kaisercraft Vintage Love Card

 I can't thank you all for following my blog, coming regularly to see and encourage me in my creativity. I love when you leave sweet comments, fabulous ideas and connections to your blogs. So today it is all about saying "Thanks" to all that continue to support me. My card is made from My Minds Eye Miss Caroline paper pad along with Kaisercraft "Vintage Love" stamp. I stamped and embossed the bicycle using Ranger black embossing powder and fussy cutting it out. Once I had it cut out I carefully inked the top of it using my ColorBox Chestnut Roan ink. I distress all of my paper prior to placing them on my card base using the Tim Holtz distress tool
Here is a closer look at the bicycle, I placed it on my card front that I had stamped with the Vintage Love stamp using pop dots. I also added a bit of the Tim Holtz Film Strip to the front of the card using my Tim Holtz Tiny Attacher, added some black bling to the middle of the spokes and of course had to place my Alpha Parts letters from Tim Holtz to the bottom of the cards. Thank you again and please always feel free to leave your blog information or any ideas you would like to share. Hugs Pammejo

Monday, January 30, 2012

Sillouhette Project 2 - Valentine Crush Card

Here is my second project using my Cameo, oh how I am falling head over heals in love with it LOL. I used Bo Bunny Crush and Memory Box paper for my card. I also used a Thinking of You rub ons by Pebbles, little ric rac and some bling always brings a project together. My large Valentine I fussy cut from a piece of the Crush paper. I love to fussy cut it is so relaxing.
This is the best part of the Cameo -my heart background was part of the library that came with the Cameo. I made it to fit my A2 card so I programed it to 4 1/4 x 5, though it was just a bit short of the 5 inches, still learning, but it turned out well since I was going to add the bottom piece of paper to the card anyway. The clean, detailed cut is just amazing. I wish you could see how narrow the line work is in the piece, it is simply amazing. I hope you enjoy my project and if you have a Cricut I know there is some fabulous backgrounds on some of the cartridges, I have a Cricut also. Hugs Pammejo
*Make sure to go to Monica's Creative Madness she is having a link up contest.

Friday, November 25, 2011

Well,,,,,, Are You Good or Bad!!!

Well have you been "Good" or "Bad" this year, today is the day after Thanksgiving and it is time for Santa to be checking that list. LOL I found this fun Whipper Snapper stamp and thought it was perfect to send to some of my more mischievous friends for Christmas. My card is made using the Bo Bunny Noel Stripe, Rejoice and Tradition papers. I colored my Santa with Copic Markers and did a little distressing with my Tim Holtz distressing tool and Tea Dye Distress Ink. Hope you make some fun Santa cards for your family and friends. Hugs Pammejo

Sunday, November 6, 2011

Bo Bunny Card Challenge Tuesday Card

Bo Bunny is having a card challenge this week. I selected the new Father Christmas Paper Pak to do mine in. I also used the Bo Bunny Father Christmas Cut Outs sheet along with the trinkets.
I made my ruffle using one of the green papers from the paper pak, I scored two pieces of 1" x 6" on the 1/4" line, accordion fold the paper and attached it to the back of the fussy cut Jingle Bell paper that I had precut using Glossy Accent. I then shaped the ruffle so that it would match my Jingle Bell paper. Added the Jingle Bells from the die cut sheet. I also took one of the metal trinkets, cut it in half and added it to my card base. Make sure to stop by Bo Bunny site to get the sketch to join in the challenge. Hugs.

Friday, September 23, 2011

Halloween Candy Box made with my ScorPal

I am always looking for ways to paper craft with materials that I already have. This is a candy box that I made using one piece of double sided paper
To start score your 12" x 12" double sided paper at the 4" and 8" score lines on your ScorPal or other scoreboard. Turn the paper and score again on the 4" and 8" score lines so that you form intersections. On each corner score diagonally to the corner of the center square. Fold sides up and corners in when finished so they will form your candy dish. Open the paper back up and lay where the inside is facing up.

See how it looks from the top view after it was scored, it gave a place for almost all of my favorite Halloween Candy

Here are the 4 different sides to my box. I just decorated the outside of my box with Bo Bunny Spooktastic stickers, buttons that I had colored in, black twin, pop dots, some brads and fussy cut some of the scraps from the My Minds Eye papers I used. This is a wonderful way to use your scraps and stickers up that you have in your stash and make a wonderful candy box.


I hope you enjoyed all of the detail on my box and will try making one for yourself. It is so super easy using your ScorePal and will make a wonderful table arrangement or gift.