Friday, June 3, 2022

Wonderland Mix Media Tag


Wonderland...Is better when you're completely lost!
What a truthful statement.
When you are creating or at least for me I am in my Wonderland!
Completely lost, completely absorbed, completely content. 
So let me help you get lost by creating a "Wonderful" Mix Media Tag


Begin by apply Crackle Paste to top of a large chipboard tag. 
Weave paper strips on top of prepared tag. 
(Inspired by Maremi's Creative Cafe Challenge-Marta Lapkowska)

Photo 1: Lightly apply crackle paste over top. 
Photo 2: Layer two more smaller tags and Victorian Layered Border to top; lightly apply crackle paste. 
Photo 3: Add small ephemera to top of tag and frame; add open frame to top. Lightly apply crackle paste to top. Stamp border with black ink. Lay stencil on tag; apply crackle paste. Dry

Photo 4 and 5: Apply layers of distress inks and sprays to top of prepared tags
Photo 6: Add small ephemera pieces to top of tag. 


Add small metal stars to prepared tag.
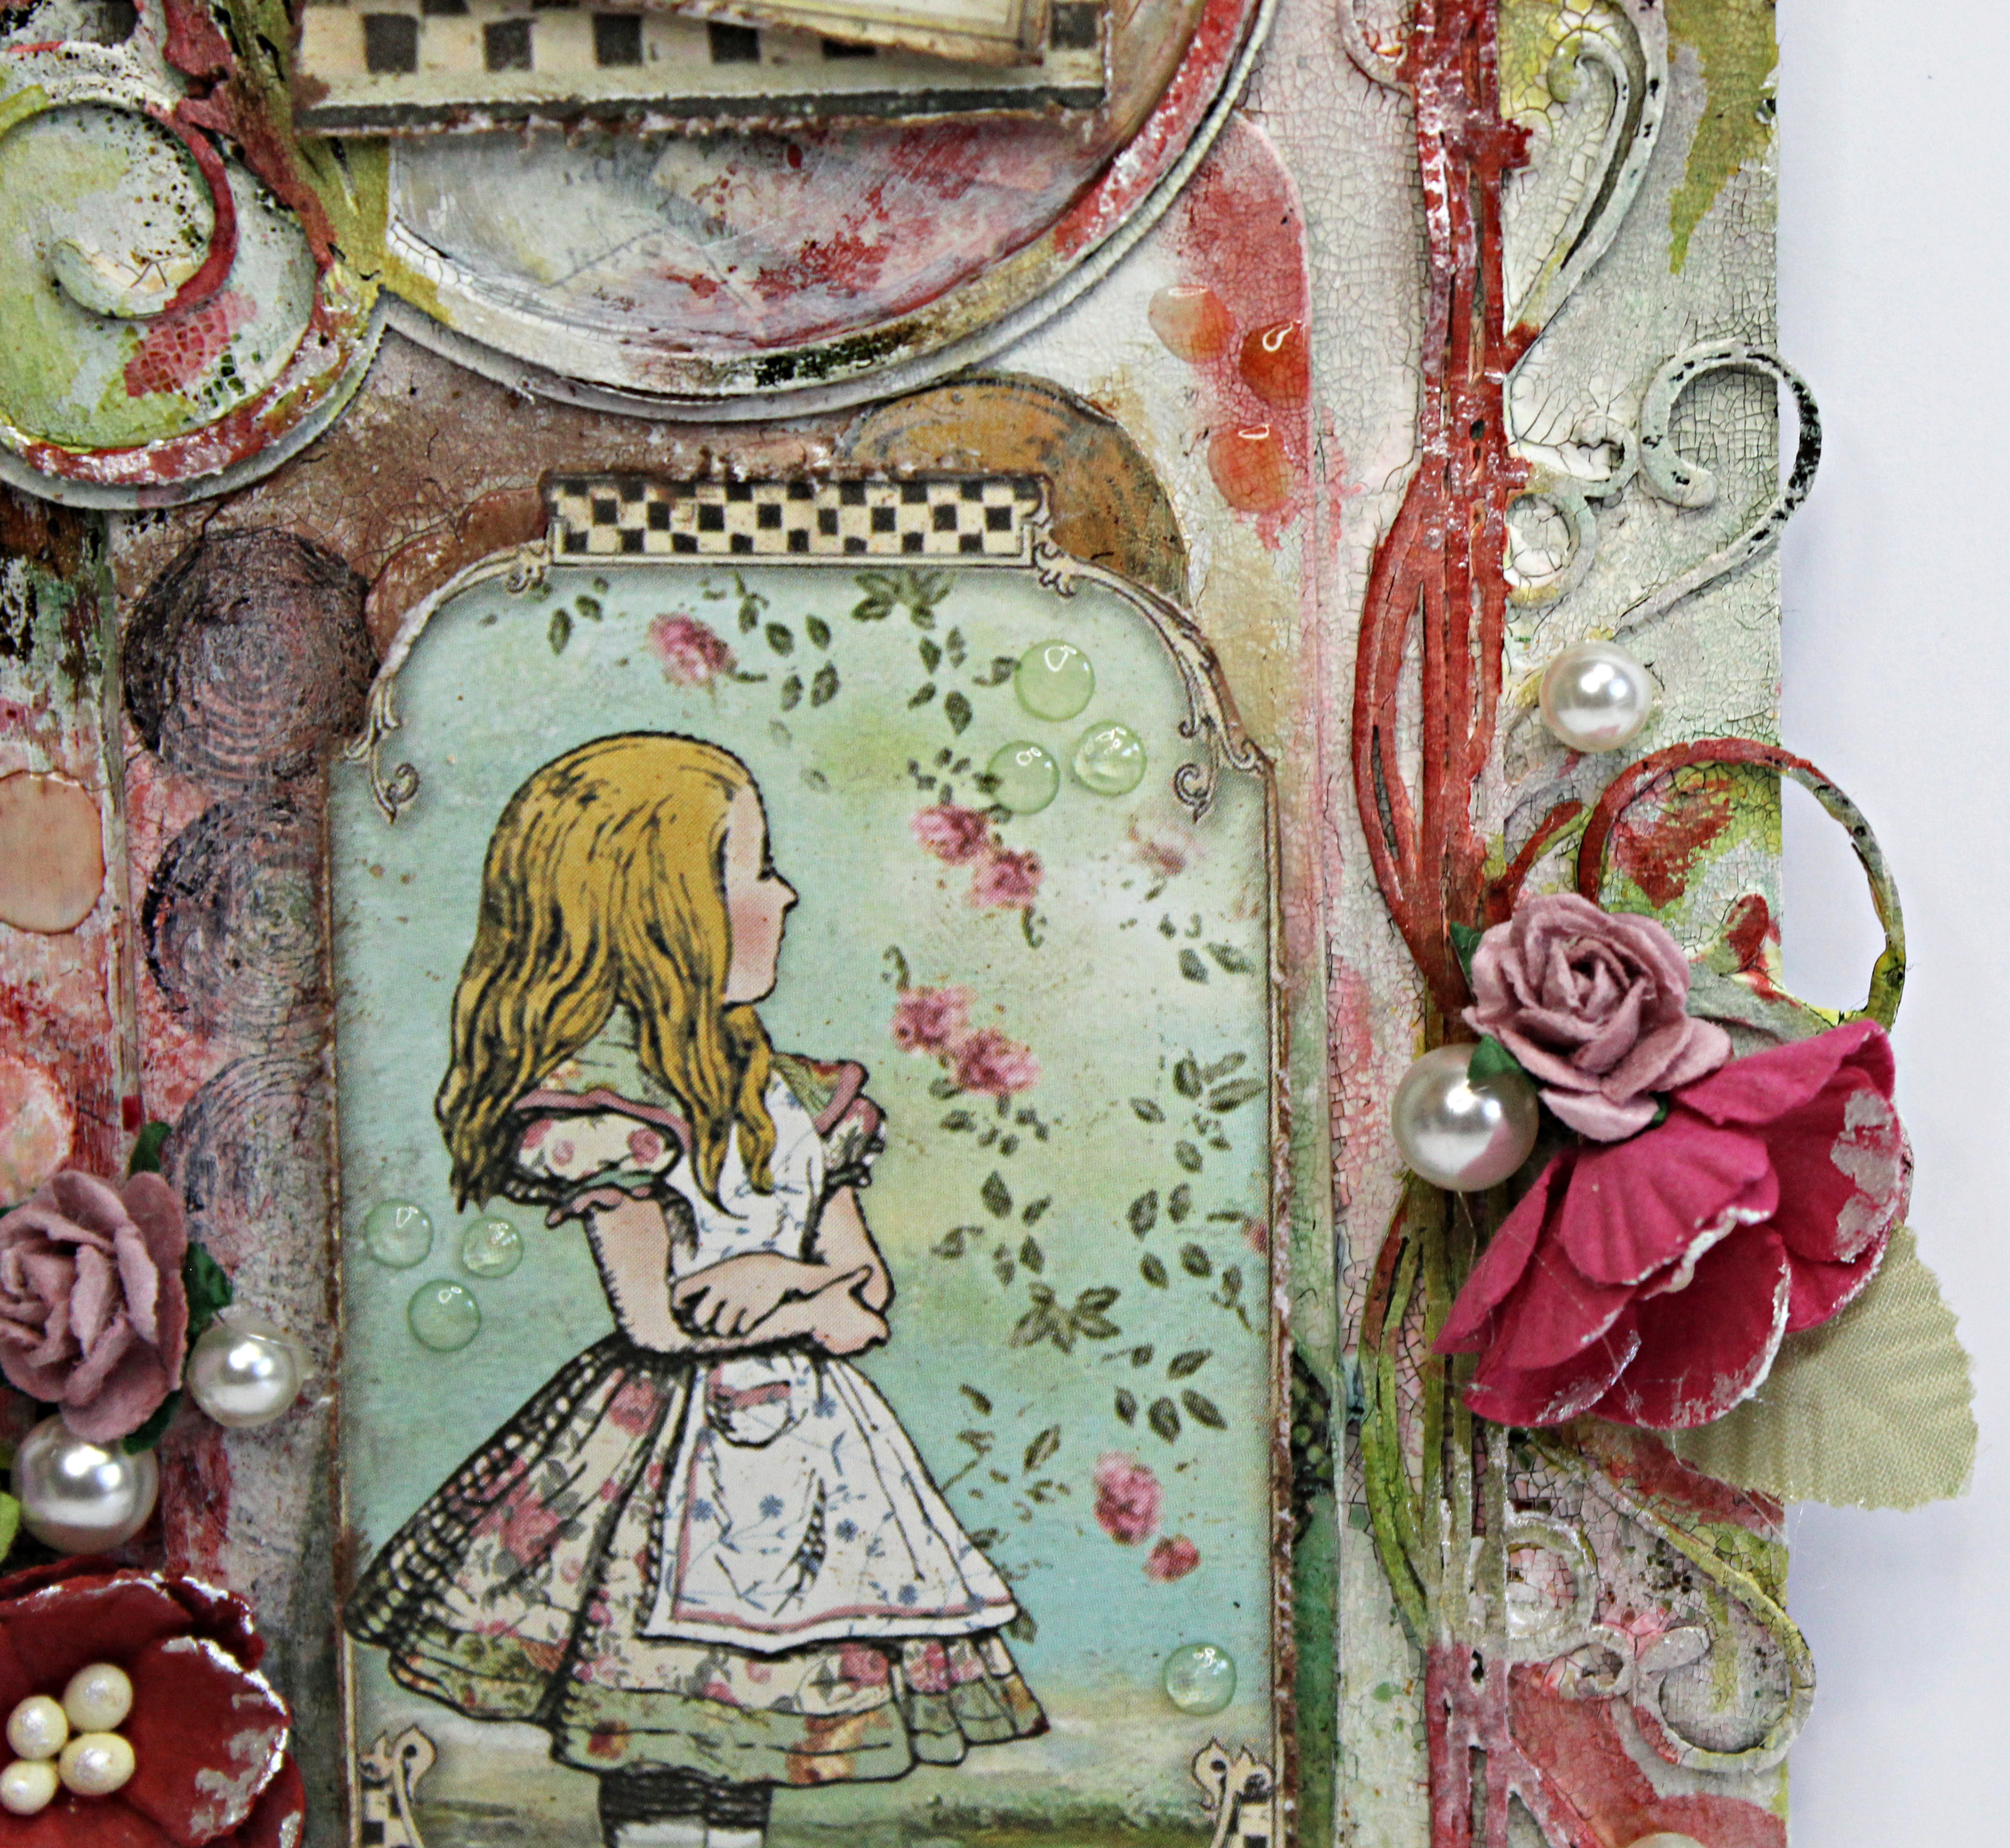

Add a few flowers on each side of tag. 


Add bow and mini pearl pieces to tag. 


Add key to tag; apply White Frost Metallic Lustre lightly to bits and pieces of tag. 


Add glossy accent dots here and there to tag; dry. 


I hope you are inspired to get lost in your "WONDERLAND" of creating! 
Enjoy Pam

Supplies
Gypsy Soul Laser Cuts Extra Large Tag, Stagger Small Tags and Victoria Layered Border
Stamperia Through the Looking Glass Pattern Paper
Blank Page Muse Beyond Borders Stamp Set
Wild Whisper Honeycomb Stencil
Deco Art Crackle Paste
Ranger Distress Sprays: Rustic Wilderness, Kitsch Flamingo, Saltwater Taffy, Black Soot, Rusty Hinge
Distress Refills: Barn Door, Vintage Stain, Rustic Wilderness
Ranger Glossy Accent
Ranger Archival Black Ink
Deco Art White Frost Metallic Lustre
Flowers
Metal Stars, 
Pearl Beads
Grey Ribbon

Wednesday, June 1, 2022

Bits and Pieces Watercolor Mixed Media Wall Hanger with Eileen Hull Inspiration Team


Happy June...
 Eileen's Inspiration and Educations Teams are sharing projects using bits and pieces of die cuts and other leftovers to create projects with! 
So let's get out all those bits and pieces out to upcycle, re-cycle or reuse 
I got my stash of chipboard out and it was easy to detect which were from Eileen's dies since I cut most of my pieces using Sizzix Matboard. 
I had lots of leftover pieces like flowers and leaves that I had cut multiple of for future projects, along with a part of a watering can, tiny bookcase and notebook that I had miss cut. I found an extra mitten, pieces from the full book die, a doily that I couldn't get all the holes cleared out, labels and a few 3D Birdhouse pieces!
So I cut one Book Die from chipboard so I would have a base to create a mixed media wall hanging on. 


Photo 1: Begin by creating how you will use all those bits and pieces on your book cover to begin wall hanger. 
Photo 2: Add washi tape to the top of mitten, pocket notebook, peaks of birdhouses, and part of notebook case and top of wall hanger. 
Photo 3: Lay stencils on pieces; apply gesso over with palette knife. Dry. 
Photo 4. Adhere prepared pieces together. 


Photo 5: Apply tissue paper pieces randomly on prepared project. 
Photo 6: Add doily to front of project. 
Photo 7: Decorate water can and label pieces using washi tape and tissue paper. Adhere to prepare wall hanger. 
Photo 8: Layer flowers together using random metal brads. Adhere to wall hanger. Add metal pieces and resin button to wall hanger.


Apply white gesso over top of prepared wall hanger. 
(This will help watercolors to flow smoothly.)

Photo 9: Apply watercolors using paintbrush and misting wall hanger. Allow to dry between colors. (Remember: If you aren't careful and apply slowly allowing drying time your colors wiill become muddy.)
Photo 10: Apply rub-ons and stamp randomly on dried wall hanger 


After wall hanger is completely dry add details pens and paint. 
Add smaller flowers and leaves to wall hanger. 


Lay stencil on prepared wall hanger add gesso with palette knife. 
Add more rub-ons randomly on prepared wall hanger. 


Add toadstools, small ephemera and HOME letters to watering can. 
Add details with stenciling and pen work. 


Adhere moss under toadstools. 
Do detail work on doily with rub-ons and pen work. 


Add ephemera butterfly to wall hanger. 


Add metal bubble bee and metals on wall hanger. 
Add embossing ink; apply glaze to metals. 


Decorate the peaks of the birdhouses with rub-ons and pen work. 
Spatter the entire piece with gesso and watercolors. 
I hope you get your bits and pieces that are left over from other projects to create a fabulous home decor piece. 
Enjoy Pam

Make sure to stop by Eileen Hull's Blog to check out all the fabulous projects created all month long by the teams!
ALSO...
WON'T YOU COME JOIN US!!!
Lots of eye candy, fabulous tutorial, etc.
Best of all you don't want to miss Eileen's Live Shows!
Always so much fun!

I know you will truly be inspired! 
Enjoy Pam


Supplies
Eileen Hull Designs/Sizzix #658454 Watering Can Die
Eileen Hull Designs/Sizzix #661110 Romance Flower Die
Eileen Hull Designs/Sizzix #657375 Doily Die
Eileen Hull Designs/Sizzix #658451 3D Birdhouse Die
Sizzix Washi Tape
White Gesso
Blank Page Muse Pattern Papers
Ranger Jet Black Archival Ink
Brads
White Signo Pen
Black Pigma Micron Pen
Paintbrush
Moss
Xyron Mini Glue Gun with Glue Sticks

DISCLAIMERS
This blog is compensated to provide opinion on products, services, websites, and various other topics. Even though the owner(s) of this blog receives compensation for our posts or advertisements. I always give my honest opinions, findings, beliefs, or experiences on those topics or products. The views and opinions expressed on this blog are purely my own. Any product claim, statistic, quote or other representation about a product or service should be verified with each manufacturer, provider, or party in question/This blog contains affiliate links, clicking and shopping through these links helps to support and run Pam Bray Designs - Scrapbook Flair Blog at no additional cost to you. Today's features are Eileen Hull Designs Products with Sizzix 

Tuesday, May 31, 2022

Hello Home Decor


Hello!!!!
Can you believe today is May 31st?
Time sure goes by fast when you are having a great time creating. 
I would like to share a home decor project I created last year for Diamond Press. 
It is perfect and super easy to recreate. 


Begin by covering your two layered frame and inside using pretty pattern paper and Xyron Creative Station. 
Trim off excess paper using Xacto Knife and sanding tool. 
Add small doily to inside of frame. 
Stamp a favorite image to doily using black ink. 


Complete frame with die cutting flowers and leaves. 
Layer together with glue gun. 
Add small enamel dot to flower center. 
Enjoy creating home decor pieces throughout the year!
Pam

Supplies
Diamond Press 3D Floral Gate Fold Die and Stamp Set - 717059
 Pattern Paper
Wood Frame 
Pink Enamel Dot
Doily Die
Stamp Sentiment
Black Ink
Xyron Creative Station with Permanent Adhesive
Xyron Mini Glue Gun with Glue Sticks
Xacto Knife
Sanding Tool

Saturday, May 28, 2022

Go For It Art Journal Pages


GO FOR IT!!!
Grab all those craft inks, sprays, stamps, etc. and just "GO FOR IT"!
Grab your favorite Arteza Watercolor Book along with a Pigma Micron Pen and let's get started.


Start by drawing a bunch of geometric shapes on you pages with pen. 
Stamp inside shapes using various stamps with black ink. 
(Marke sure to mask around shapes prior to stamping.)


Color stamped shapes in with various water markers using water pen to apply. 
Stamp larger flowers on copy paper; fussy cut around images. 
Adhere images to page. 


Stamp stars randomly on pages with black ink. 


Shade around all stamped and paper images with grey water mark using water pen. Dry


Shake a bit of Lindy's Gang randomly here and there on pages, mist with water. Dry.


Stamp border stamp on pages.
Do doodling lines on pages with pen.
Lay Bedazzled Stencil on pages; apply DecoArt Crackle Paste using palette knife. Dry


Die cut large butterfly from grill paper; adhere to pattern paper. 
Fussy cut around image. 


Add prepared butterfly to page. 
Spatter pages with gesso. 


LEFT PAGE CLOSE UP PHOTOS


Add stickers to page. 


Add Glossy Accent to center of circles prior to spattering. Dry


Add small bird die cut to bottom of page. 


RIGHT PAGE CLOSE UP PHOTOS


Add stickers to page. 


Finish with randomly placing droplets on pages; dry. 
I hope you are inspired to grab all your fun products and just GO FOR IT!!!
Enjoy Pam

Supplies:
Arteza 8 1/4" x 8 1/4" Watercolor Book
Sizzix: 665201 Perspective Butterfly and 665861 Silhouette Birds
Deco Art Media Crackle Paste
Liquitex Gesso
Lindy's Gang Magical Shakers: Lederhosen Lauret and Guten Tag Teal
Paper Studios Stickablilities
Stampers Anonymous Stamps
Wild Whisper/Pam Bray Designs Little Things Stamp Set
Blank Page Muse Bedazzled Diamond Stencil
Blank Page Muse/Pam Bray Designs Sweet Passion and Tattered/Torn Paper Packs
Various Colors of Water Markers
Palette Knife
Ranger Black Ink
Ranger Glossy Accent
Pigma Micron Pen
Water Pen

"Shop through AFFILATE LINKS on my side bar for all your crafty needs"

Thursday, May 26, 2022

Baby Nursery Layout 2 with Bo Bunny Willow and Sage Collection


Sweet Baby creating continues with a companion layout using Bo Bunny Willow and Sage Collection. 
(I shared the first layout earlier this month and link is at bottom of post.) 


Begin by spattering a piece of pattern paper with Prima Confections Watercolors. 
Add border scallop strips to inside of circle. 
Fussy cut flower and add to paper, placing some on with pop dots. 


Add rub-ons randomly around layout. 


Mat photo with tissue paper and pattern papers. 
Add to left part of pattern paper. 


Add fussy cut flowers and leaves to layout. 


Add sequins here and there on finished layout. 


Baby Nursery One Layout details can be found HERE! 
Enjoy creating mixed media layouts! 
Pam

Supplies
Sizzix Sequins
White Tissue Paper
Scallop Border Punch
Pop Dots
Ranger Distress Tool

Monday, May 23, 2022

Hello Card


Hello Card!!!
Who doesn't love to get a sweet Hello in the mail!
This card is super easy using my Masquerade Paperfrom Blank Page Muse along with snippets from my other 3 collections. 


Begin by adhering pattern paper to a square Kraft card base. 
Die cut and layer circles from Scrapbook.com Nesting Circles using purple, light blue and white card stock. 


Stamp Chicken Wire Mesh Background Stamp using purple ink. 
Die cut Hello from Masquerade Paper; adhere to front of card. 


Die cut flowers and leaves from ShadowBox #1 Die using snippets from pattern paper; adhere to front of card. 
Add small metal bees to card along with droplets of Glossy Accent. 
Enjoy and remember to send someone a sweet Hello!
Pam

Supplies
Diamond Press Hello Die
Sizzix/Eileen Hull #665938 ShadowBox #1 Die
Scrapbook.com Nesting Circles
Purple, Light Blue and White Card Stock
Ranger Glossy Accent
Natural Twine
Xyron Mega Runner with Permanent Adhesive
Bubble Bee Charms
5 1/2 x 5 1/2 Kraft Card Base