Showing posts with label The Crafters Workshop. Show all posts

Friday, December 12, 2025

Day 12 - Joy Wreath


JOY WREATH begins by starting with a cardboard wreath, some ink, paint and a few stencils. 
Lay stencil on cardboard wreath apply ink to top and along sides. 
Lay second stencil to wreath; apply paint with palette knife. Dry. 
Add pattern paper to underneath of wreath. 


Die flourishes; add to top of wreath 
Fussy cut bird and leaves from pattern paper; add to wreath. 
 Die cut flowers, form and add to wreath. 


Die cut flowers; form and add to wreath. 
Add flower soft to centers of flowers. 

Tuck premade pinecones and ribbon around flowers. 
Add die and embossed leaves. 


Place a few small ephemera tags to add interest. 


Finish by adding the JOY Sentiment to inside of wreath. 
Spatter with white paint. Dry.
Enjoy Pam

Supplies
Graphic 45 Winter Wonderland Collection and Journaling Cards
Chipboard Wreath
Sizzix Tattered Poinsettia Die
Sizzix Elegant Flourish Die
Sizzix Big Tidings Die
Sizzix Seasonal Scroll Die
Arden Creative Studio Stencil
Diamond Press Wood Embossing Folder 
The Crafters Workshop Stencil
Brown Ink
White Paint
Premade Pinecones and Rusty Stars
Torn Fabric Ribbon
Flower Soft
Green and Brown Card Stock

Friday, December 9, 2022

Easy Christmas Cards with The Crafters Workshop


Happy Holidays!
I love making slimline cards. 
The Crafters Workshop makes it so easy with their fun slimline stencils!

****************
Create a piece of background paper using the Gel Press with a bit of paint. 
Cut a piece of green card stock and mat on a 3 1/2" x 8 1/2' slimline card. 
Lay TCW2348 Snowman Family Stencil to prepared pattern paper. 
Add TCW 9046 Modeling Paste to top with palette knife, dry. 
Add to top of card front. 
Add a bit of TCW9090 Terracotta Stencil Butter to nose with a small paintbrush. Dry.
Stamp snowflakes from TCW2218 Christmas Joy Stamp Set using purple ink. 
Stamp and mat sentiment using TCW2218 Christmas Joy Stamp Set.
Corner punch edges with DecoArt Punch and add to card front with pop dots. 


Merry Christmas
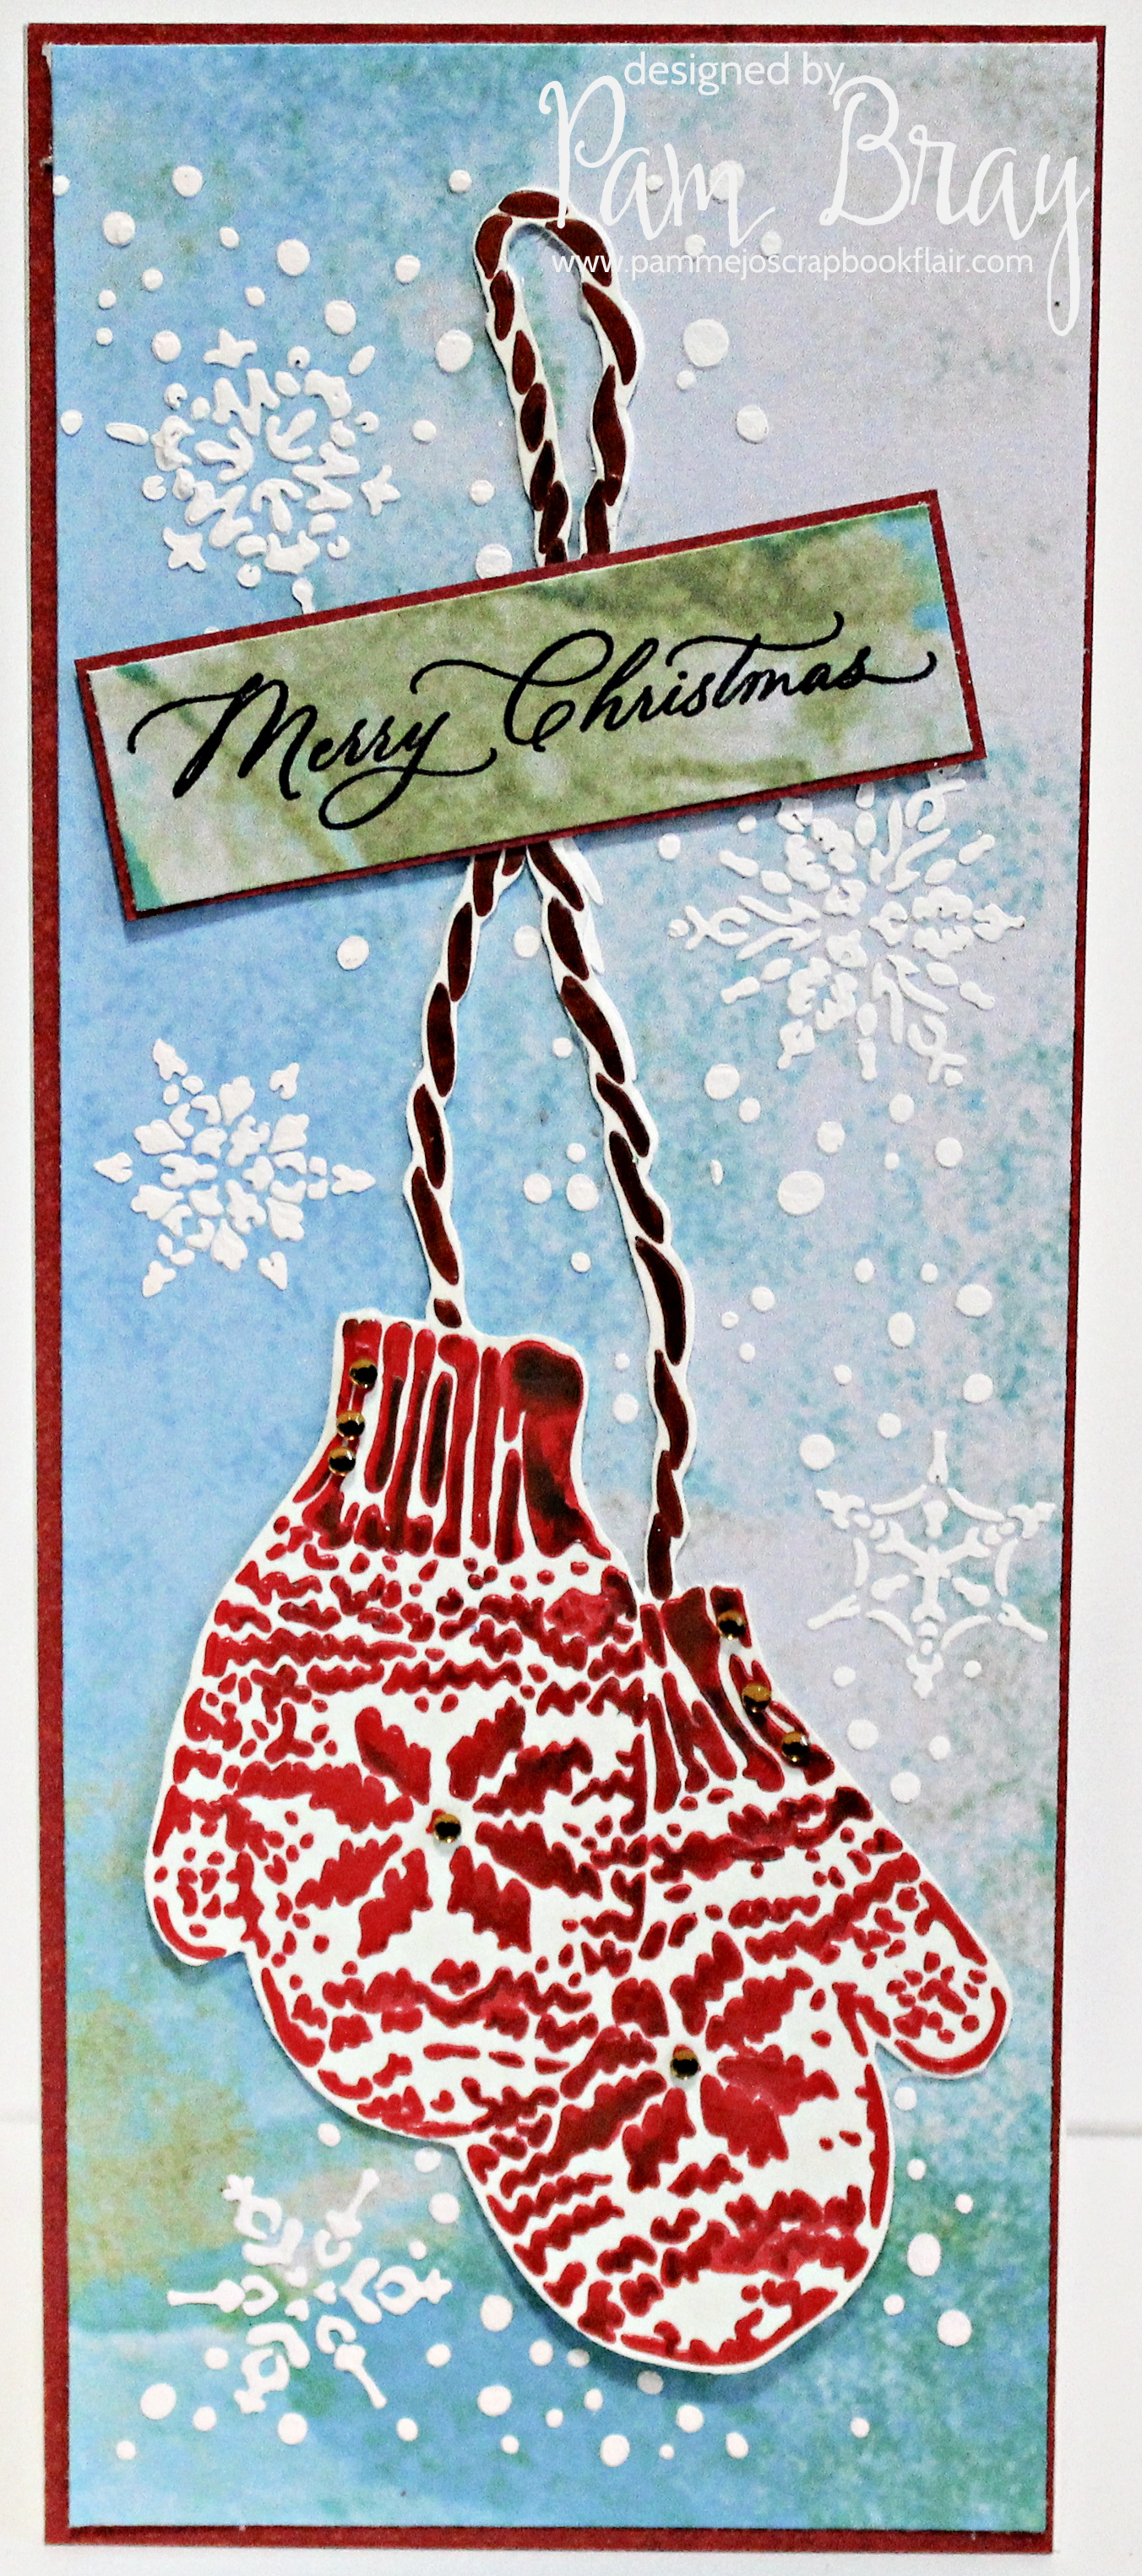
Cut a piece of red card stock and mat on a 3 1/2" x 8 1/2' slimline card. 
Lay TCW2345 Dangling Mittens Stencil to prepared pattern paper. 
Add TCW 9046 Modeling Paste to top with palette knife, dry. 
Add to top of card front. 
Lay TCW2345 Dangling Mittens Stencil on white card stock.
 (Make sure to mask the ribbon hanger; dry)
Fussy cut hanging mittens out; adhere to front of card. 
Stamp and mat sentiment using TCW2218 Christmas Joy Stamp Set.
Add to card front with pop dots. 
Add a few gemstones to both cards. 
Enjoy Pam

Supplies
Purple Ink
Palette Knife
3 1/2" x 8 1/2" Slimline Card Base
Gel Press
Blue, Geen, Yellow Paint
Brayer
DecoArt Corner Punch
Gemstones
Adhesive
White, Red, Green Card Stock


Monday, November 21, 2022

Pumpkin Patch Layout


Happy Thanksgiving Monday!
I enjoy scrapbooking on the holidays after a good meal, don't you?
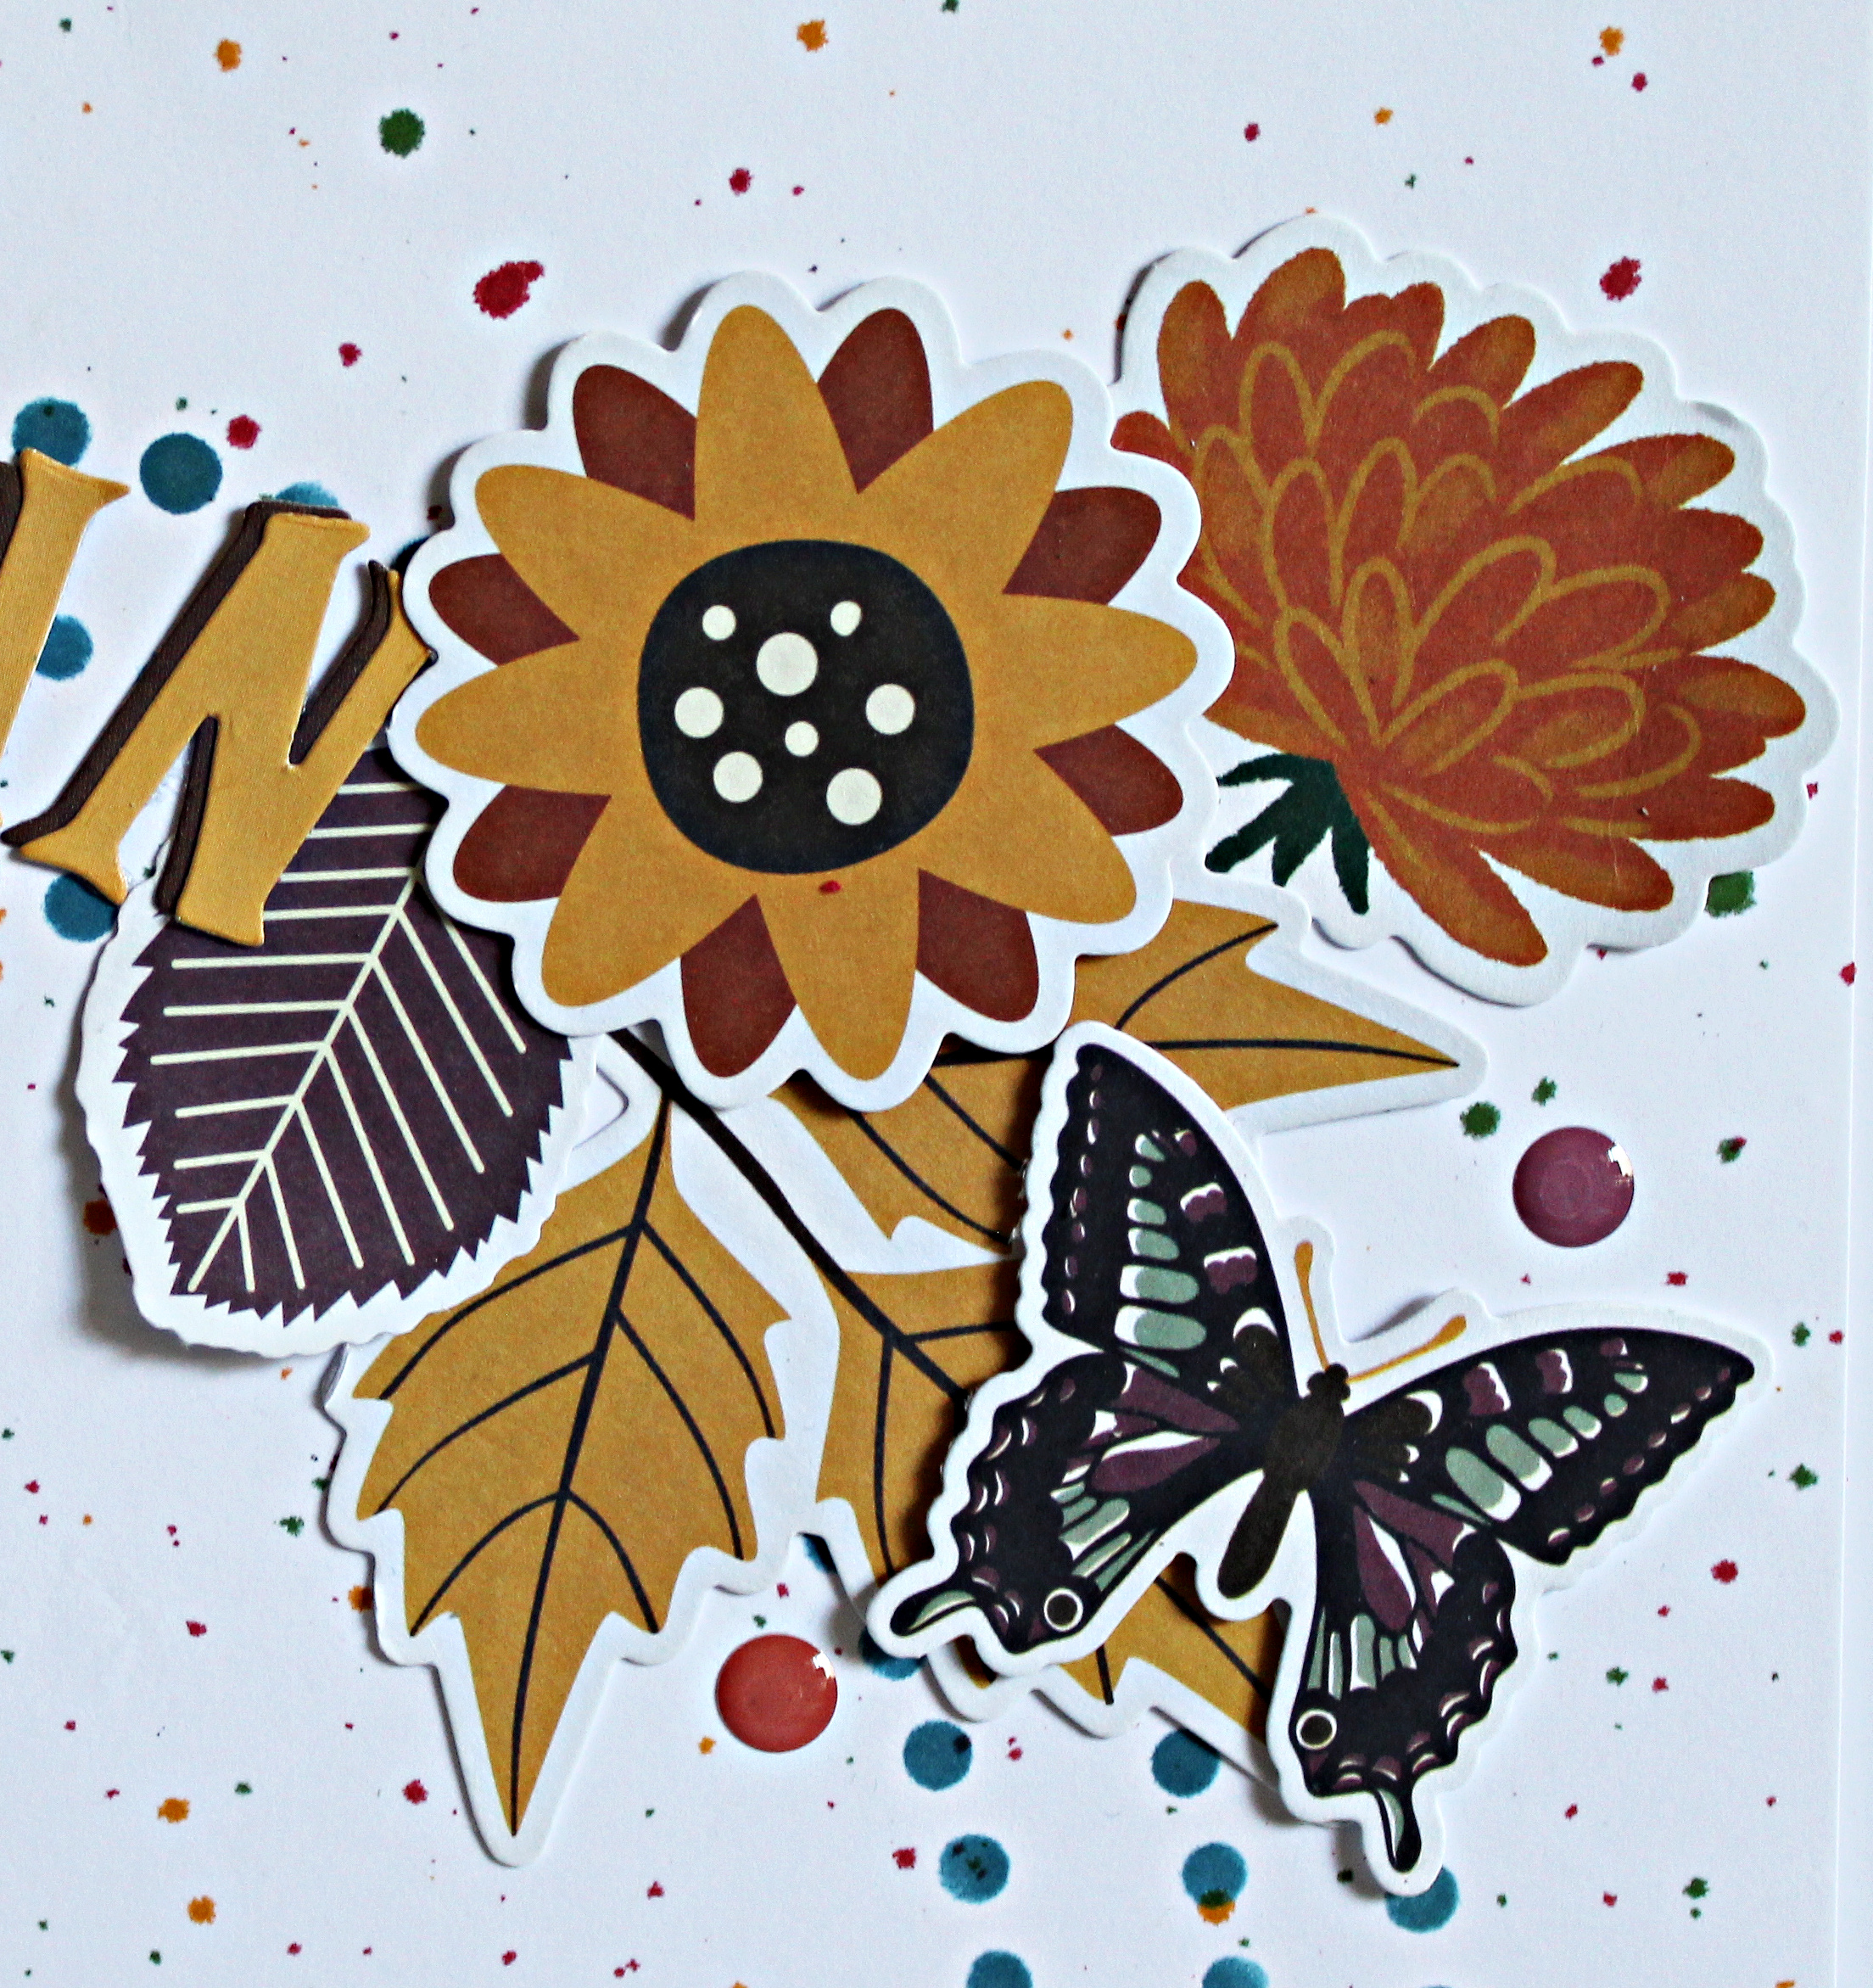
Today I am sharing a simple layout created with left over Diamond Press Bits and Pieces from the Thankful Slimline Card Kit along with The Crafters Workshop Dots All Around 12 x 12 Stencil. 


Lay the stencil on your cardstock and apply ink. 
Spatter with sprays. 


Add Ephemera to layout.
Die cut sentiment using two different cardstocks, layer together. 
Add to layout. 
Add a few pieces of Ephemera to layout with pop dots. 


Add enamel dots from the card kit. 
Add Glossy Accent to the owl eyes. 


Add a favorite photo or two to your layout along with card stock mats.
Add a bit more Ephemera around photo.
Enjoy and remember to use your extra Ephemera to create fabulous layouts. 
Pam

Supplies
Diamond Press Thankful Slimline Card Kit
Diamond Press Alphabet
The Crafters Workshop Dots All Around Stencil #78
Ranger Blue Jean Ink
Ranger Glossy Accent
Ranger Straw, Leaf Green, Barn Red Spray
Pop Dots
White, Gold and Rust Card Stock

Wednesday, November 2, 2022

Joy Home Decor with Eileen Hull Designs Inspiration Team

Happy November!!!! Time to start planning a few special gift giving ideas! Let the fun begin with Eileen Hull Designs Teams sharing a bit of "Sparkle and Shine" projects to help inspire you in your creative journey through the holiday season and rest of the year! 


I began my home decor piece by running a 7 x 7 piece of white card stock through Xyron Creative Station using Xyron Permanent Adhesive. 


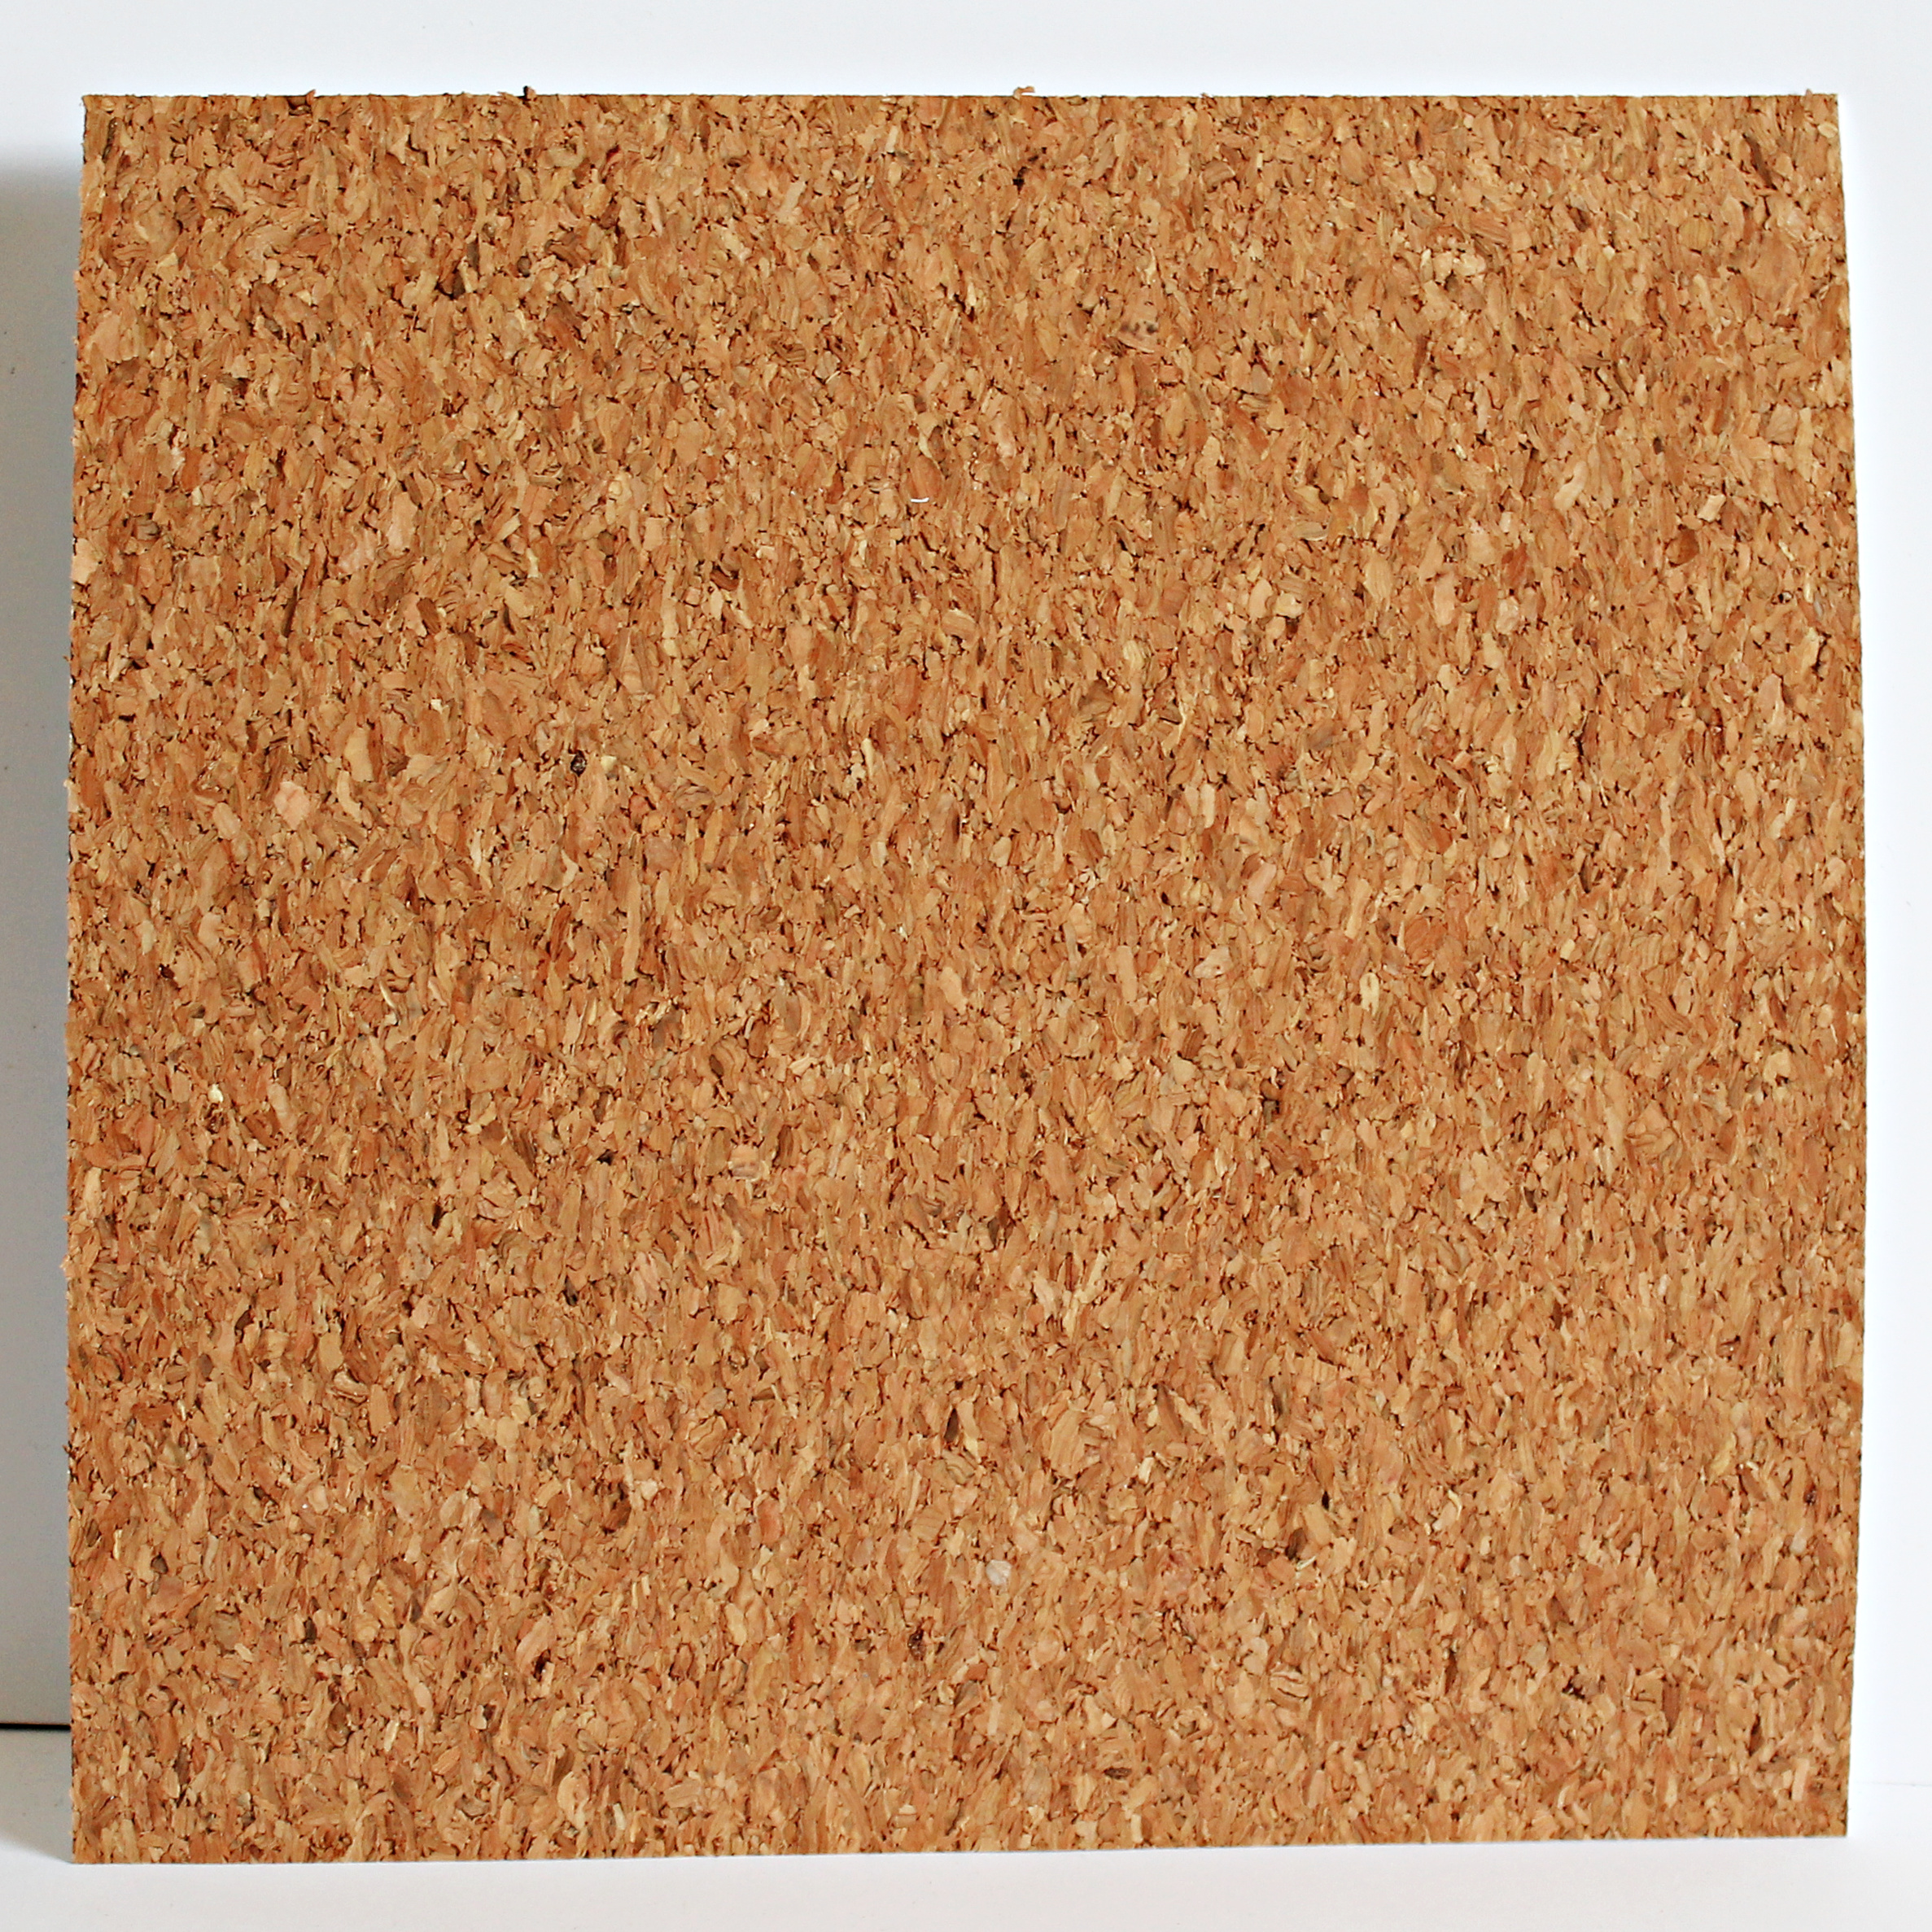
Adhere a piece of Sizzix Cork Roll Surfacez Paper to fit on top.


Lay The Crafters Workshop Art Splatters TCW1043 Stencil, apply white gesso to top with stencil brush. 


Add prepared cork paper to frame. 


Create a Christmas bow using May Arts Christmas Ribbon, add to bottom of frame using Xyron Mini Glue Gun. 


To create poinsettias....


(I die cut 3 sets using the Sunflower Die.)


Adhere flowers together using Xyron Mini Glue Gun. 


Create banner using the small triangles from the Geometric Box XL DieMaking Essential Matboard, and Cork Roll Surfacez Paper #663892 along with Bronze Anther Embossing Powder. Add to top of frame with Xyron Mini Glue Gun. Add sticker letters and border to top of banner. 


Add small chipboard natural snowflakes randomly to frame and on banner. 


Add prepared poinsettias to frame.


Add berries, pinecones, small gnome and leavers cut from green card stock around flowers. 


I hope you are inspired to create a few home decor gifts. 
Remember that Eileen's Sunflower Bigz L Die is so versatile that you can create a variety of unique flowers in different colors using different medias for your projects. 

Make sure to stop by Eileen Hull's Blog to check out all the fabulous projects created all month long by the teams!
ALSO...
WON'T YOU COME JOIN US!!!
Lots of eye candy, fabulous tutorial, etc.
Best of all you don't want to miss Eileen's Live Shows!
Always so much fun!

I know you will truly be inspired! 
Enjoy Pam


Supplies:


DISCLAIMERS
This blog is compensated to provide opinion on products, services, websites, and various other topics. Even though the owner(s) of this blog receives compensation for our posts or advertisements. I always give my honest opinions, findings, beliefs, or experiences on those topics or products. The views and opinions expressed on this blog are purely my own. Any product claim, statistic, quote or other representation about a product or service should be verified with each manufacturer, provider, or party in question/This blog contains affiliate links, clicking and shopping through these links helps to support and run Pam Bray Designs - Scrapbook Flair Blog at no additional cost to you. Today's features are Eileen Hull Designs Products with Sizzix 

Saturday, August 6, 2022

Inspire Art Journal Pages


Happy Saturday!!!
What better way to start the weekend but create and be inspired using stencils?


Lay The Crafters Workshop Felicia Daisy Stencil on art journal pages. 
Apply Terre Verte and Crimson Stencil Butter from The Crafters Workshop using a palette knife. 
*HINT: Mask off center and edges of stencil to create clean lines using washi tape.
Allow stencil butter to dry before changing colors.


Apply sprinkles of mica to pages, mist with water. Dry.
Spray Yellow Oche on craft sheet.
Apply with paintbrush on pages. Dry. 


Stamp Lattice Background stamp on pages with spice ink. 


Add rub-on words and butterflies to pages. 


Stamp Postage Stamp images to pages with black and red inks. 


LEFT PAGE


RIGHT PAGE
Finish by spattering both pages with black, gesso and Yellow Oche paint. Dry
Enjoy! Pam

Supplies:
The Crafters Workshop Stencil Butter - Terre Verte and Crimson
The Crafters Workshop - Felicia Daisy Stencil
Wild Whisper - Postage and Lattice Background Stamp
Gesso
Red Geranium, Black and Spice Archival Ink
Black Soot and Yellow Oche Spray
Arteza Watercolor Sketchbook
Rub-Ons Words and Butterflies
Mica Powders


Saturday, July 23, 2022

Life is Sweet Art Journaling Pages with Napkins


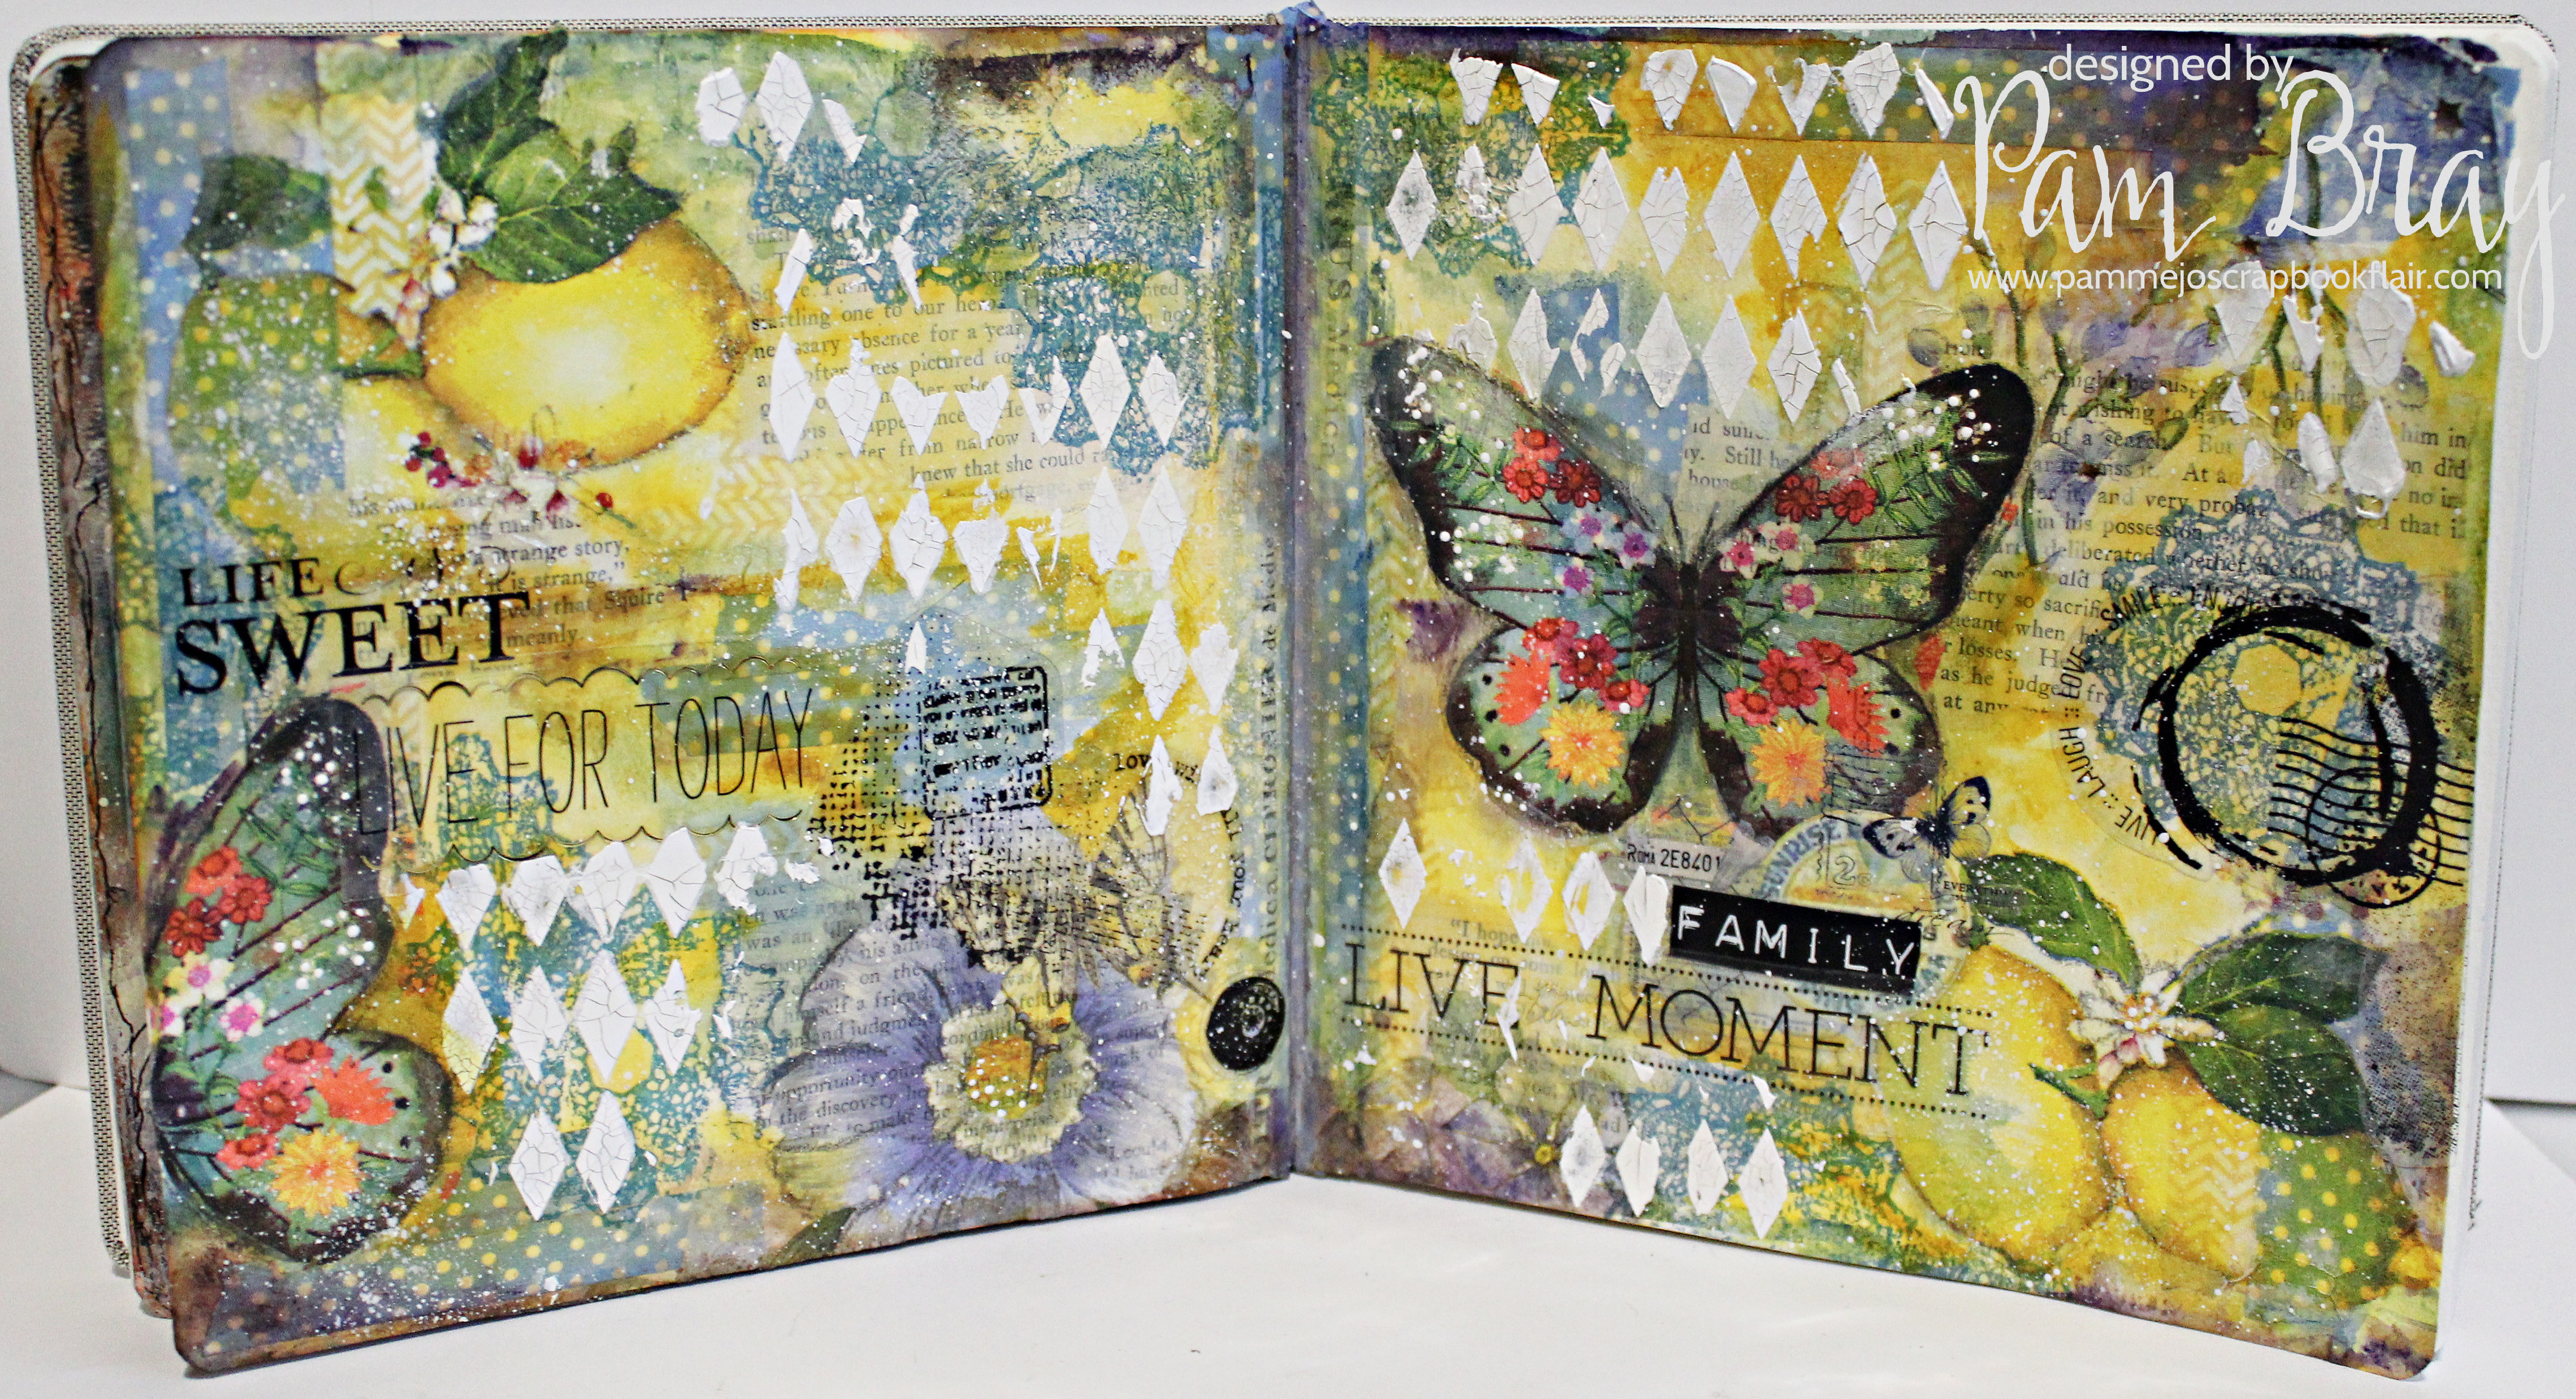
Life is Sweet Art Journal Pages....what's sweeter than mixed media creating with lemons! 
So, grab your Arteza 8 x 8 Watercolor SketchBook and let's begin! 


Add washi tape randomly to your pages. 
*HINT: If you don't have washi tape; use pieces of torn paper strips. 
Make sure to add several pieces to the bind of the pages. 
This will help the pages from becoming weak from water. 


Add torn pieces of pages from an old book by applying Clear Matte Gel to page and over top of pieces of paper. 


Add pieces of napkins from Eileen Hull's Etsy Shop Lemon Napkins to pages by apply Clear Matte Gel to pages and then carefully over napkins using a paintbrush. 
Add small journal tag. 


Repeat with butterflies and flowers from a second napkin in the Lemon Napkins.


Stamp doily from Stampers Anonymous Doily Stamp Set randomly on pages using blue ink. 


Mist pages apply yellow watercolor paint to pages; dry. 
Repeat with blue purple watercolor. Make sure to mist pages to move paint on pages and dry in between applications. 


Lay The Crafters Workshop Harlequin Stencil on dry pages; apply crackle paste with palette knife. Dry
Repeat randomly on both pages. 


Add sticker pieces to pages. 


Apply white gesso dots to page using toothpick. 


Add rub-ons randomly to pages. 


Add black graphitint around images so they stand out. 


Hope you enjoy creating with napkins! 
Pam

Supplies
Cornflower Blue Archival Ink
Sentiment Stickers and Rub-ons
Black Graphitint Pencil
Old Page from Book
Small Journal Tag
Washi Tape - Blue and Yellow
Crackle Paste
Clear Matte Gel
White Gesso
Paintbrush
Pallette Knife
Misting Bottle with Water