Friday, January 12, 2018

Celebrate Confetti Memo Holder with Xyron

Hello, to our all my Xyron Fans! Today I am sharing my LAST post team Xyron. It has been an exciting time creating this year for Xyron!!! Today I created a project with a few of my favorite products between the Creative Station and Mega Tape Runner the choice was hard!!!


But I remembered I created this fabulous Celebrate Confetti Memo Holder for a Make and Take! It shows all three products so I thought since it is Friday and my last project what the hey....I will share them ALL!!! 
SO ENJOY SEEING THEM ALL WITH THE FOLLOWING TUTORIAL....

Celebrate Confetti Memo Holder


Photo 1: Cut chipboard to measure 4 1/2" x 6 1/2" using guillotine.
Photo 2: Cut pattern paper the same size as chipboard; run through Xyron Creative Station. Remove from adhesive sheet and apply to chipboard.
Photo 3: Cut pattern paper strip to measure 3" x 4 1/2'; staple to edge of chipboard with stapler.


Photo 4: Cut 20 sheets of white paper to measure 3 1/2" x 4 1/2".
Photo 5: Staple the 20 sheets together using stapler to form memo pad.


Punch 2 holes at top of prepared chipboard. Slide prepared stapled memo pad inside the strip of paper. (You will only slide the bottom 3 or 4 sheets of paper through strip to hold it into place.)


Adhere decorative strip to bottom of memo pad using Xyron Tape Runner.


Photo 6: Stamp flower on to pattern paper; color with markers.
Photo 7: Fussy cut prepared flower out and place together with adhesive dots.


Tie twine to top of memo holder to form a bow. Add prepared flower to top of memo holder.


Decorate top of memo pad.


Supplies:
Xyron Creative Station Mini with 5" Permanent Adhesive
Xyron Adhesive Dots
Swingline Stapler
Swingline Classic Guillotine
Hole Punch
Color Pencils
SinCity Stamp
Twine
White Paper
Pop Dots
DCWV Confetti Paper Pad

Wednesday, January 10, 2018

Diamond Press Releases on HSN and a Giveaway!!!!

I am super excited to share a few of the samples that I sent in for Diamond Press and the HSN for today ... Jan 10th!!!
Check out the scheduling times HERE!!!
YOU WON'T WANT TO MISS THE LASTEST
DIAMOND PRESS STAMP/DIE/EMBOSSING FOLDER COLLECTIONS
at a fabulous price!


*************************


************************


*******************************


I hope you are inspired to head over to HSN and check out all the fabulous Diamond Press new Stamp/Die/Embossing Collection and Die Cut Machine. 
ALSO....

If you would love to win a Diamond Press Die Cutting Machine
I AM GIVING A DIAMOND PRESS DIE CUTTING MACHINE Away!!!
(Contest for US only and Diamond Press will determine the color they will sending!)
ALL YOU NEED TO DO IS FOLLOW ME ON INSTAGRAM!!!!

I also would be thrilled if you follow my blog for more inspiration!
Pam 

Follow Diamond Press

Follow... 


Tuesday, January 9, 2018

Follow You Dreams Organizer with Eileen Hull Inspirational Team

Disclaimer Notice: I’ve received products/compensation as part of the Eileen Hull's Inspiration Design Team. This project however, is 100% my own project! Some of the links in this post are affiliate links. I explain more here.


Hello to all our amazing Eileen Hull Fans!
Today I am sharing this fabulous Follow Your Dreams Organizer using Eileen Hull's Card Box, Planner Storage & Organizer and


Begin by first die cutting the Card Box, Planner Storage & Organizer from mat board and pattern paper. Adhere pattern paper to front of formed box.


Lay stencil on front of prepared Organizer apply Crackle Paste to top of stencil using palette knife. 


Die cut oval from the Book & Pages, Trinket Box & Frame, cover with pattern paper. Fussy cut second image and layer with pop dots.


Add paper doily to front of prepared Organizer. Add prepared oval to front of doily along with die cut scallop circle and label from the Bookplate, Hinges & Labels.


Add a few flowers to front along with small chipboard piece.


Add a metal handle from your local hardware store to end of Organizer. Add bow to handle.


Add a few more flowers to the handle. I hope you are inspired to check out all of Eileen's Book Club Dies on the Sizzix Site! You will fall in love with how interactive they are with all dies! Make sure to stop by Eileen Blog to see the fabulous Inspirational Teams projects for the week! Hugs Pam 

Supplies:
Graphic 45 Fairy Dust Collection
MayArts Ribbon
Paper Doily
Metal Handle
Flowers
Tim Holtz Stencil
Crackle Paste
Palette Knife
Adhesive 
Pop Dots


Journal Treasury


Eileen Hull's Die Cutting Magic EBook


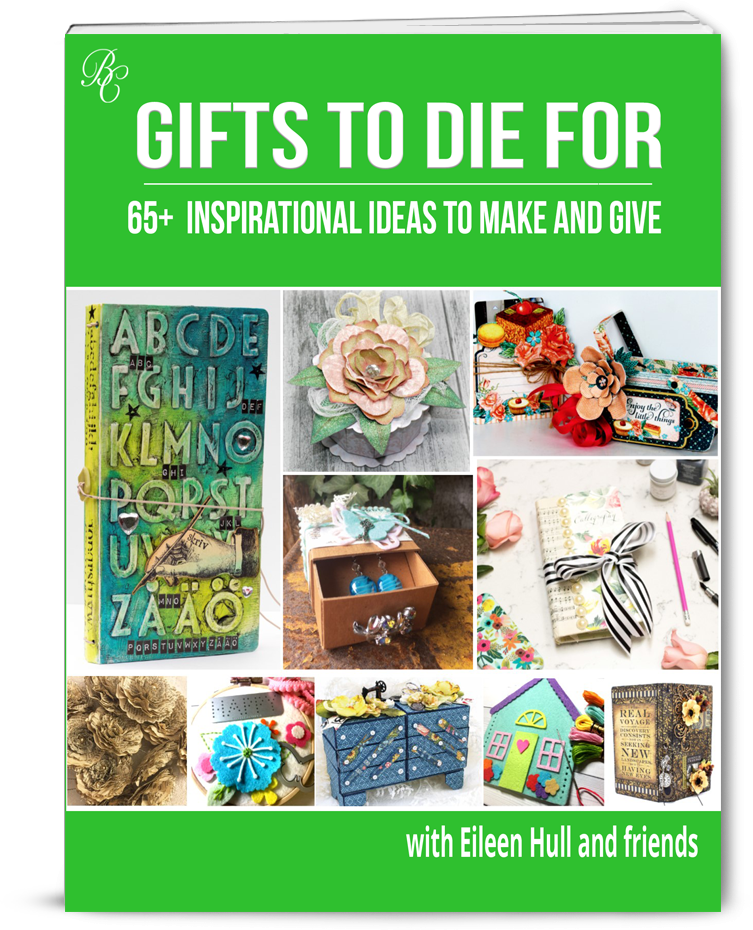
GIFTS TO DIE FOR with Eileen Hull and friends


Gifts to Die For


Saturday, January 6, 2018

I Love You Valentine Party Favor Box with Lynda Kanase


Happy Saturday!!!
I hope everyone had a fabulous Christmas and already looking forward to the New Year!
What better way to start but to start thinking of the love that is in the air....
You know Valentine's is right around the corner!!!
Today I am sharing with you how to create this fabulous I Love You Valentine Box using two of Lynda Kanase wonderful dies from Sizzix. 
This project would make great party favor box for your children to give away or you may have other parties, weddings or activities that you will need a fast favor box for. 


Photo 1: Wrap a couple of small candy bars with the Picture This Paper.
Photo 2: Die cut three of the Photo Stand using the pattern paper from the  Picture This Paper. Form boxes and adhere the three boxes together. Seal on end and place the candy prepared candy bars into boxes. Seal boxes.


Die cut pattern pieces using the Photo Frame, Lovely Die. Run pieces through your Xyron 3" Disposable Sticker Maker or other favorite adhesive.


Add pieces to back of prepared party favor box.


Add second layer heart to front of stacked favor boxes.
Adhere stacked boxes to scallop circle and paper doily.


Add the "I Love You" Die cut to top of prepared favor boxes along with a small flower. Add small banners and negative die cut images from the I Love You Die to top of box along with pink gemstones.


I hope you are inspired to grab your favorite Lynda Kanase Dies from Sizzix to create some fun Party Favor Boxes for all your upcoming parties! Hugs Pam

Supplies:
#662181 Photo Stand, Seasonal 
#662178 Photo Frame, Lovely
#662184 Picture This Paper Pad
Xyron 3" Disposable Sticker Maker
2 1/2" Scallop Circle Punch
Small Flower
Ranger Black Archival Ink
Paper Doily
Hot Glue Gun & Glue Sticks
Pink Gemstones

Tuesday, January 2, 2018

Fairy Dust Trinket Frame with Eileen Hull Inspiration Team

 Disclaimer Notice: I’ve received products/compensation as part of the Eileen Hull's Inspiration Design Team. This project however, is 100% my own project! Some of the links in this post are affiliate links. I explain more here.

Happy New Years!!!! 
Are you excited for 2018!!!
I AM...
SO...
Let's begin the year with spreading a bit of Fairy Dust around using Eileen Hull's 


Form box; adhere Graphic 45 Fairy Dust papers to the inside and outside of box. 
Add Fairy Dust Epherema Journal Cards to inside. 


Adhere pattern paper to front of XL Book; Pages, Trinket Box & Frame along with "Friend" sentiment from the Floral Arch & Words Framelits Die.
Die cut flowers Book Mark, Tag & Pocket Framelits Die ; form flowers with brads. Add to front of prepared box. 


Add small knob and ribbon to top of box. 


Die cut  Book Mark, Tag & Pocket Framelits Die ; adhere to front of box. 
Place tag inside of pocket to finish box. 


Add prepared Fairy Dust Trinket Box to top of wooden spool. 
Adhere a few more flowers and leaves to spool. 


I hope you are inspired to check out all of Eileen's Book Club Dies on the Sizzix Site! 
You will fall in love with how interactive they are with all dies! 
Make sure to stop by Eileen Blog to see the fabulous Inspirational Teams projects for the week!
Hugs Pam 

Supplies:
Graphic 45 Fairy Dust Collection
MayArts Ribbon
Wood Spool
Clear Door Knob
Antique Brads

Journal Treasury


Eileen Hull's Die Cutting Magic EBook


GIFTS TO DIE FOR with Eileen Hull and friends


Gifts to Die For