Tuesday, January 7, 2020

Roses and Lace Easel Desktop Display Organizer with Eileen Hull


Happy New Years!!!
Let's celebrate by sharing in  Eileen Hull latest dies from Sizzix! 
WELL...
Actually Eileen's Inspiration Team will be celebrating the whole month sharing unique ways to use them!
 First up is the Display Stand
It's super easy to use and cuts in one piece!
It can be flattened to send in the mail; how fun is that!!!


Sizzix/Eileen Hull Display Stand
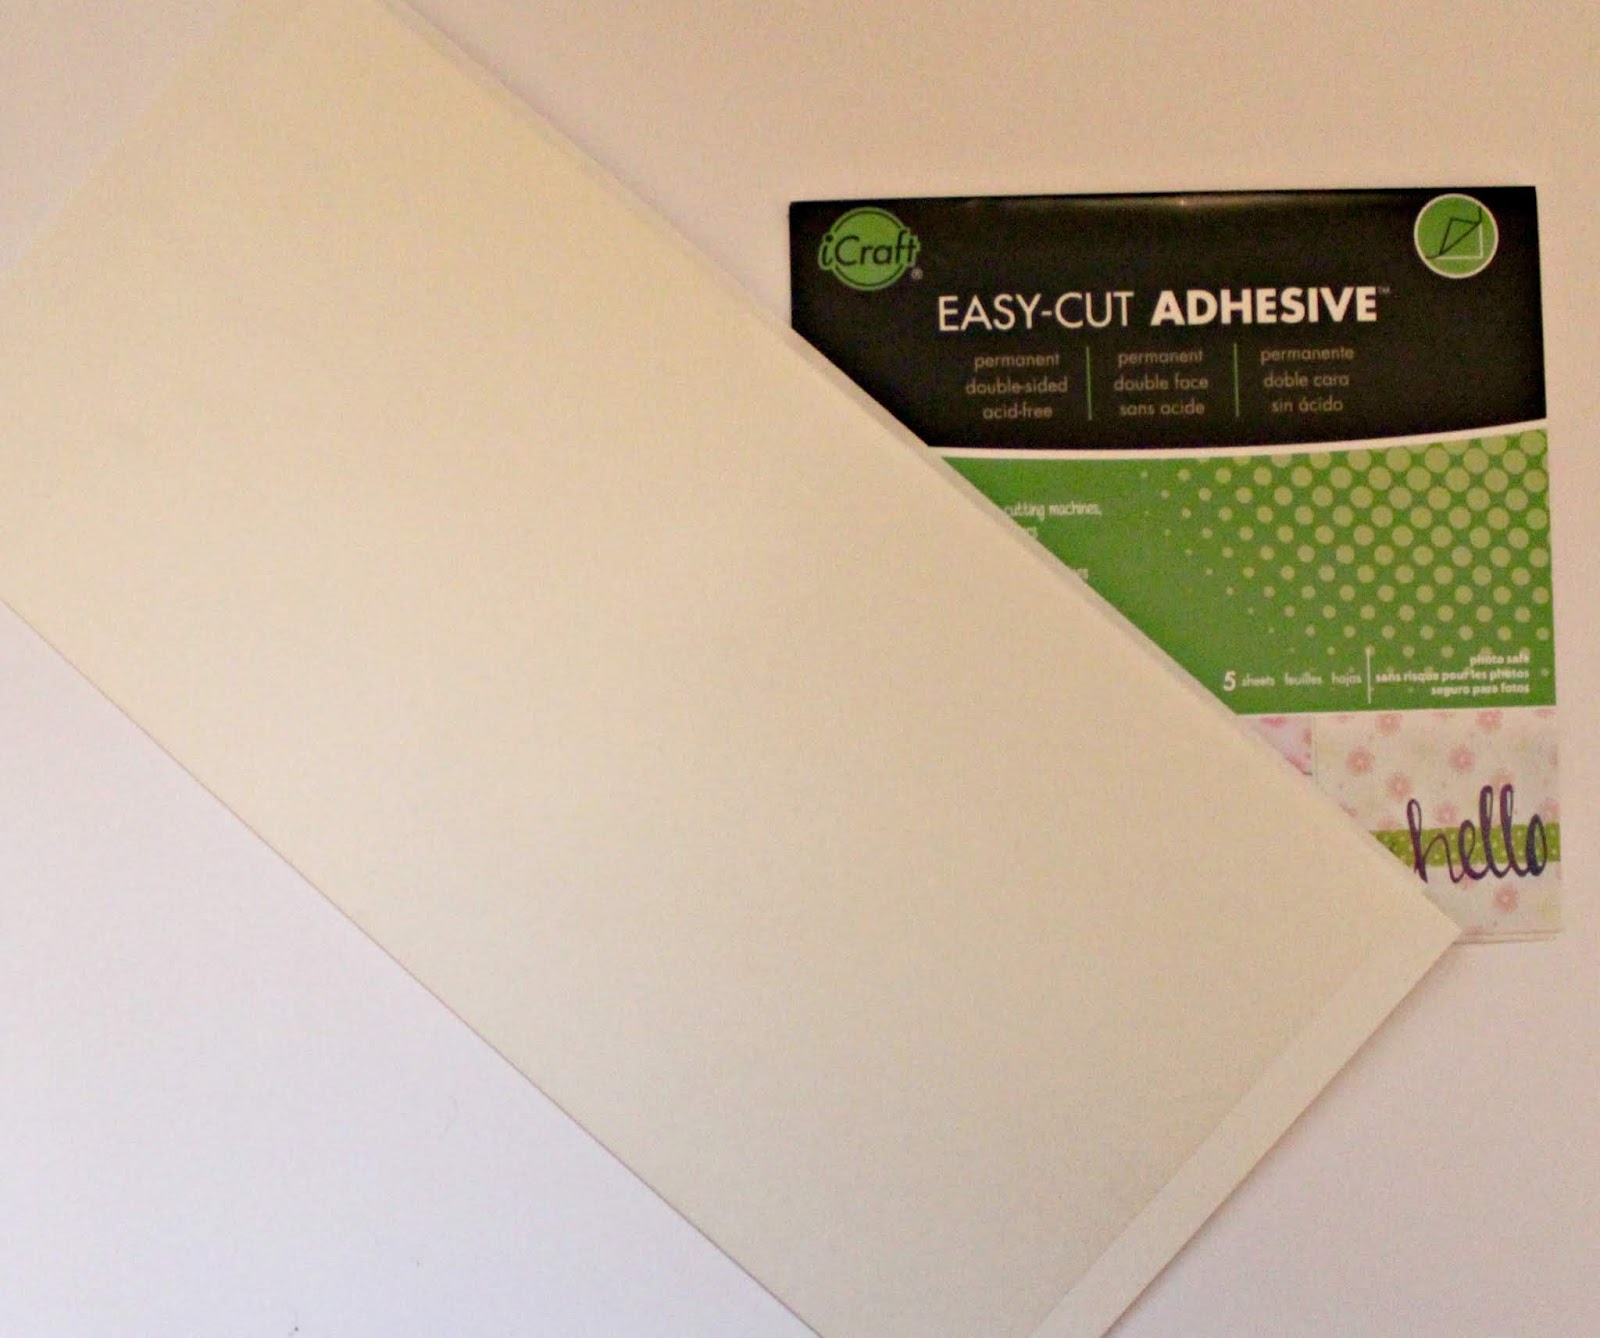

Use Eileen's ThermoWeb ECraft Easy Cut Adhesive on the front and back of a piece of chipboard prior to cutting. 


Adhere pretty pattern paper to the front and back of adhesive chipboard; die cut using the Display Stand!


EASY PEAY!!!!
NOW FORM THE DISPLAY STAND AND DECORATE!!!


Adhere paper doily to back of Display Stand. 


Cut a 1" x 5" chipboard to fit across the top of Display Stand. 
Using Eileen's ThermoWeb ECraft Easy Cut Adhesive to top; add pattern paper. 
Add to front of Display Stand with pop dots. 


Trim 3" x 5 1/4" Notebook to measure 3" x 3 1/2" 


Decorate with pretty pattern paper and layer extra images to top with pop dots. 


Cut 1" x 5 1/2' piece of chipboard to fit the bottom part of the Display Stand to create a front. 
Cut piece of pattern paper to fit; punch border on top of pattern paper. 
Using Eileen's ThermoWeb ECraft Easy Cut Adhesive to top; add pattern paper. 
Adhere front of Display Stand. 
Adhere tan twine to bottom of prepared Display Stand. 


Adhere small twine bows to Display Stand. 

 
Fussy cut "Memories" or add different sentiment to front of Display Stand. 


Add your favorite pens, business cards, small notebooks or other items to your personnel tabletop Desk Stand. 
Make sure to check out all of Eileen's products on the Sizzix site or in her Etsy Store.
ALSO....
Stop by Eileen Blog to check out the EH Inspiration Team fabulous and inspiring projects HERE!!!!
OR...
Join us on over Eileen Hull's Fan Group HERE  to see more fabulous projects from her amazing and talented fan base!!! Join in on the fun and prizes!!!
Hugs Pam 

Supplies:
Sizzix/Eileen Hull Display Stand
ThermoWeb ECraft/Eileen Hull Easy Cut Adhesive
Sizzix Matboard
Stamperia Roses and Lace Paper Collection
Tan Twine
Markers
Pop Dots
Paper Doily

****Products Linked in Affiliate Supply List for convenience****


DISCLAIMERS


This blog is compensated to provide opinion on products, services, websites, and various other topics. Even though the owner(s) of this blog receives compensation for our posts or advertisements. I always give my honest opinions, findings, beliefs, or experiences on those topics or products. The views and opinions expressed on this blog are purely my own. Any product claim, statistic, quote or other representation about a product or service should be verified with each manufacturer, provider, or party in question/This blog contains affiliate links, clicking and shopping through these links helps to support and run Pam Bray Designs - Scrapbook Flair Blog at no additional cost to you. Today's features are Eileen Hull Designs Products.

Friday, January 3, 2020

Sending You Joy Card with Momenta


Happy 2020!!!!
 I am "Sending You Joy" using leftover Momenta products that I had sitting on my desk!!!
It is a great way to send non-traditional cards using Christmas products!


Begin by adhering pretty pattern paper to top of square card base. 
Wrap red twine around mats and tie in bow. 


Die cut Momenta Card Making Cutting Template using pretty pattern paper; layer together with circle mats. 


Adhere prepare doily to top of card front. 


Mat Momenta Vellum Sticker Christmas "Sending You Joy" Sticker to pattern paper; mat on pattern paper. 
Add to front of card. 


Die cut flowers from Momenta Card Making Cutting Template ; mat on pattern paper. 
Fussy cut out around flowers; add to front of card front. 


Punch small Epherema images from pattern paper; add to front of card with pop dots. 


I hope you are inspired to use your more of your Momenta Christmas products to create non-traditional projects before you put them up for the year.
 Enjoy Pam

Supplies:
Momenta Card Making Cutting Template
Momenta Vellum Sticker Christmas  
Authentique Snowball 6 x 6 Paper Pad
Red Twine
5 1/2' x 5 1/2" Kraft Card Base
Red Metal Nailhead Gemstones
Pop Dots
Xyron Mega Tape Runner

Follow Momenta:

****Products Linked in Affiliate Supply List for convenience****
DISCLAIMERS
This blog is compensated to provide opinion on products, services, websites, and various other topics. Even though the owner(s) of this blog receives compensation for our posts or advertisements.I always give my honest opinions, findings, beliefs, or experiences on those topics or products. The views and opinions expressed on this blog are purely my own. Any product claim, statistic, quote or other representation about a product or service should be verified with each manufacturer, provider, or party in question/This blog contains affiliate links, clicking and shopping through these links helps to support and run Pam Bray Designs - Scrapbook Flair Blog at no additional cost to you. Today's features are Momenta Products.

Thursday, January 2, 2020

I Love Coffee Collage Canvas with Emerald Creek Rock Candy


Hello everyone! Today I am celebrating Coffee!!! I love Coffee, the smell, the taste, cold or hot...it is the best! I am sharing a step out tutorial on  how to create your very own coffee mixed media canvas. Don't worry...if you aren't a coffee lover, do tea or change the idea up completely but more than anything enjoy the technique. 


Begin by adhering a few pieces of corrugated paper to the top of a 5" x 7" canvas. Dry brush White Titanium, Burnt Sienna and Yellow Oxide to top making sure that each layer dries.


Stamp beans from Emerald Creek Craft Supplies Fireside Stamp Set to prepared canvas using black ink and bean stamp.


Repeat with coffee rings from the Blends Stamp Set. Paint each set of the beans using ColorBox Nutmeg Blends Ink. Apply ink to craft sheet; mist with water and paint with paintbrush.


Die cut Ring String using white card stock. Apply embossing ink to top. Emboss with Rock Candy Embossing Powder.


Die cut Stack Deckle from white card stock. Apply embossing ink and Rock Candy Embossing Powder to top.


Stamp Coffee Sign stamp to white card stock using embossing ink; emboss with Onyx Frost Embossing Powder. Ink over top with ColorBox Blends Ink.


Stamp cup from Fireside Stamp set with black ink. Apply ColorBox Blends ink to craft sheet; mist with water. paint cup. Dry.


Add Rock Candy Embossing Powder to cup.


Adhere frame and cup to canvas.


Apply embossing ink to top of metal button; add Rock Candy Embossing Powder. Heat Set. I hope you try your hand at creating a fun and easy mixed media canvas. Enjoy! Pam

Supplies:
5" x 7" Canvas
ColorBox Clear Embossing Ink
ColorBox Black Archival Ink
DecoArt Americana Paint: Yellow Oxide, Burnt Sienna and Titanium White
White Card Stock
Metal Button
Scotch Quick Dry Glue


DISCLAIMER:

This blog is compensated to provide opinion on products, services, websites, and various other topics. Even though the owner(s) of this blog receives compensation for our posts or advertisements. I always give my honest opinions, findings, beliefs, or experiences on those topics or products. The views and opinions expressed on this blog are purely my own. Any product claim, statistic, quote or other representation about a product or service should be verified with each manufacturer, provider, or party in question.This blog contains affiliate links, clicking and shopping through these links helps to support and run Pam Bray Designs - Scrapbook Flair Blog at no additional cost to you. Today's features are Emerald Creek Craft Supplies Products.