Showing posts with label 49 & Market. Show all posts

Friday, May 2, 2025

Capture Moments Forever Playing Card

CAPTURE MOMENTS FOREVER 

Use scraps of 49 and Market designer papers and ephemera to create fun ephemera cards for future projects! 
REMEMBER....
CAPTURE MOMENTS they will last FOREVER! 
I hope you grab a deck of cards and just start creating. 
Enjoy Pam


This card color is based around the color LIGHT PURPLE.
I am posting a playing card each WEEK! 
MAKE SURE TO STOP BY AND SAY HI!!!

Wednesday, April 2, 2025

Captured Moment Playing Card


CAPTURED MOMENTS PLAYING CARD

Capture Moments using layers of 49 and Market designer papers and ephemera. 
Don't forget the splatters!
Add a bit of metal to give added interest! 

Enjoy Pam

This card color is based around the color LIGHT PURPLE!


Thursday, March 20, 2025

With You Playing Card

WITH YOU PLAYING CARD 

This is fabulous, creative group. 

Create with collage layers and fabulous ephemera ysubg 49 and Market deigner papers!
Don't forget to splatter! 

Each week on Thursday Shanouki Art uploads a video sharing that week's challenge and the prompts for the following week. 
There are albums available for each week to add your beautiful cards to!

So each Thursday I will be sharing one of my finished playing cards. 
The color is ORANGE! 

Enjoy Pam

Saturday, February 1, 2025

HELLO February!!!


HELLO February!!!
Let the "LOVE" flow!
Create Sweet Memories!
Simplify!


Cover a large wood heart with 48 and Market Rouge paper.
HINT: I pieced my paper together on my heart. 


Add a ruffle ribbon and natural twine ribbon to top of filigree natural heart. 


Adhere to top of larger heart. 


Decorate top of prepared heart with Rouge Ephemera pieces along with fussy cut pieces from papers. 


Make sure to tip fussy cut flowers up; add glossy accent to center. 
Add some of the fussy cut pieces and ephemera to top of heart with pop dots. 


Add sentiments to front of heart. 


Tuck in metal Simplify to top. 


Add small heart to edge of ruffle. 


Tuck in a few fussy cut tags and extra leaves into place to cover up any places that were pieced together. 

Supplies
Large Solid Heart
Medium Filigree Heart that will fit on the larger heart
49 & Market Rouge Collection and Ephemera
Ruffle and Natural Ribbons
Metal Heart and Simplify Charm 
Glossy Accent

Sunday, December 10, 2023

Season's Greeting Cards


Season's Greetings!
15 Days until Christmas. 
SO...
You still have time to make a few special cards. 
I am sharing two cards with two techniques using my Poinsettia Ornament along with my Season's Greetings .
First, add pattern paper to 5" x 6 1/2" card bases along with a mat paper piece and paper doily. 


First card is stamped with Poinsettia Ornament and black ink; colored with copic markers. 
Fussy cut out; add to card front with pop dots. 
Add jute bow, small ticket tag and red enamel dot. 


Second card is using embossing ink and Festive Red Sensation
Fussy cut out; add to card front with pop dots. 
Add jute bow, small ticket tag and red enamel dot. 
Enjoy making cards all year long. 
Pam

Supplies
Copic Markers
49 & Market Christmas Paper
Paper Doily
White Card Stock
Veramark and Red Ink
Red Enamel Dots
Jute
5 x 6 1/2 Card Base


Thursday, September 21, 2023

Friend Easel Card


Friend ... You are absolutely AMAZING!!!
Don't you love receiving cards. 
I know I do and when you get a fun easel card that is easy to display it is extra special.
I have photo steps out to share how easy they are to create. 


Cut 5 1/2" x 11" card stock. 
Score at 2 3/4" and 5" score marks. 


Cut 2 3/4"x 5 1/2" pattern paper; adhere to base. 


Cut 5 1/2" x 5 1/2" cardstock and pattern paper. 


Adhere pattern paper to top. 


Easel card is formed. 


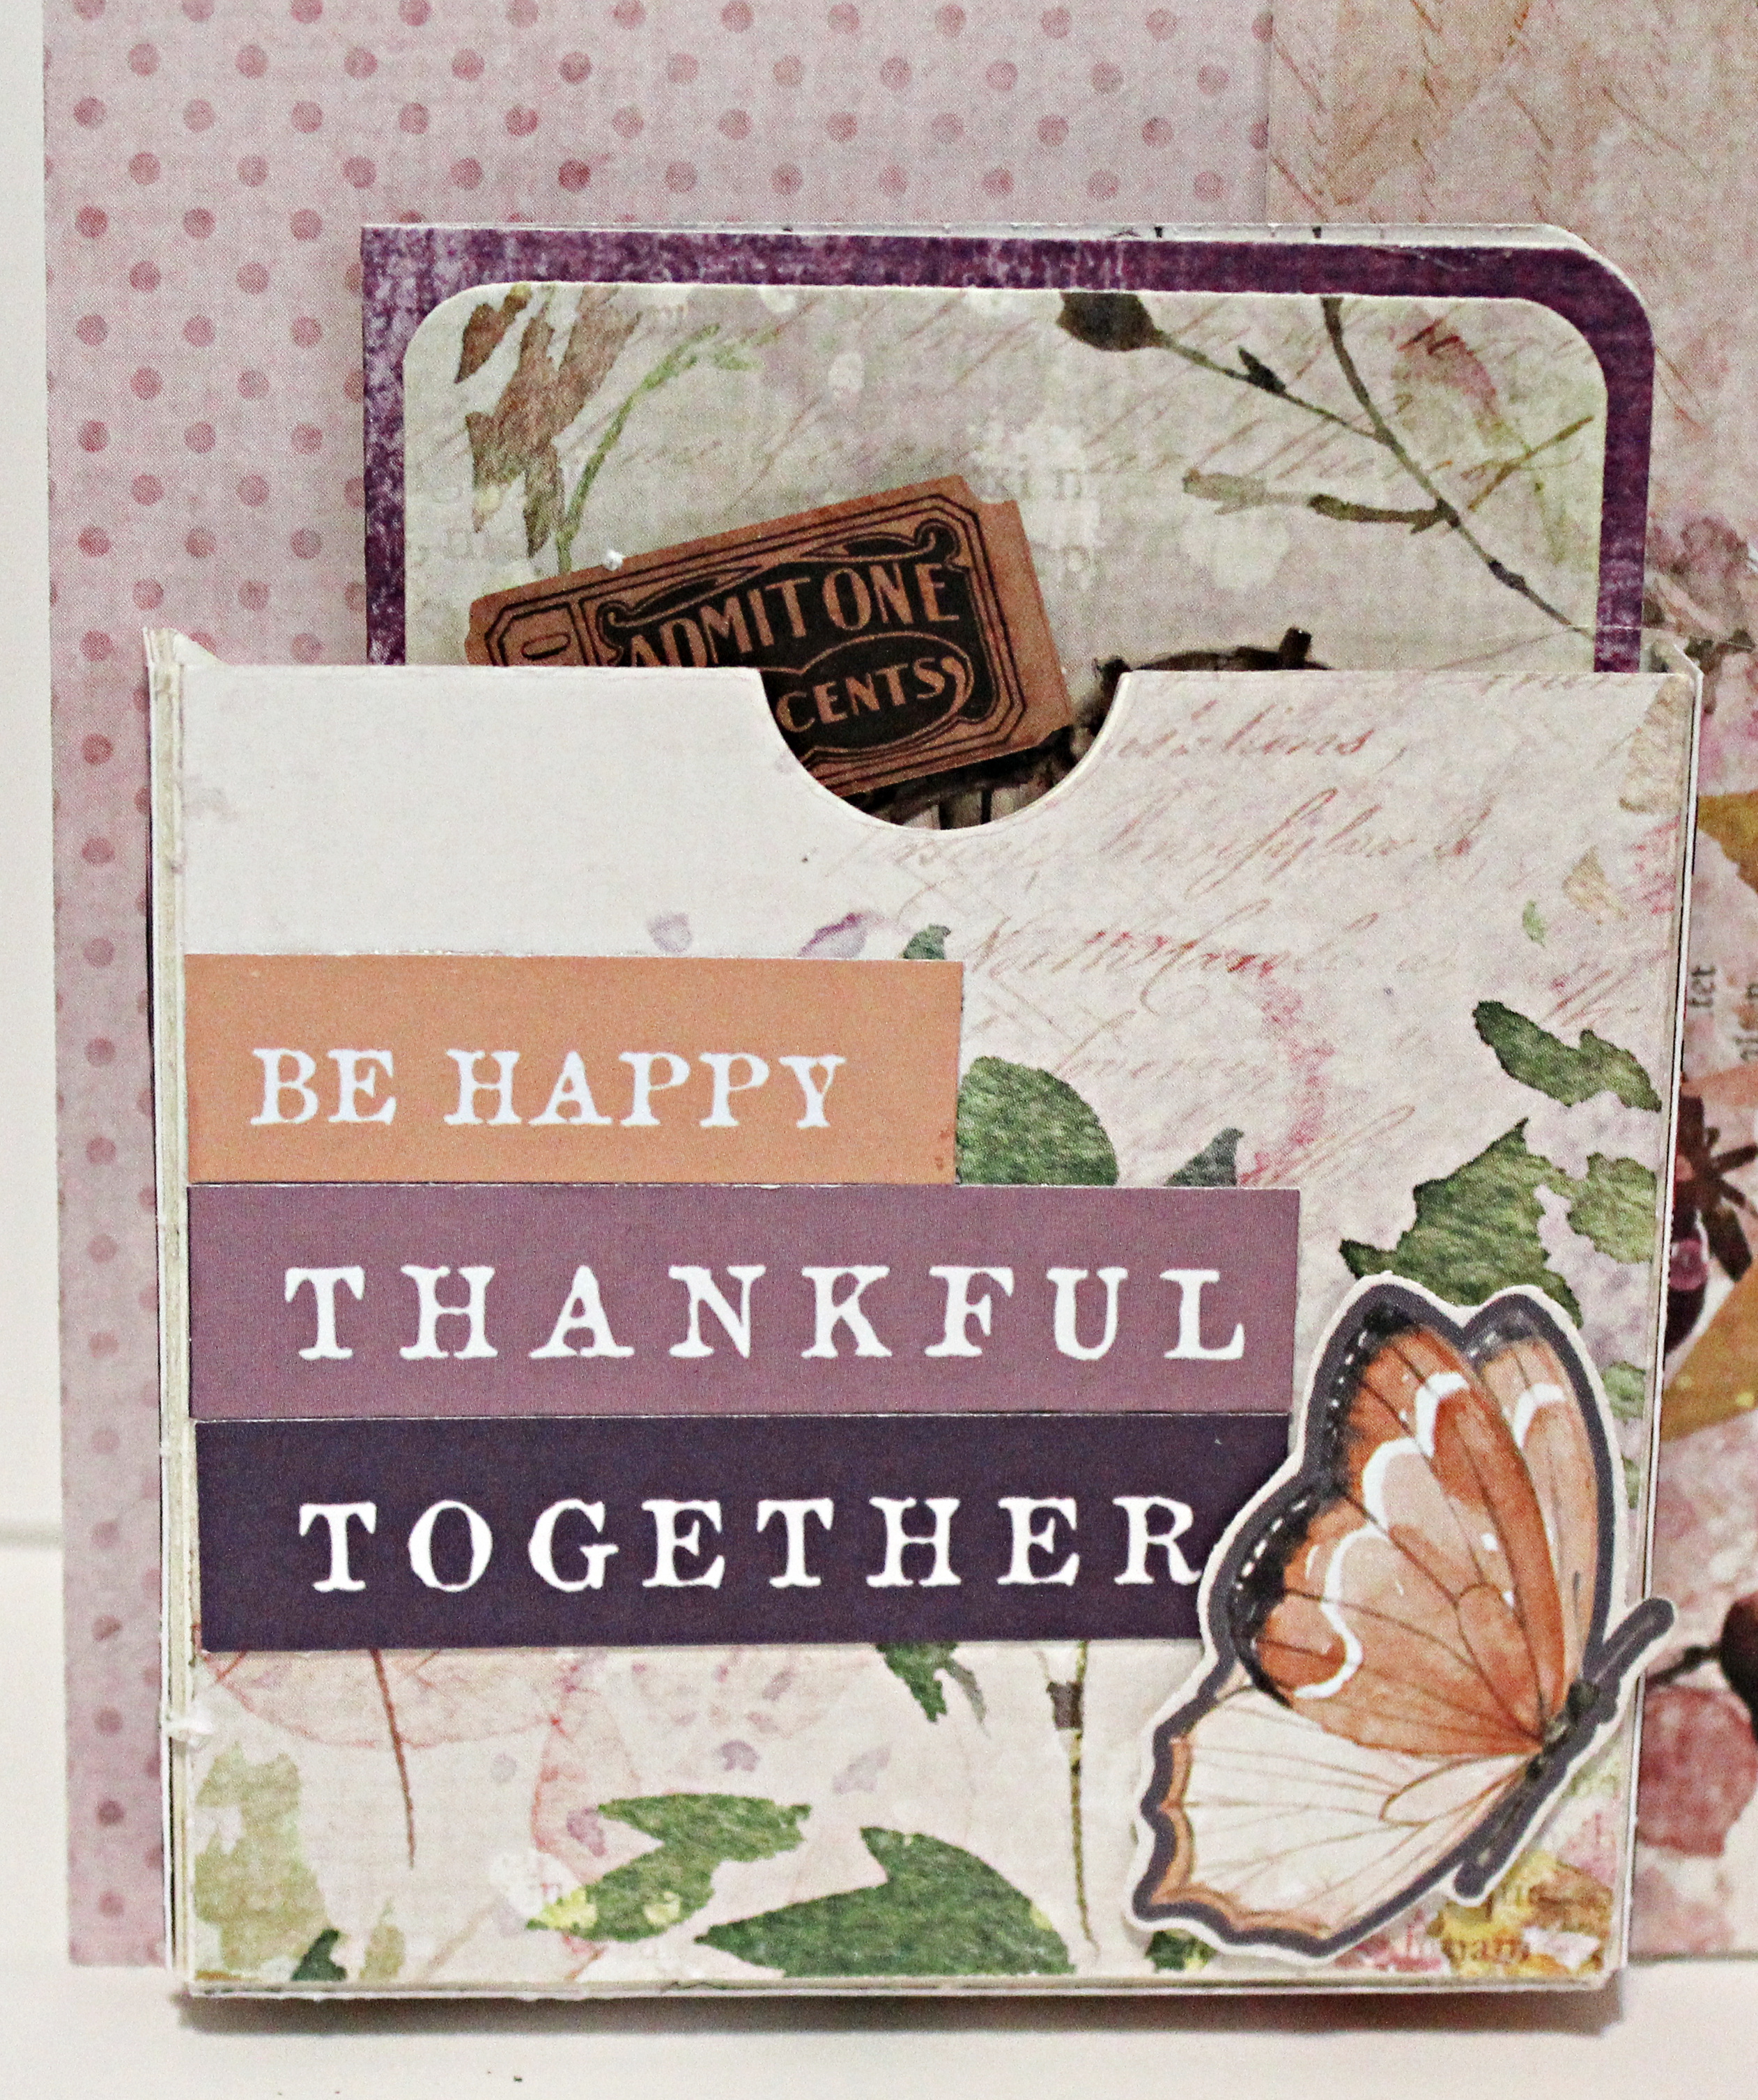
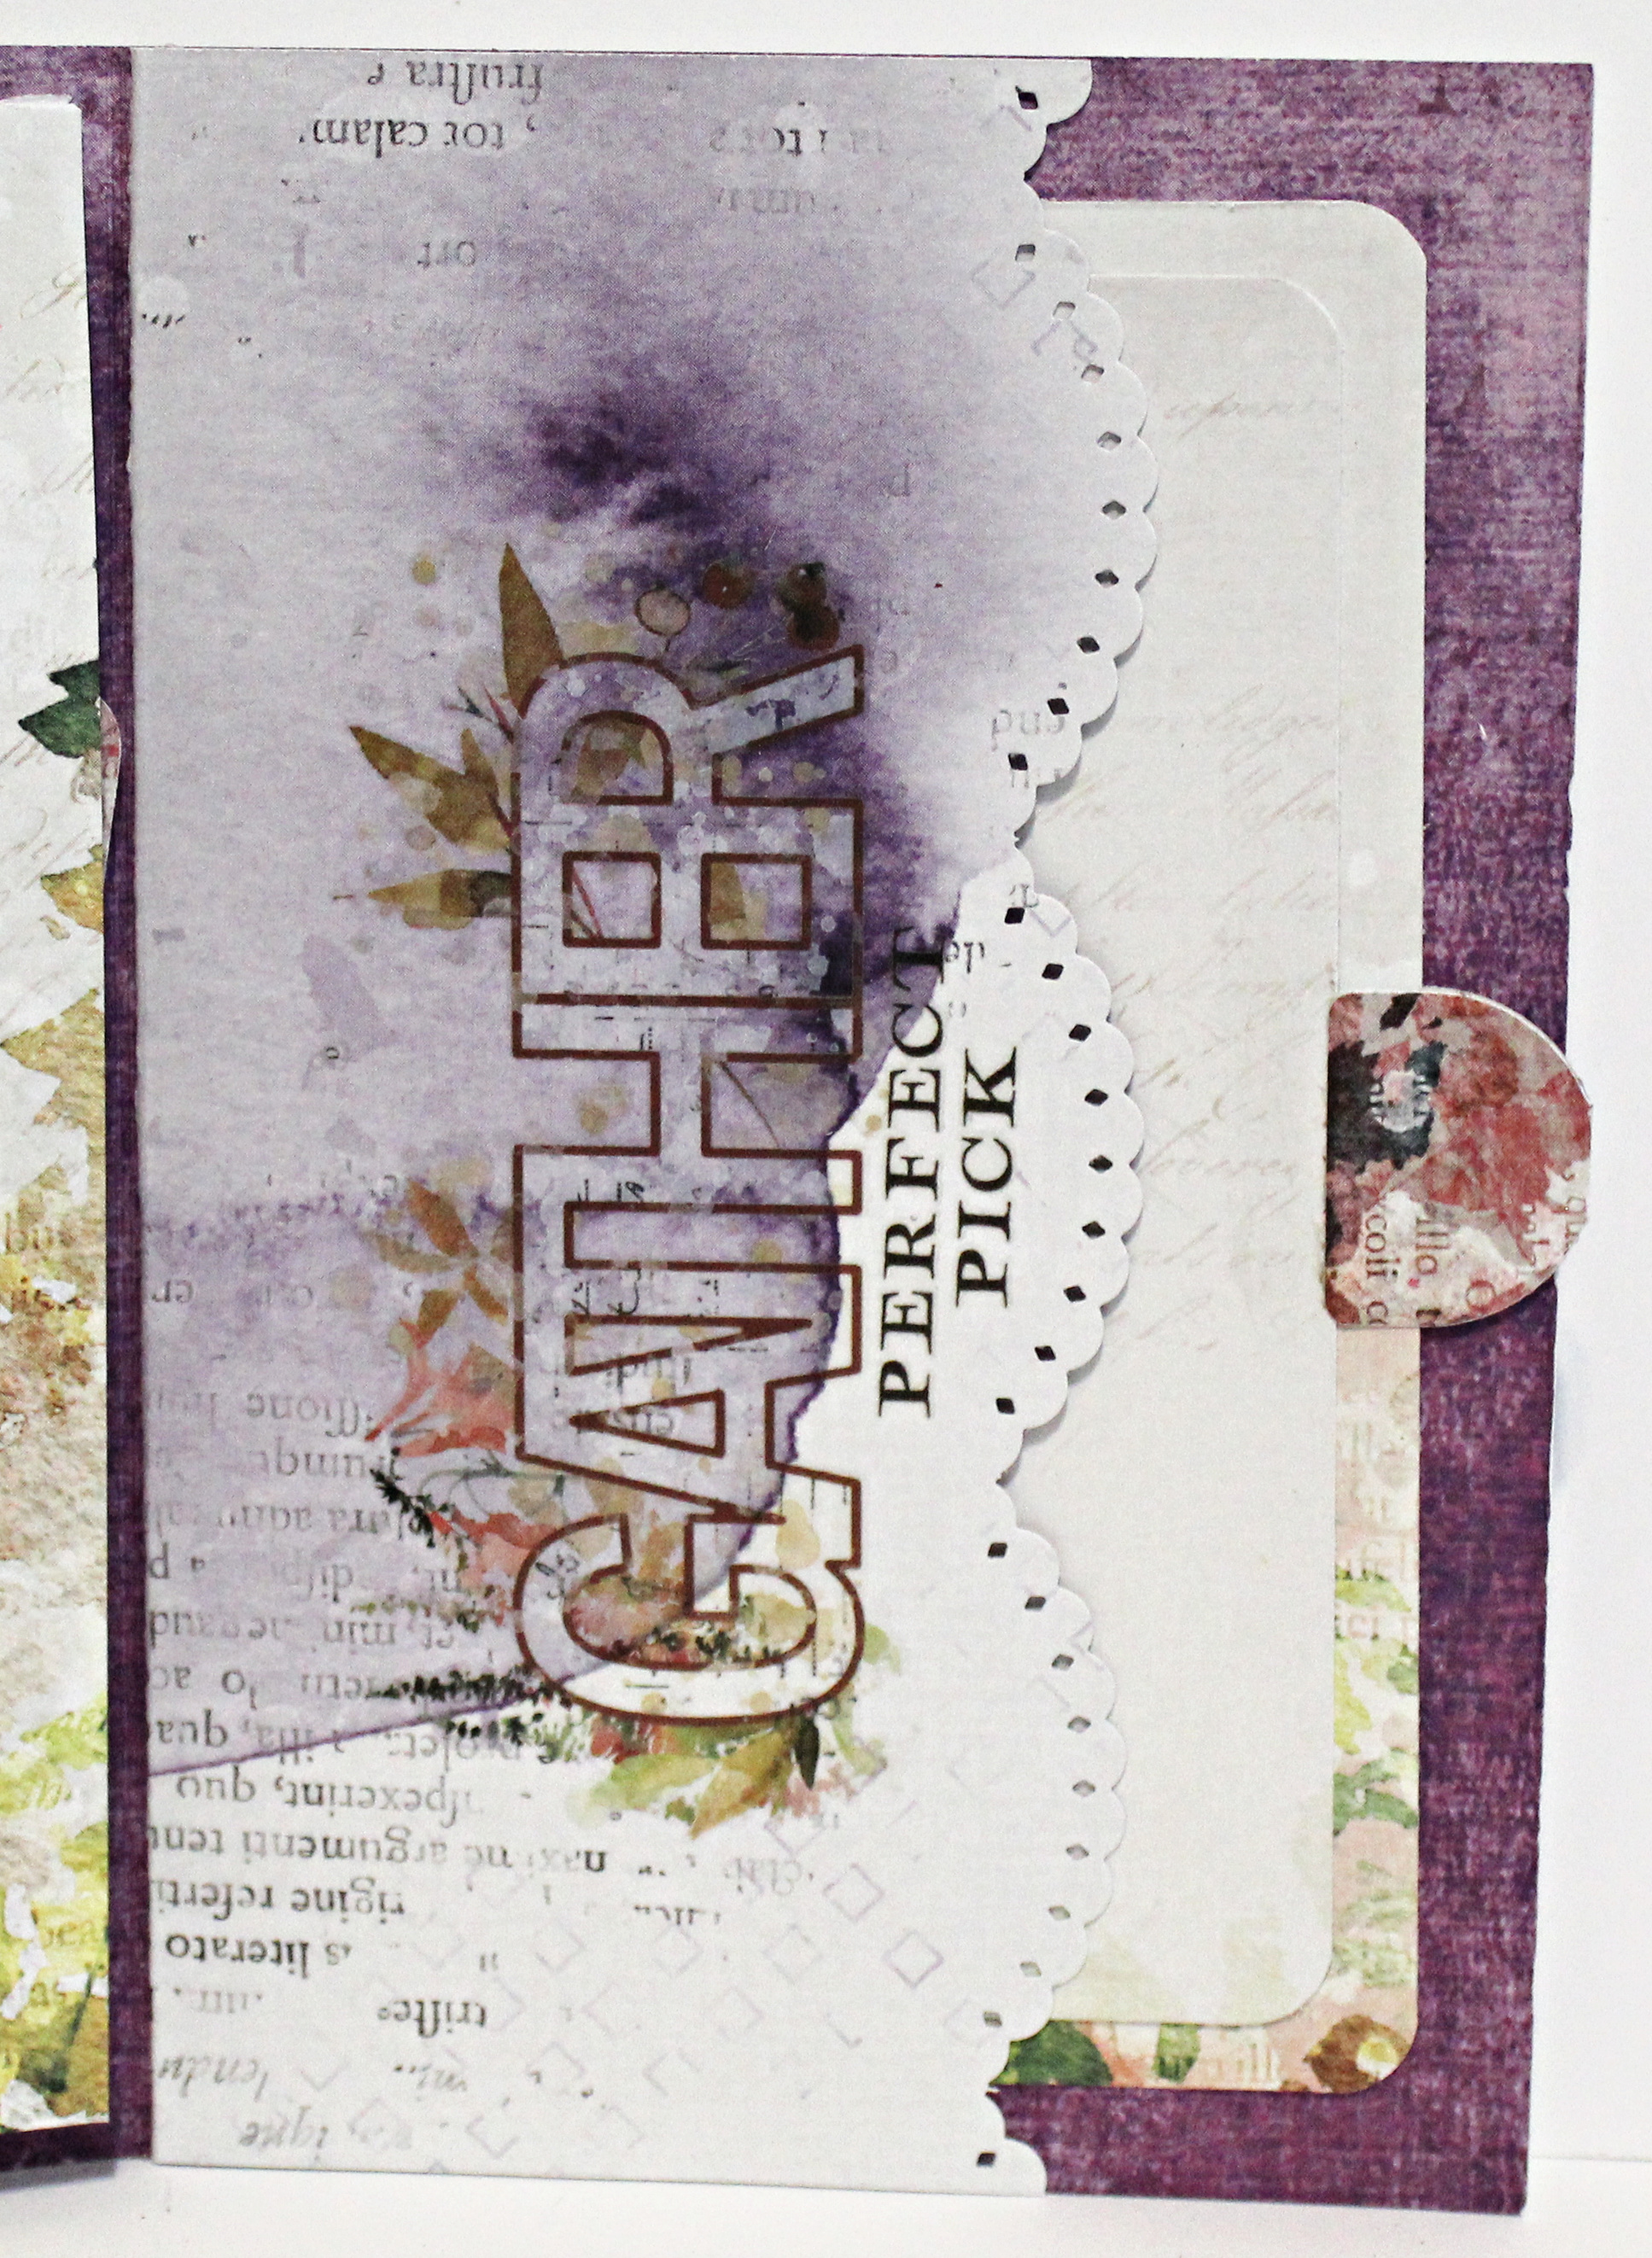
Adhere matching paper and border pieces to inside of card. 


Border will keep the easel part of the card to stand up. 


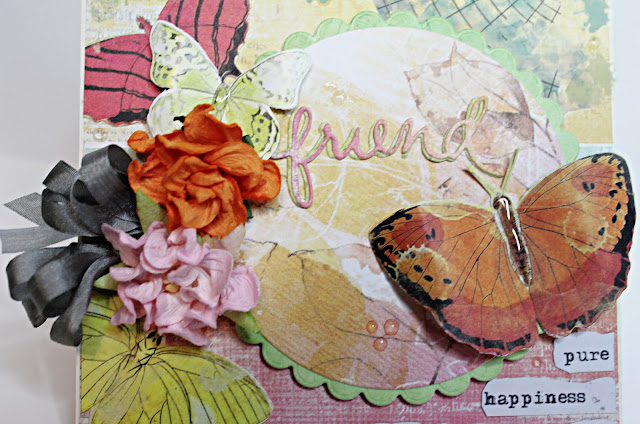
Fussy cut butterflies and adhere borders to front of card. 

Add rub-on to card.


Die cut circle and scallop circle from pattern paper. 
Adhere together. 
Die cut two "friend" from pattern paper; adhere together. 
Adhere to top of circles. 


Add word elements to card front. 
Add fussy cut butterflies to card front. 
Add glossy accent dots randomly on card front and center of butterflies. Dry. 


Add glossy accent to border strip. Dry. 


Add a few element pieces to strip along with fussy cut butterfly and rub-ons.


I hope you enjoy making easel cards. 
Pam

Supplies
49 & Market Spectrum Sherbet Pattern Paper
49 & Market Sherbet Ephemera
49 & Market Tidal Wave Rub-Ons
Sizzix Friend Die
Circle and Scallop Dies
Scallop Border Punch
Prima Flowers
Grey Ribbon
Card Stock
Glossy Accent
Xyron Mega Runner with Permanent Adhesive
Rub-On Tools
Xyron Glue Gun with Glue Sticks


Tuesday, January 3, 2023

Family Pocket Journal with Eileen Hull Chapter 1 Release Party


Happy New Years!!!
What better way to start off 2023 than to celebrate Eileen Hull Chapter 1 Releases with Sizzix!
This is one amazing collection which features a new journal die, library pocket, embossing folder and alphanumeric die!!! OH MY!!!
I am SO EXCITED!!!


Frame Pocket Bigz Plus Die measures 4 1/2” x 6 1/2” x 1 1/4” with an adjustable spine. What makes this die special are the additional pieces on the die, a pocket to hold ephemera, a frame and flap! These extra pieces may be used in many of my other journals, or they can be used independently.

Library Pocket, ATC Card and Tab Thinlit Die is a journal essential! Use the ATC card die to knock out a bunch of Artist Trading Card bases and add the library pocket to package it up to swap. The Tab die is perfect to add to the Journal pages or on the ATC.

The Tile Alphanumeric Thinlit is very versatile because you can use both the positive and negative shapes. Each letter is perforated which makes it easy to create and line up words.

The last item is a 3D embossing folder called Tablecloth Embossing 3-D Folder which was inspired by a crocheted cotton piece from Eileen's Mom. This adds beautiful texture and dimension to card backgrounds, book pages or tags!


FAMILY POCKET JOURNAL


Die cut and cover with pattern paper pocket; add to inside of journal. 


Decorate pocket front and inside covers. 


Fill with tags, books or other small items. 


Create your own books using copy paper and a long arm stapler. 
Cut covers to measure a 1/4' smaller than Pocket Journal Covers. 


Add rub-ons to small books. 


Add hidden pockets to small books along with hidden pages. 


Create flaps on pages so you are able to add more photos or writing to your pages. 


Add small books that were created to inside of book using thin, round elastic. 


Decorate the front of your album with ephemera, metals, rub-ons, ribbon, etc. 


Make sure to stop by Eileen Hull's Blog to check out all the fabulous projects created by the team... I know you will truly be inspired! 
There will be giveaways on Facebook Live and/or YouTube!!! 
Make sure to join in on the fun!
Enjoy Pam


Supplies
49 and Market Plum Grove Designer Paper, Ephemera, Rub-On Collection
Border Punches
Metals
Ribbon
Adhesive

DISCLAIMERS
This blog is compensated to provide opinion on products, services, websites, and various other topics. Even though the owner(s) of this blog receives compensation for our posts or advertisements. I always give my honest opinions, findings, beliefs, or experiences on those topics or products. The views and opinions expressed on this blog are purely my own. Any product claim, statistic, quote or other representation about a product or service should be verified with each manufacturer, provider, or party in question/This blog contains affiliate links, clicking and shopping through these links helps to support and run Pam Bray Designs - Scrapbook Flair Blog at no additional cost to you. Today's features are Eileen Hull Designs Products with Sizzix